


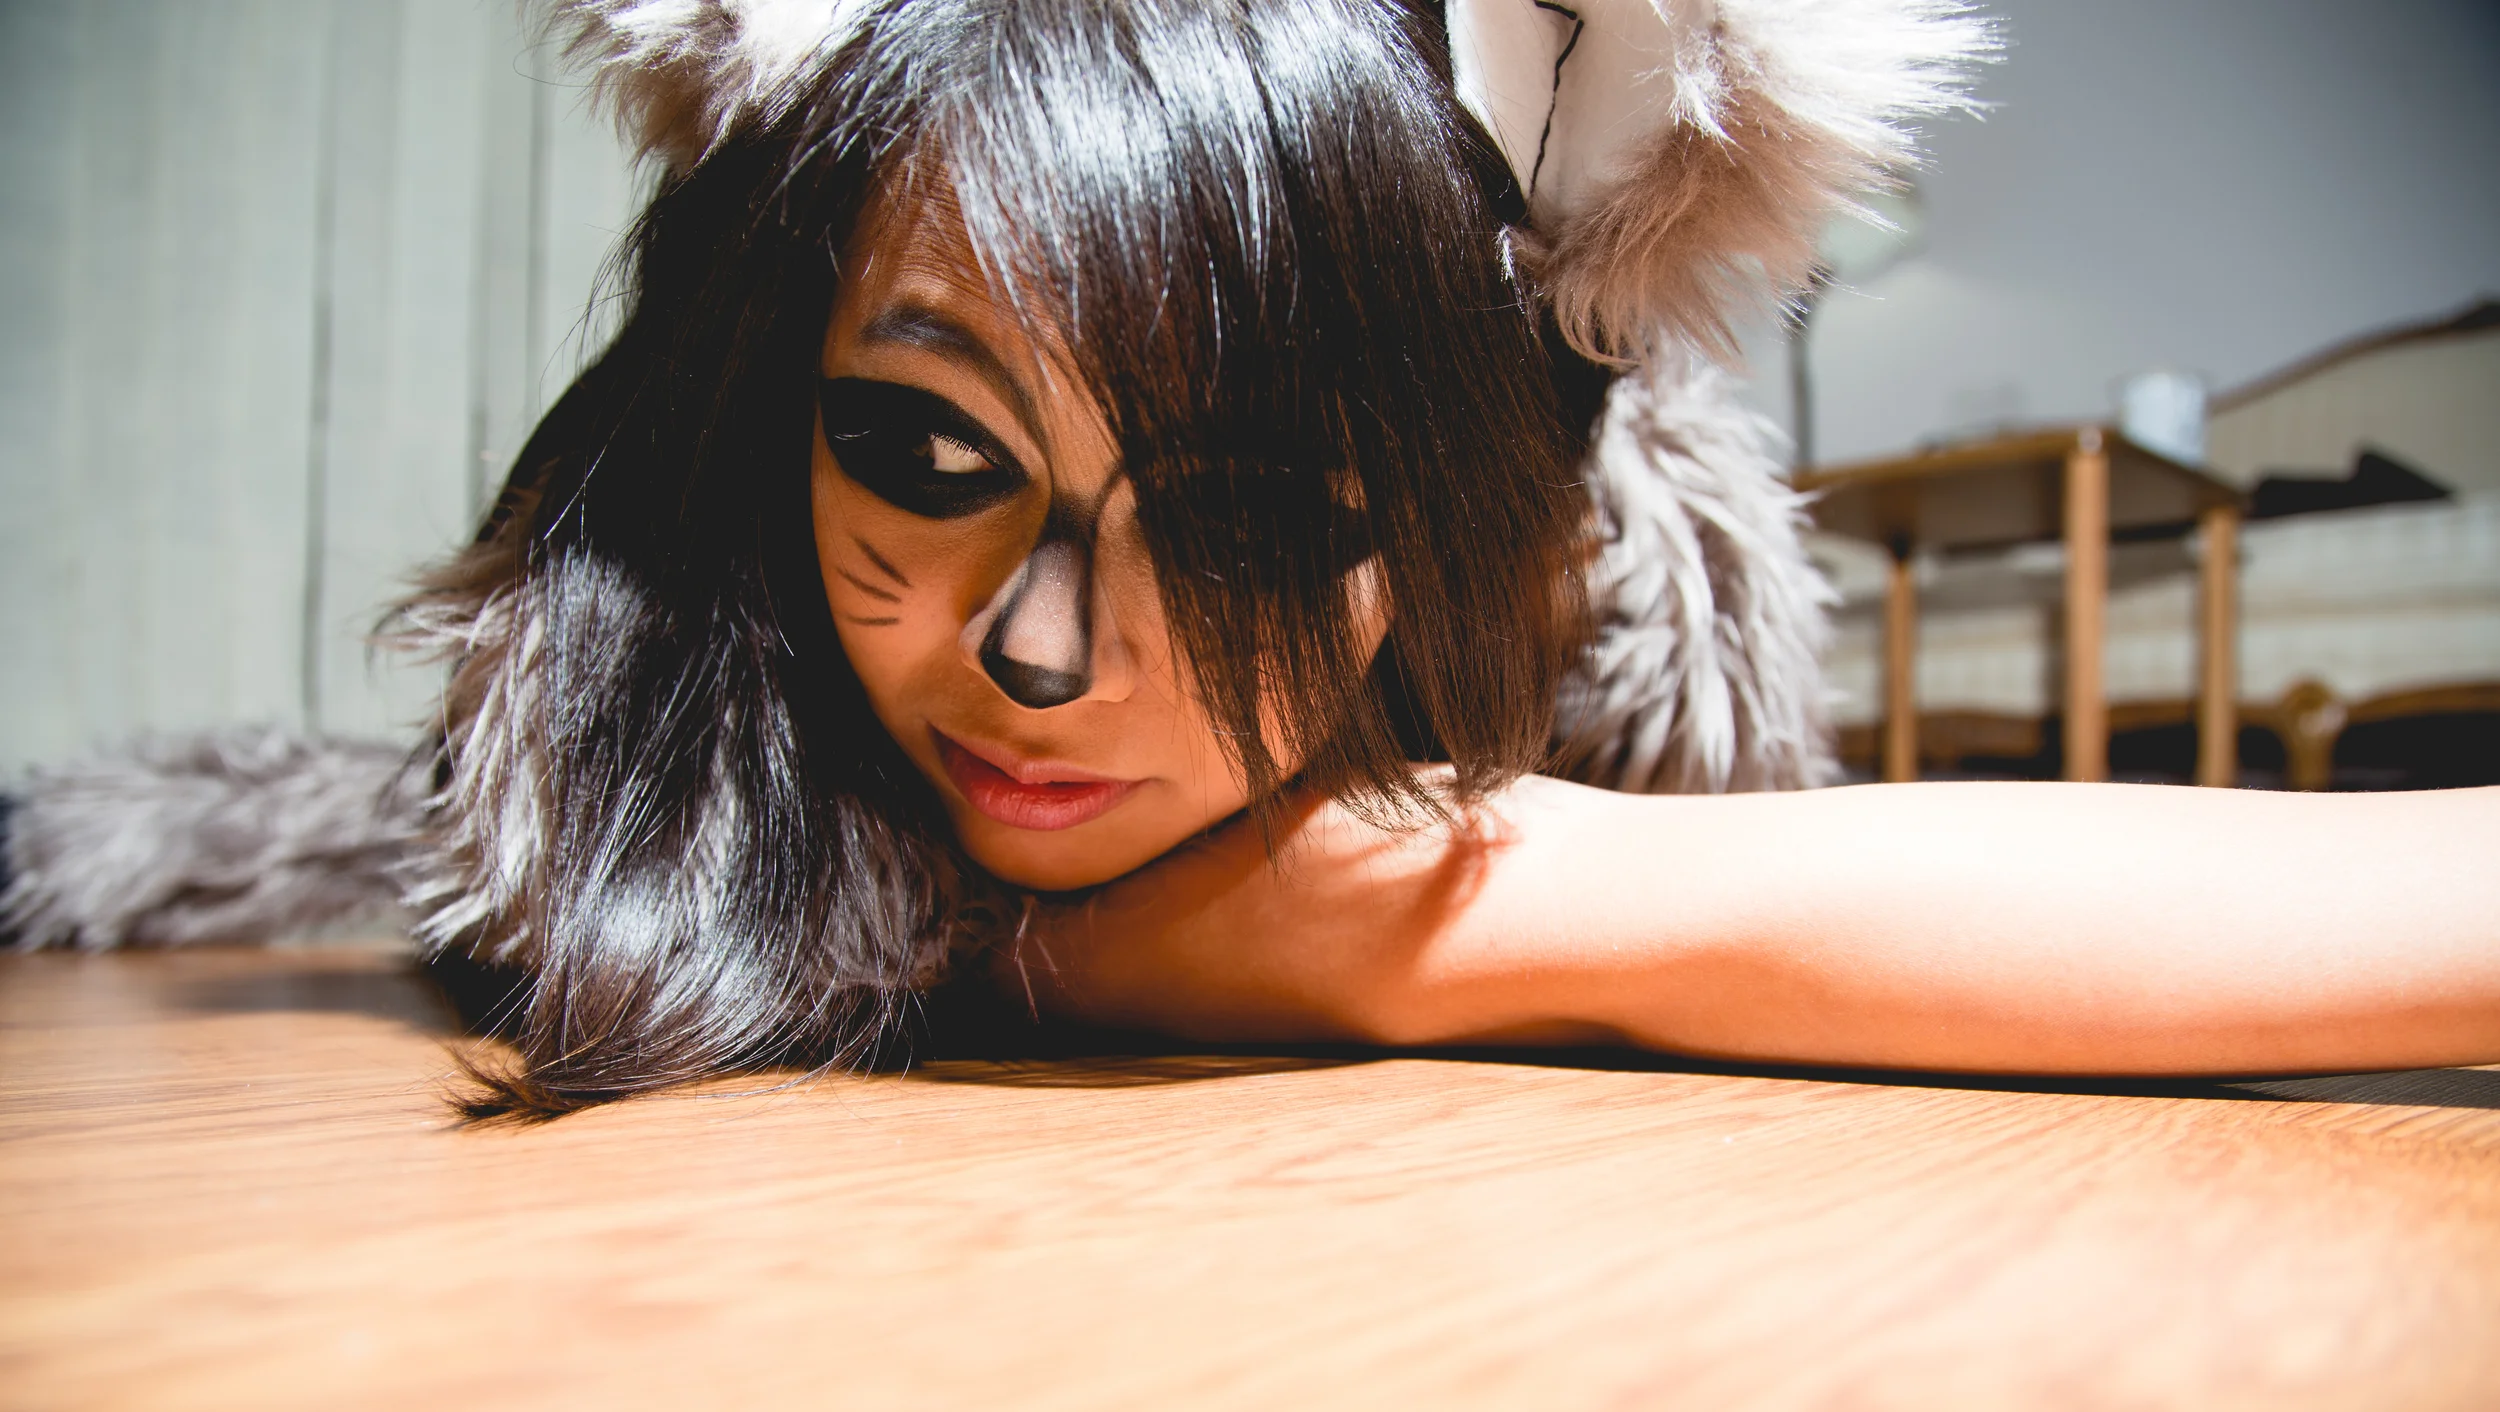


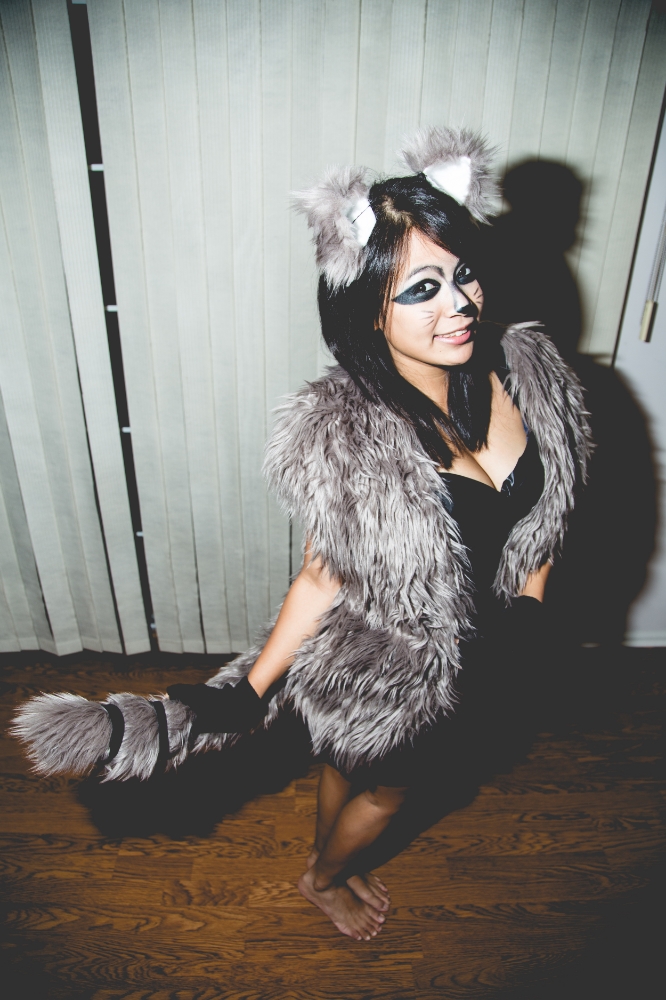
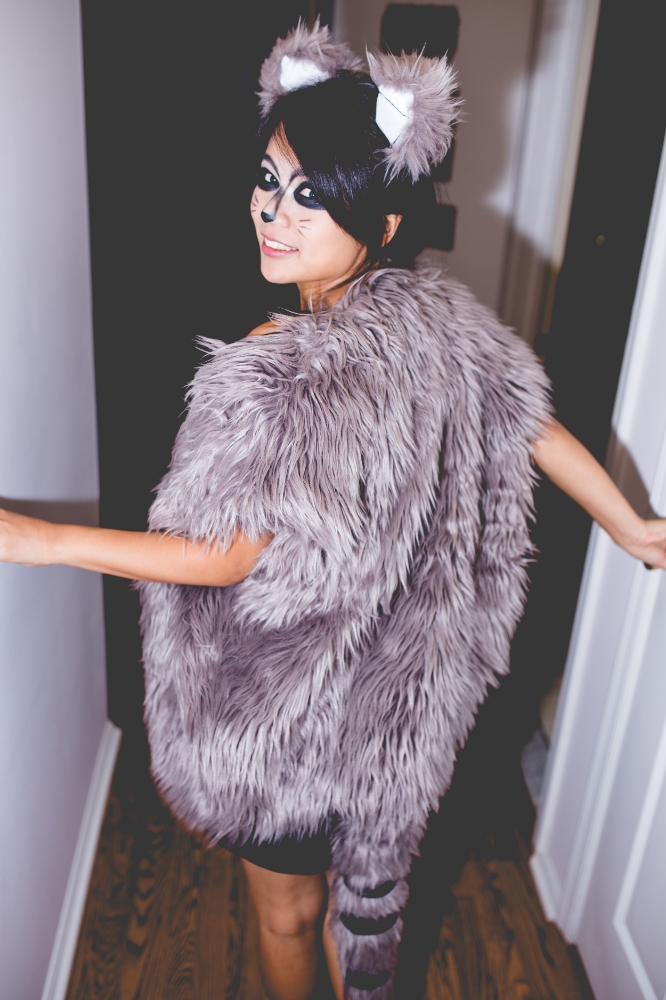
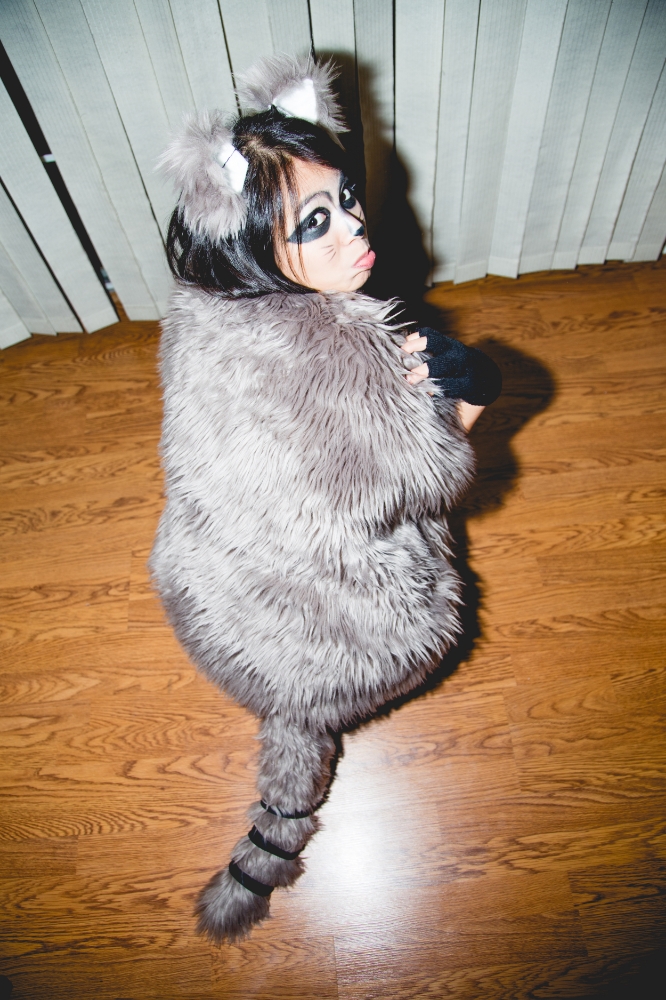
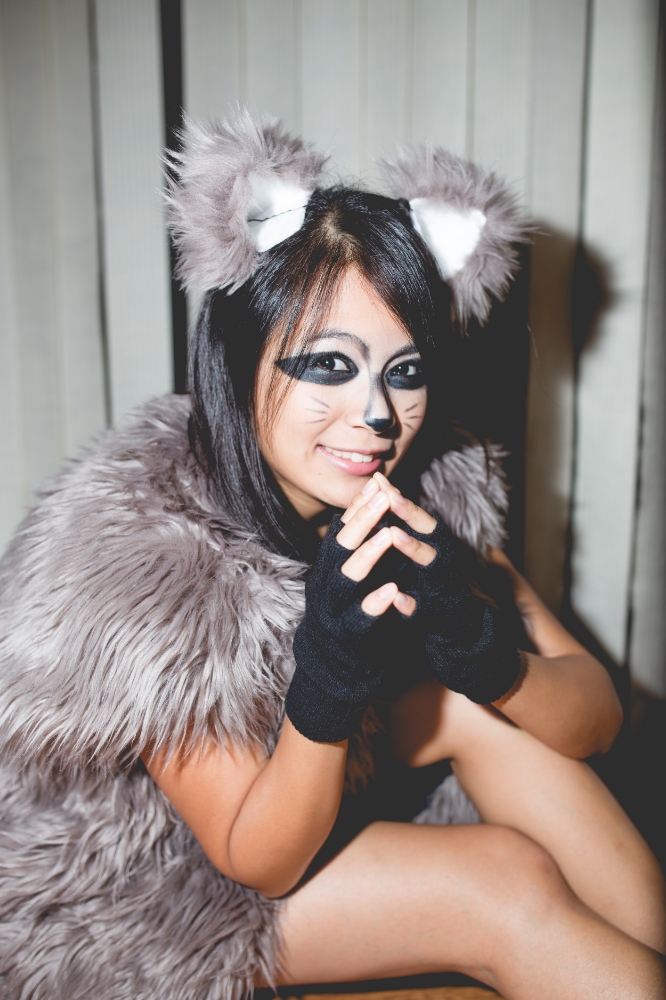
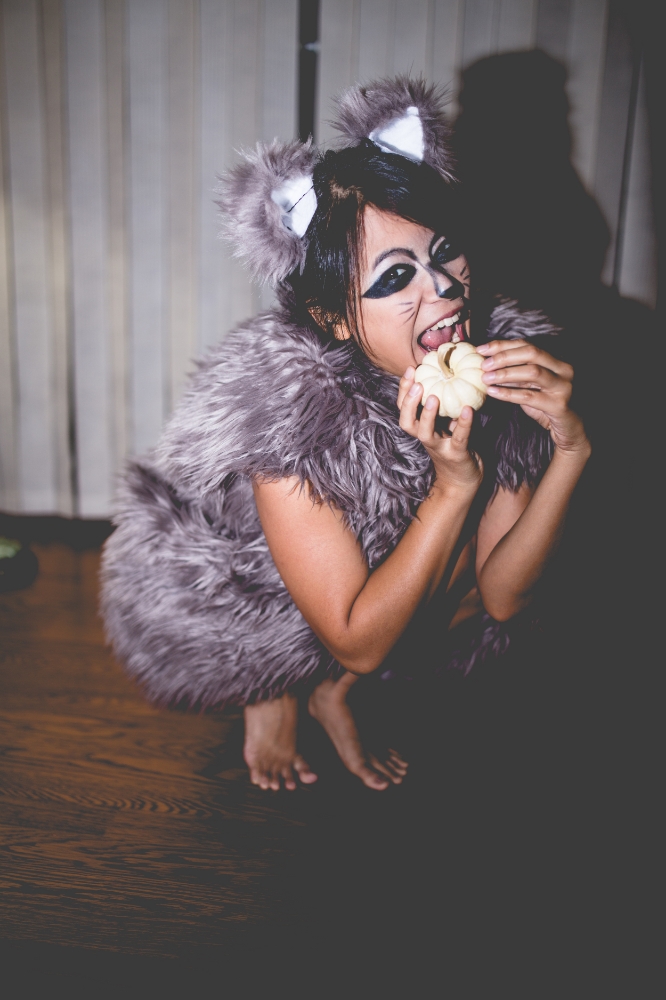
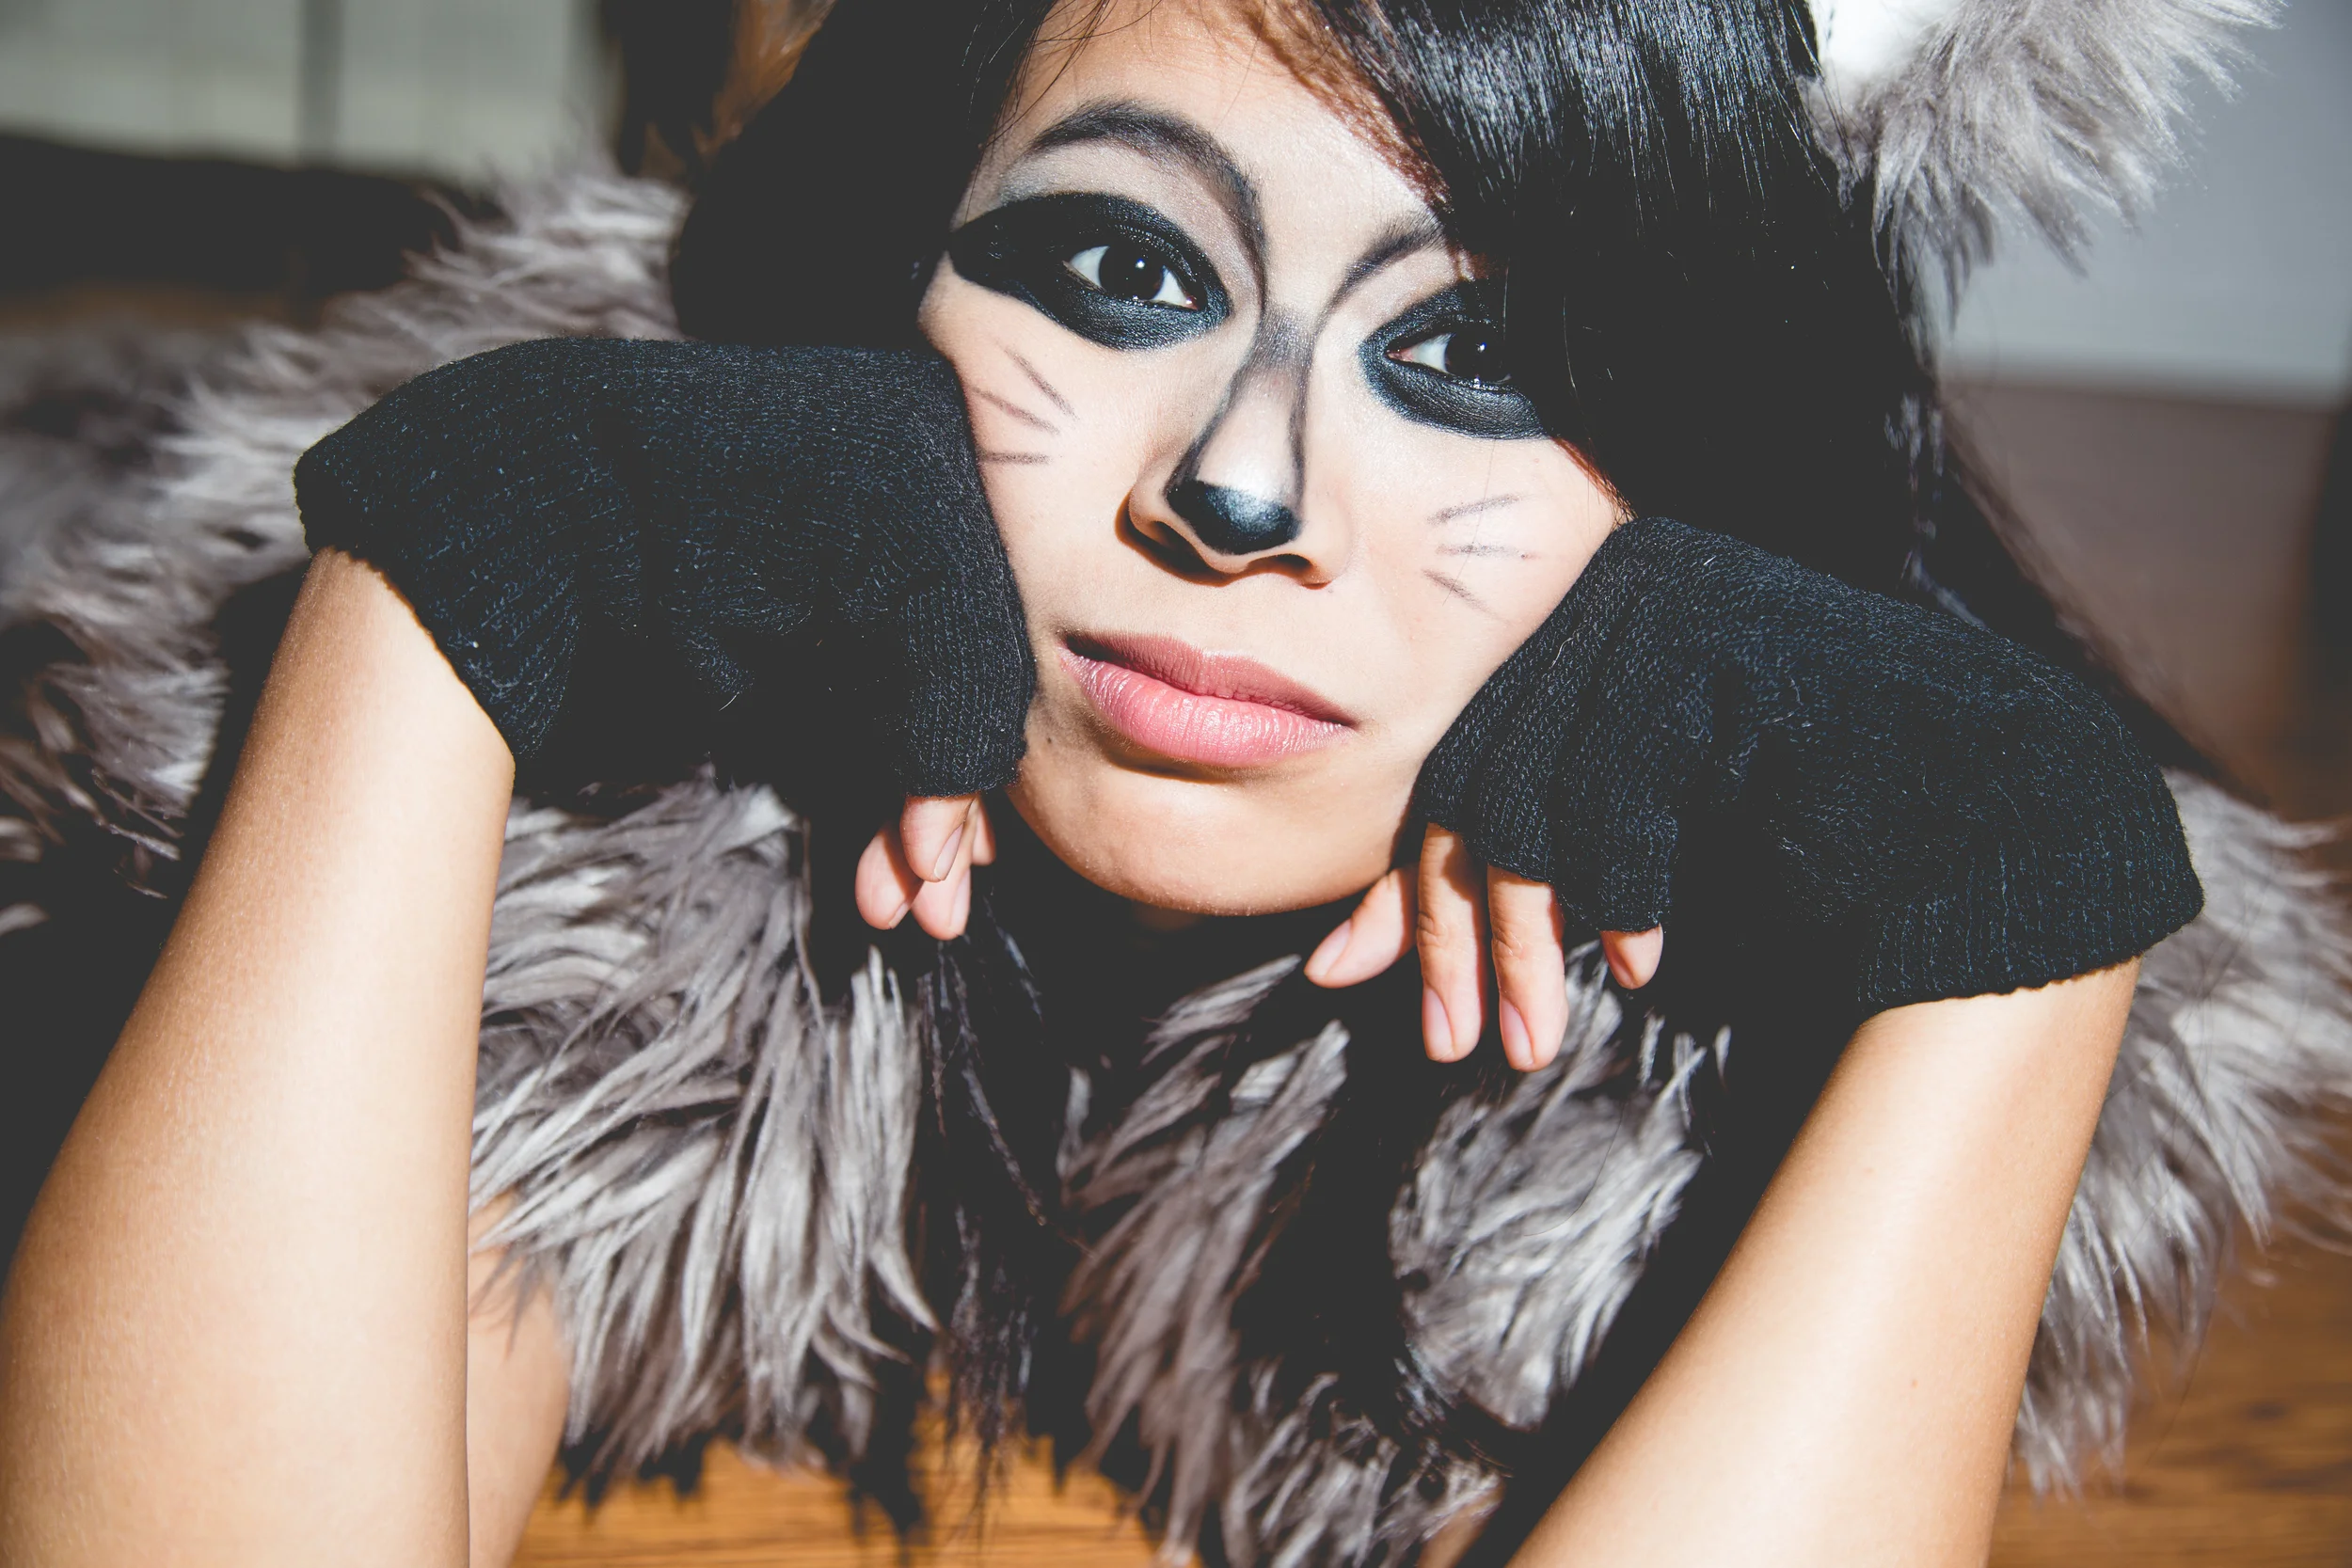
Make-up tidbit: seriously follow the contours of your face when outlining the your mask....you're more raccoon than you think. ;)
This halloween was a special. It was the first time I got to give out candy to kids, and also my first time making my own costume! In the past I would either buy one, or piece together random stuff from my closet and give my outfit a name.
So what drove me to this?
1.) I'm poor - gotta buckle down on unnecessary spending to pay back my student loans.
2.) I was given a costume challenge - the raccoon.
I googled raccoon costumes online, and the search results made me cringe. I was either going to look very frumpy or very cheap (bleh, not my style!), all while spending $60+ for something that is one-time wear. And lets be honest, we girls like to look good even when we're being ridiculous. So somehow I had to transform petite asian me into a cute sexy raccoon.
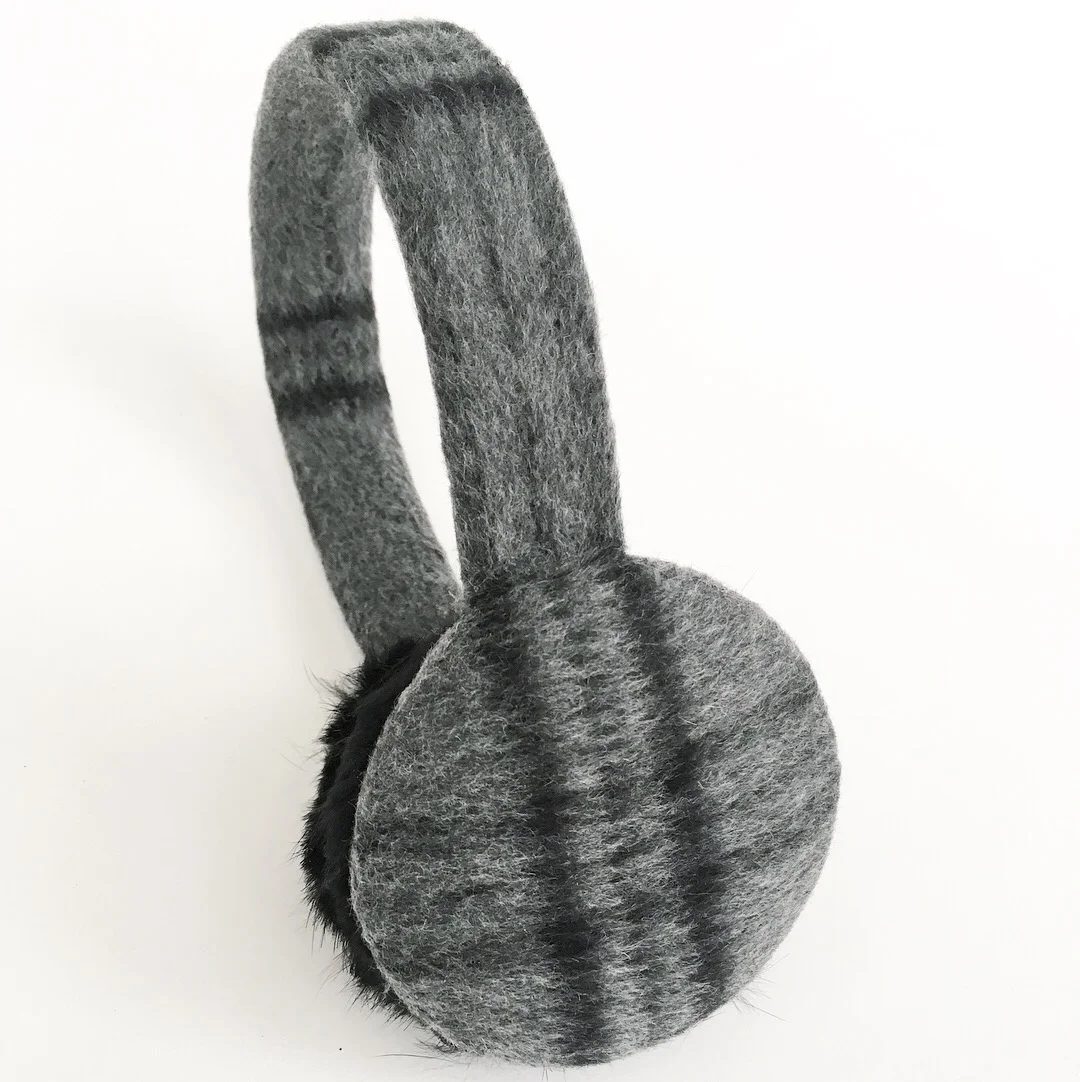
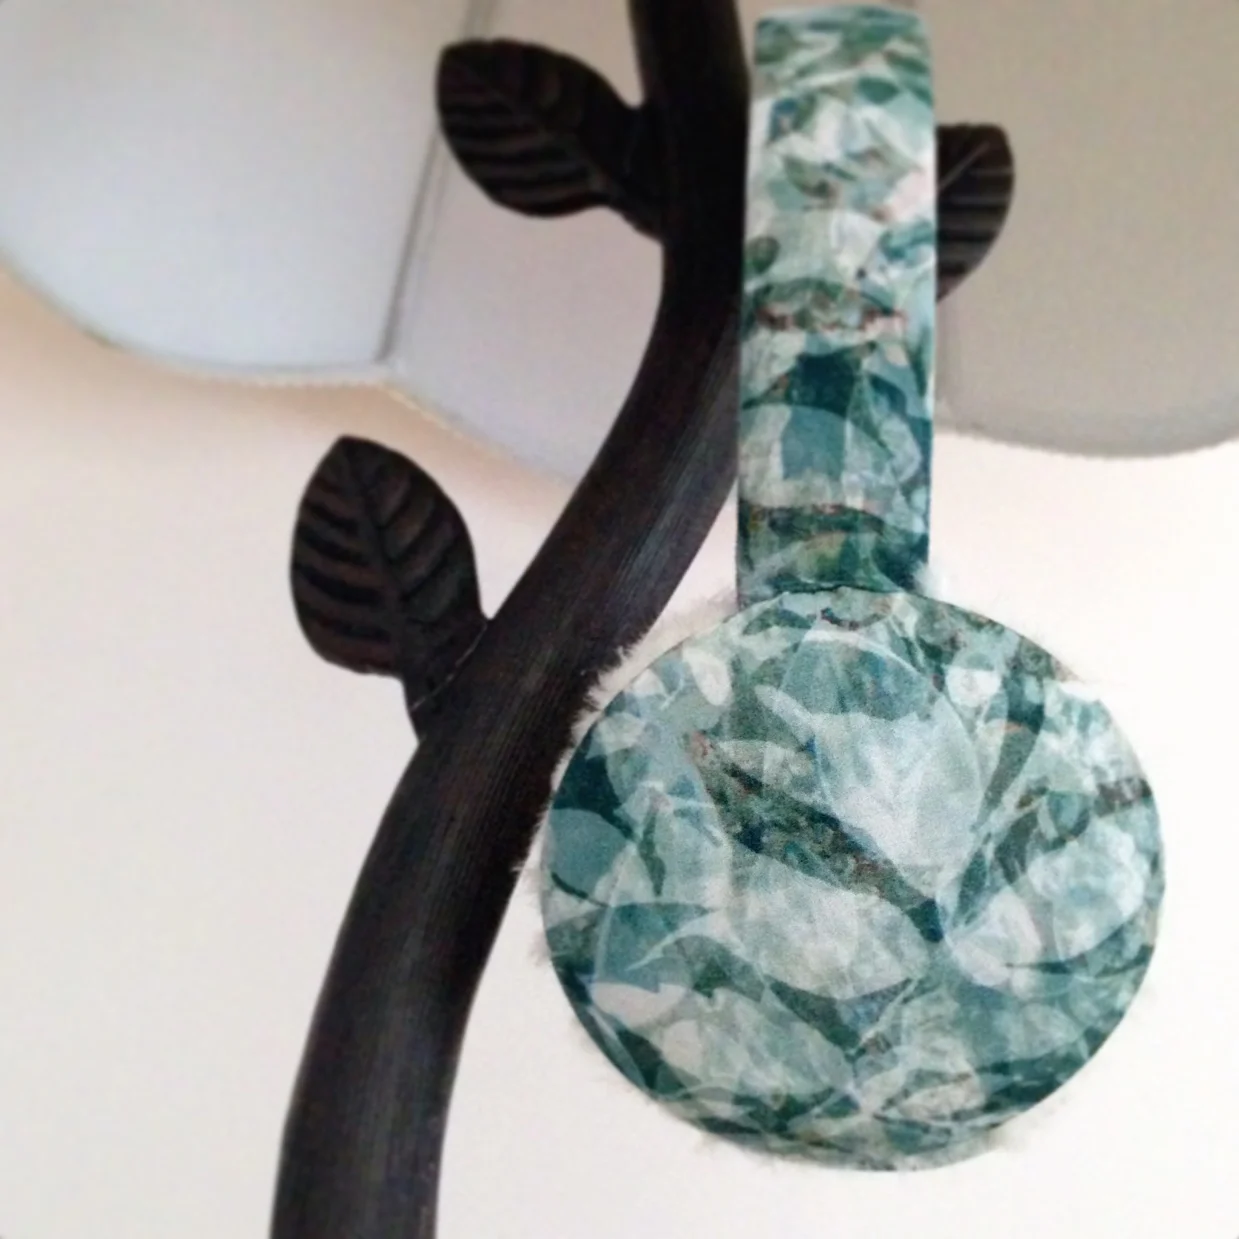
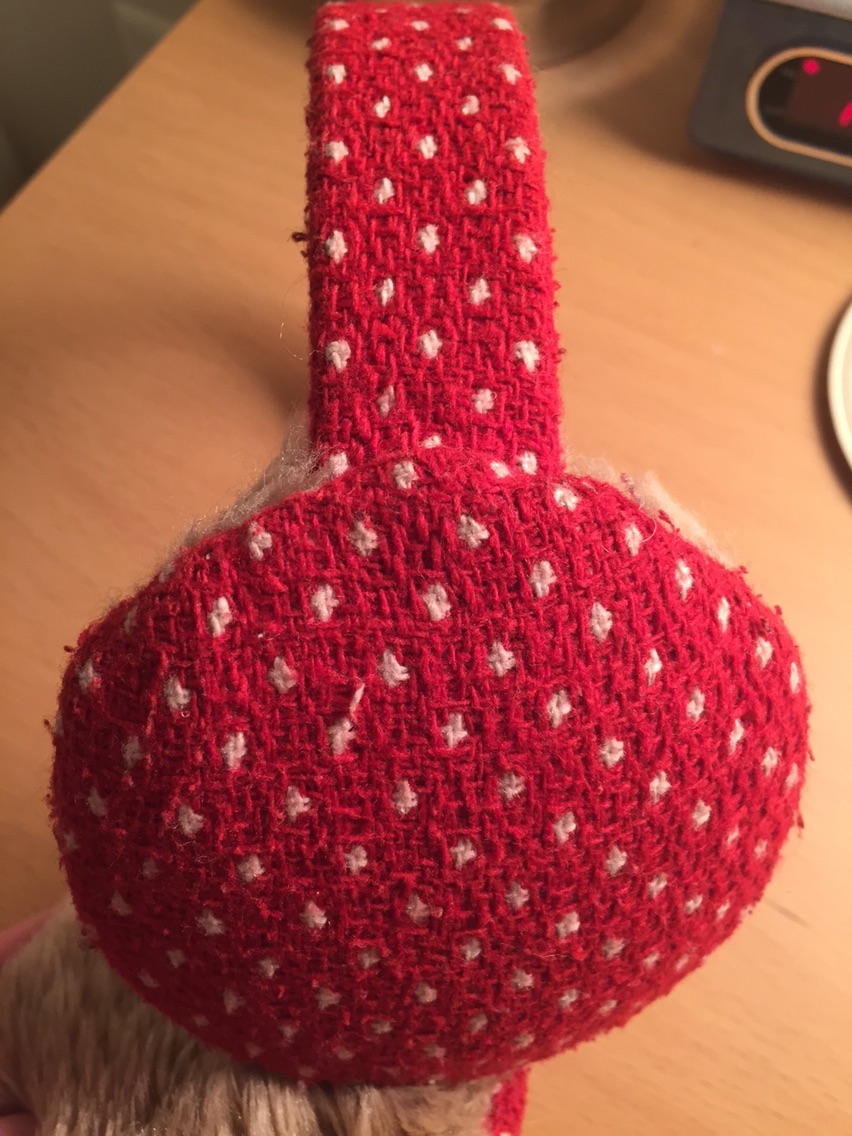
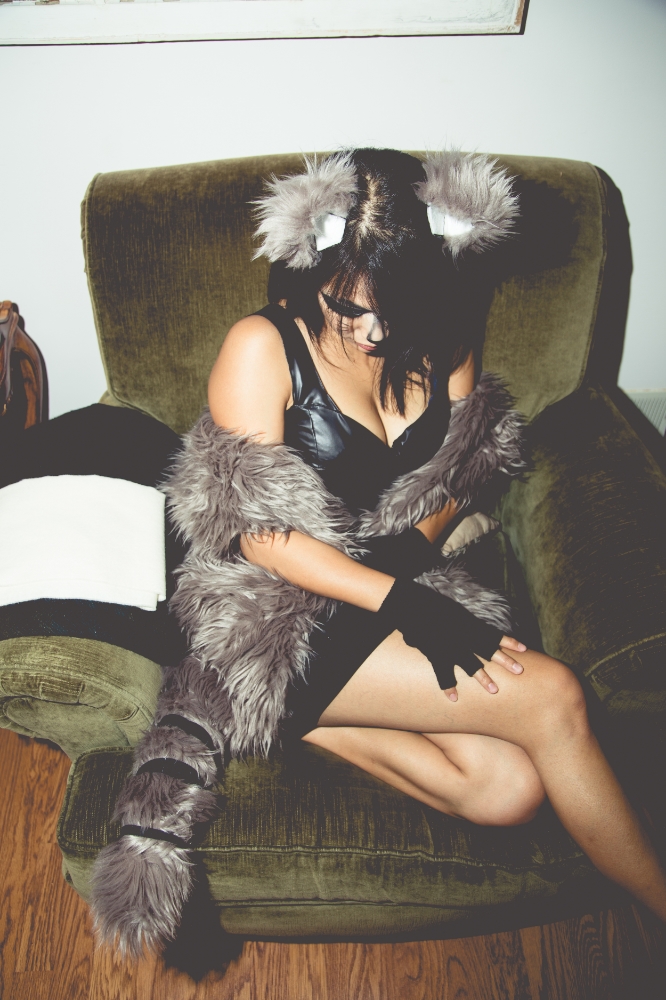
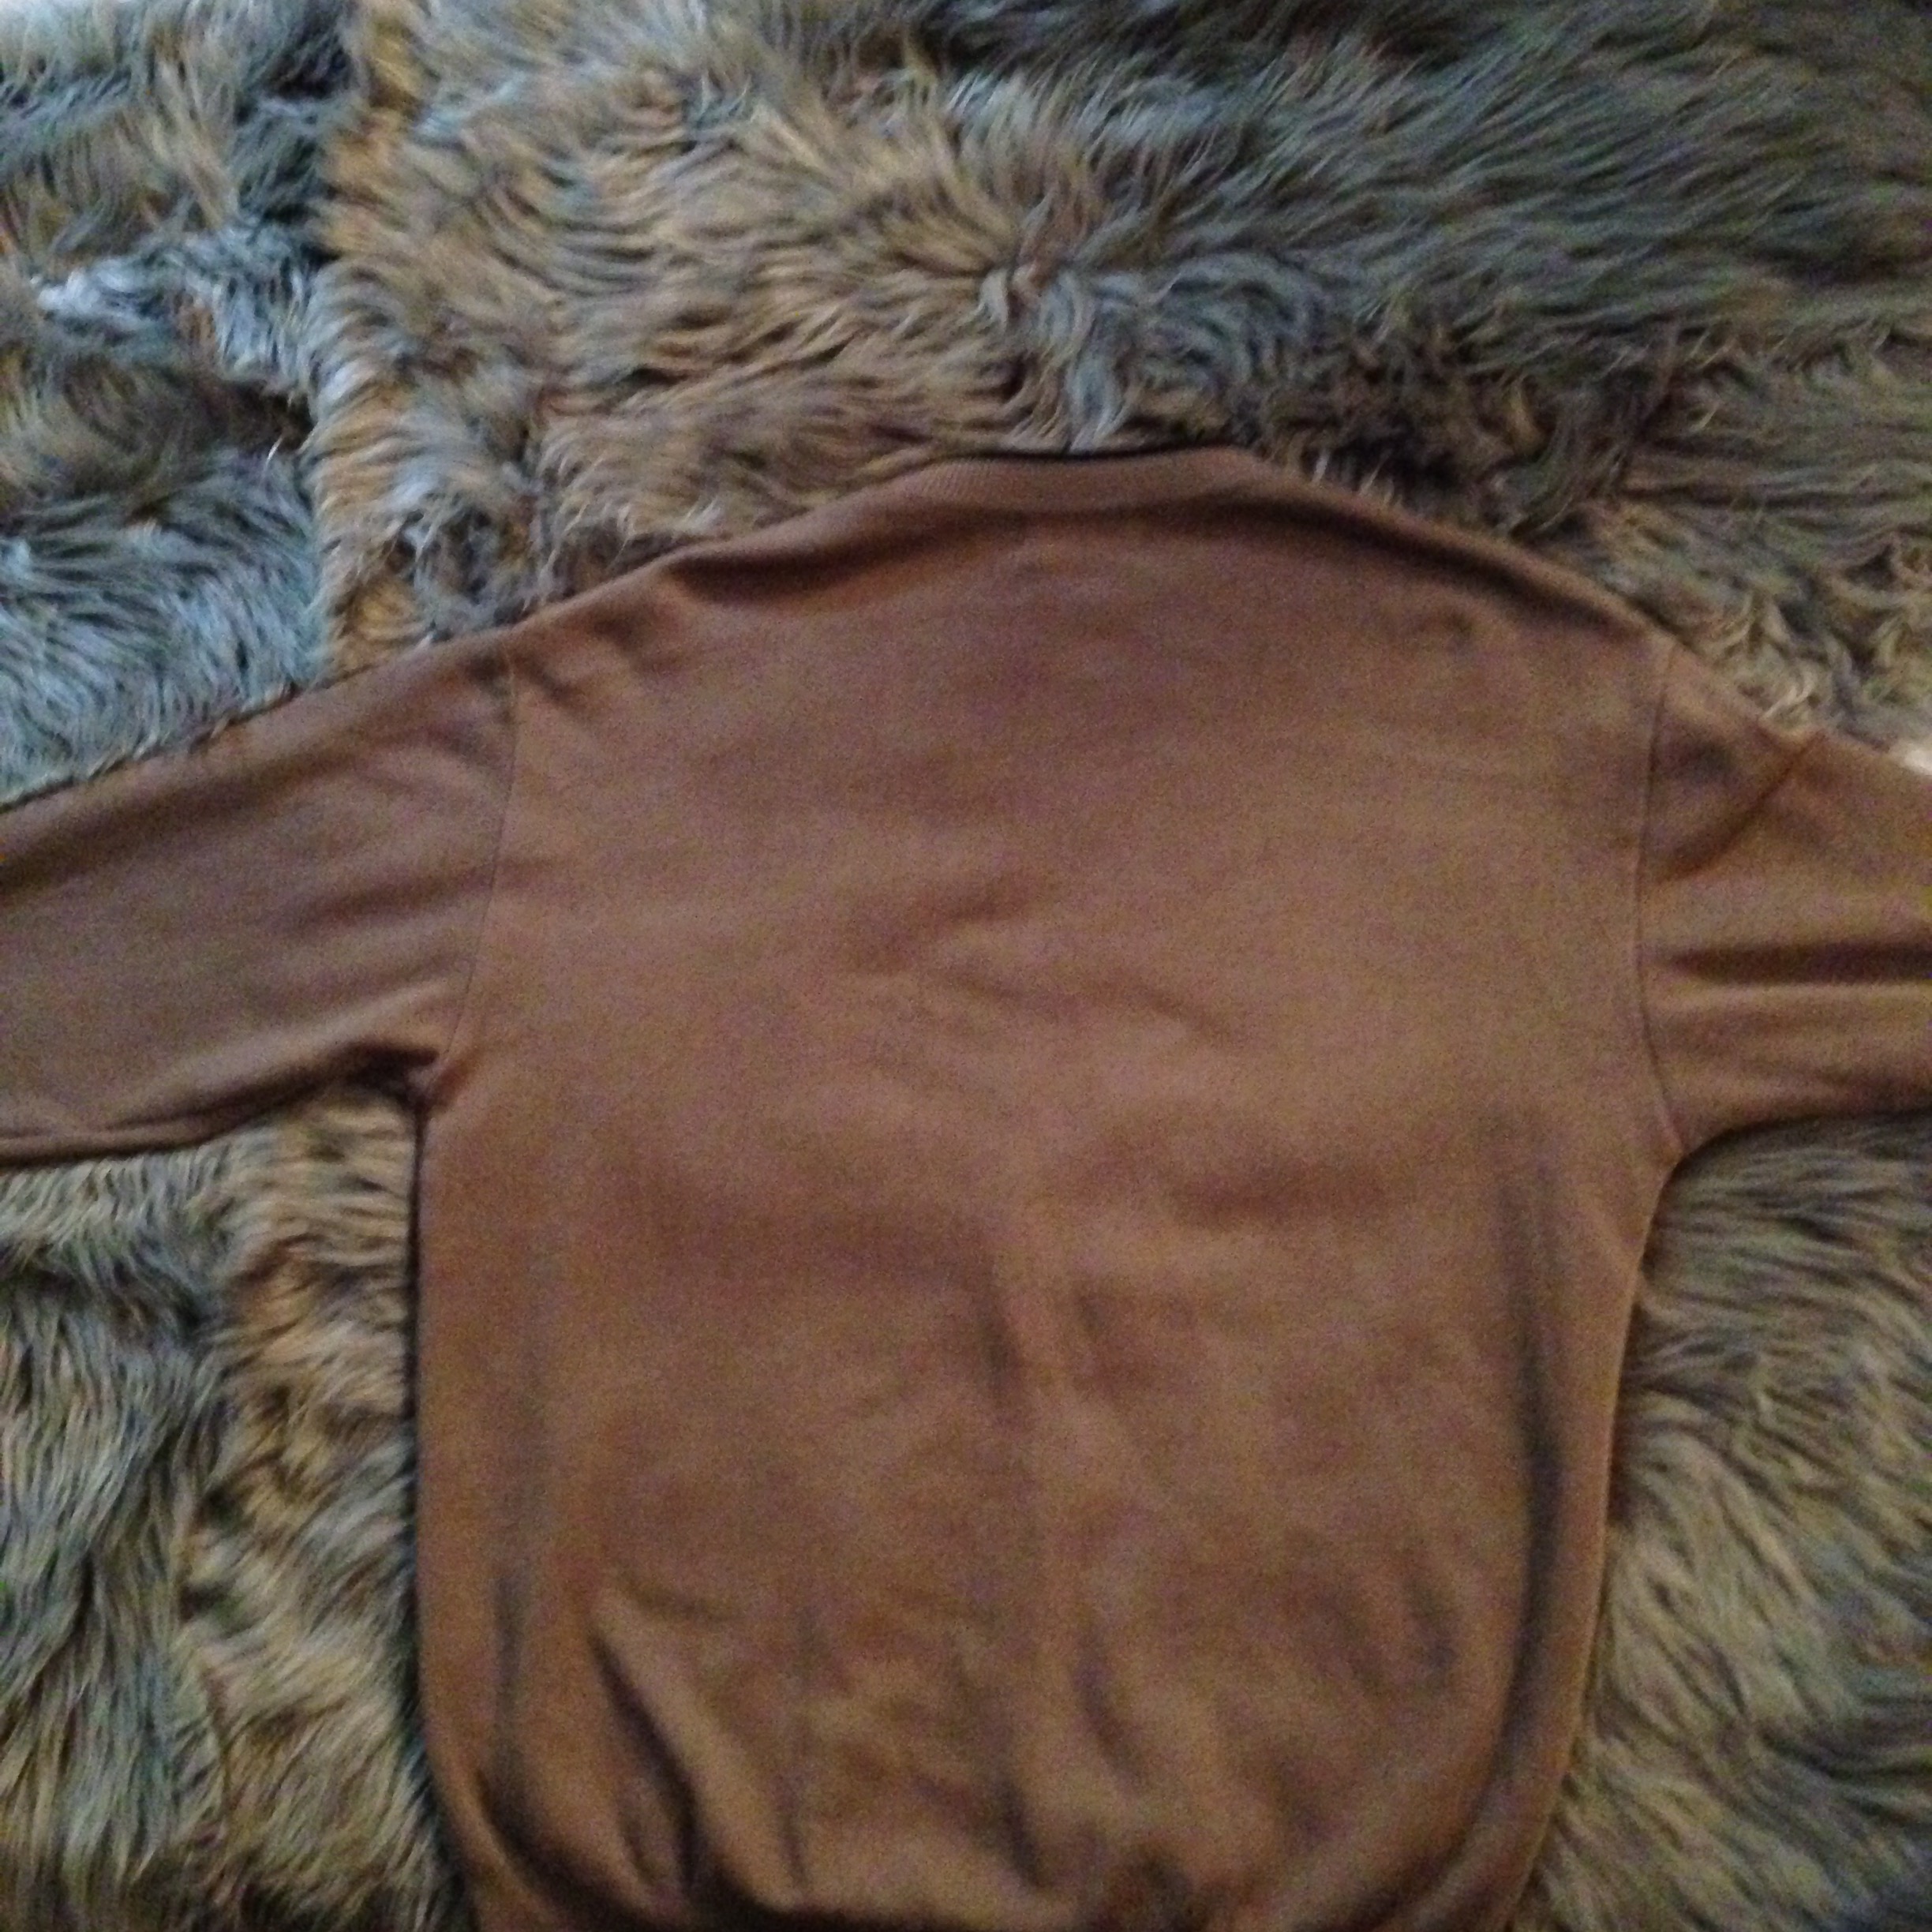
I set out to design a costume with clothes I can easily reuse, and had an idea of a draped faux fur vest and a crop top with a sweetheart neckline. I came across Coolirpa's tutorial for the sweetheart top, and made one quickly out of this stretchy black lyrca fabric that I retired from one of my earmuff designs. This worked out perfectly: I recycled trash material, already channeling the spirit of the raccoon. Some call this method-acting.
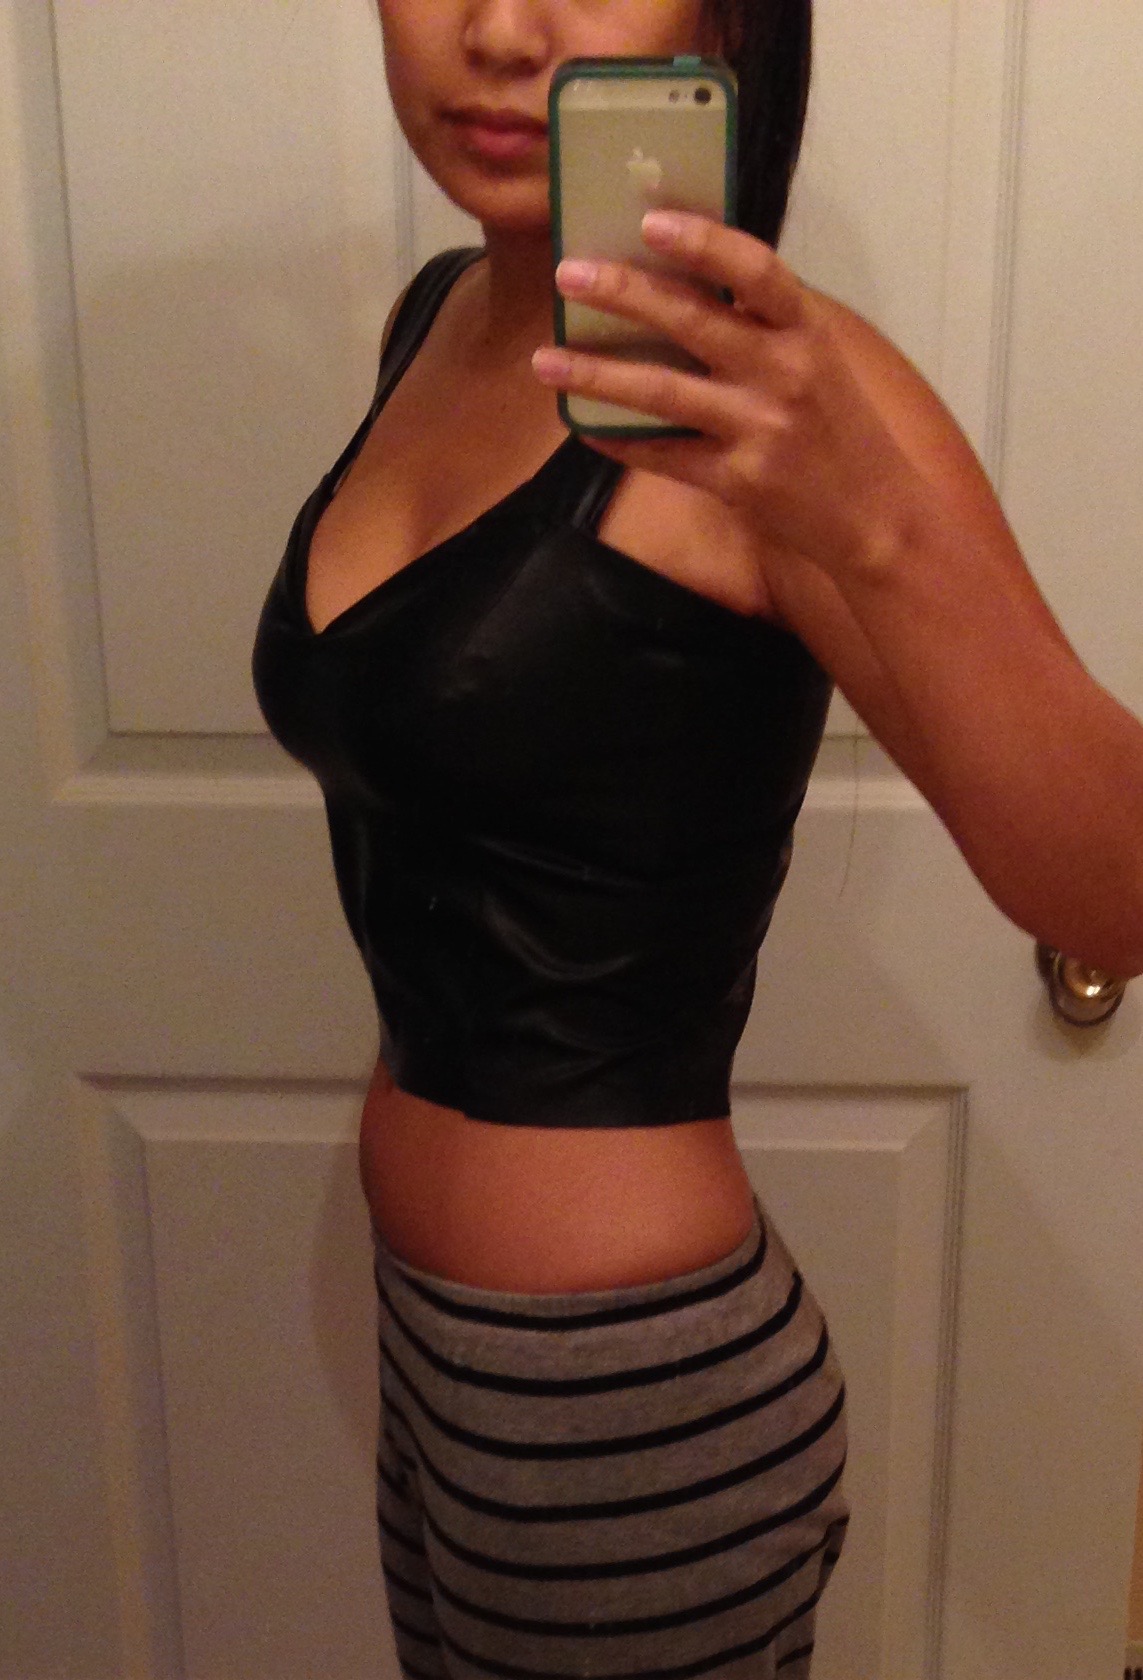
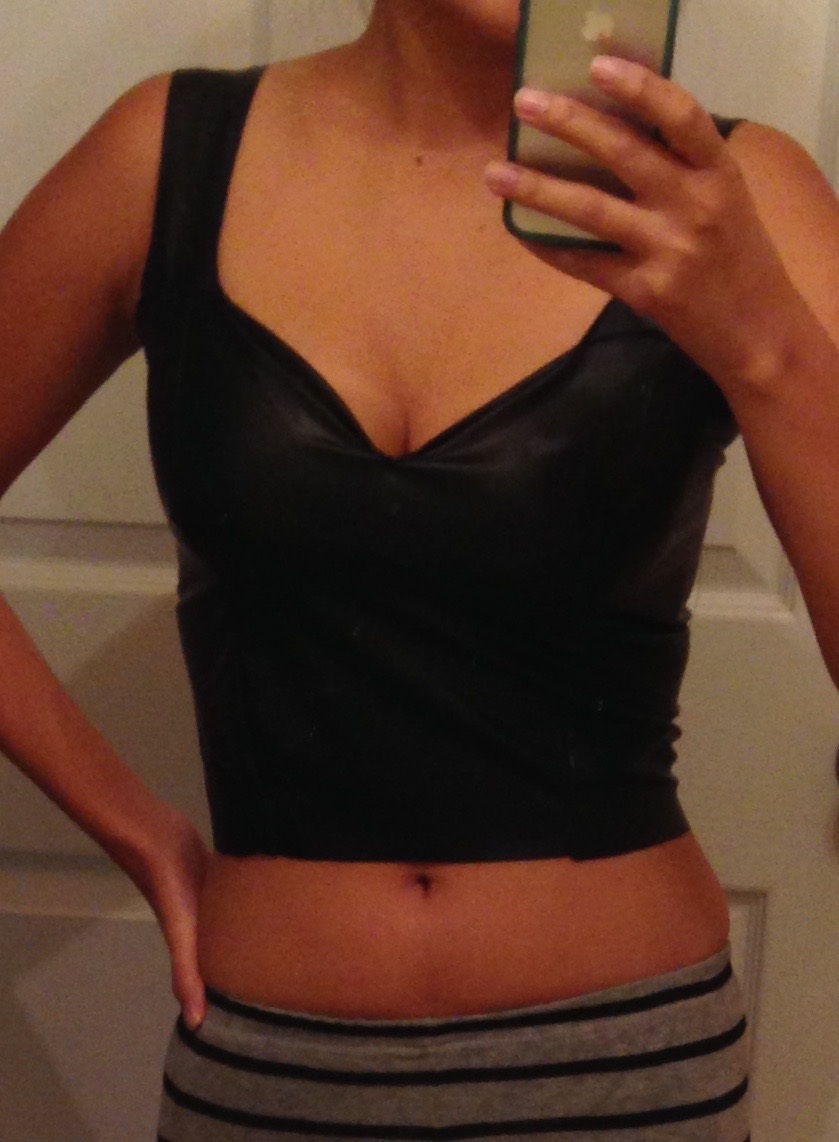
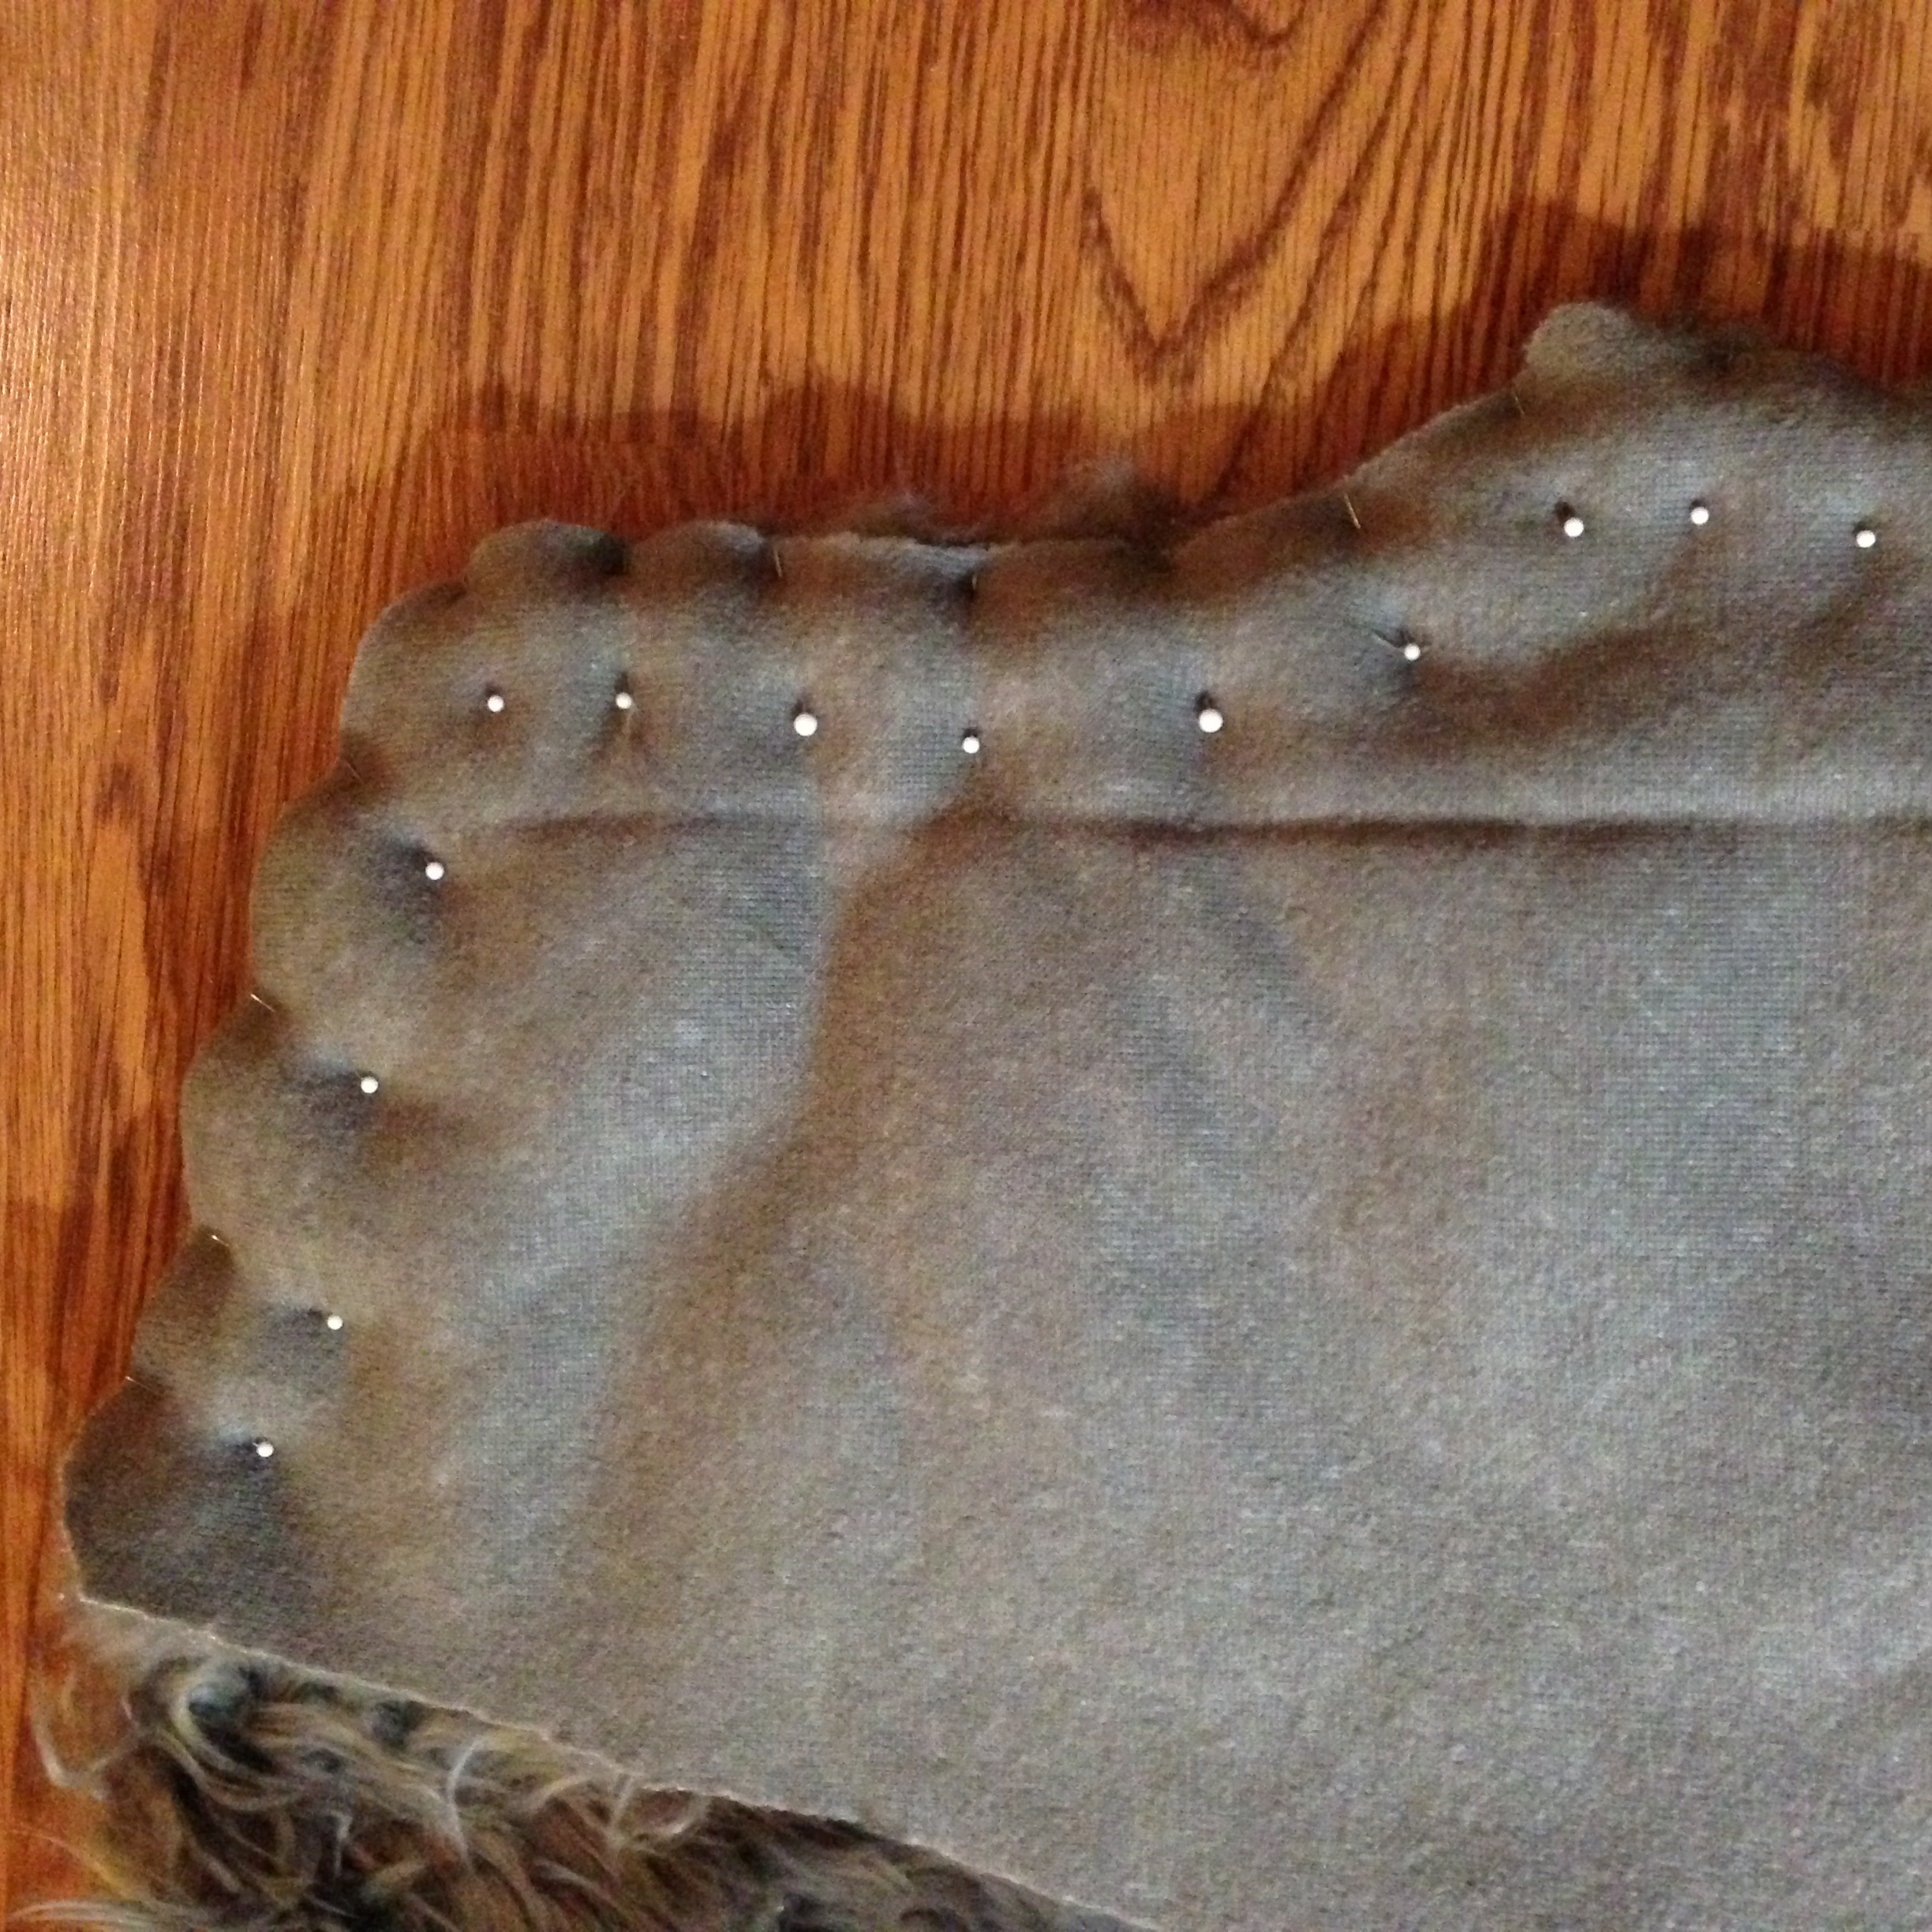
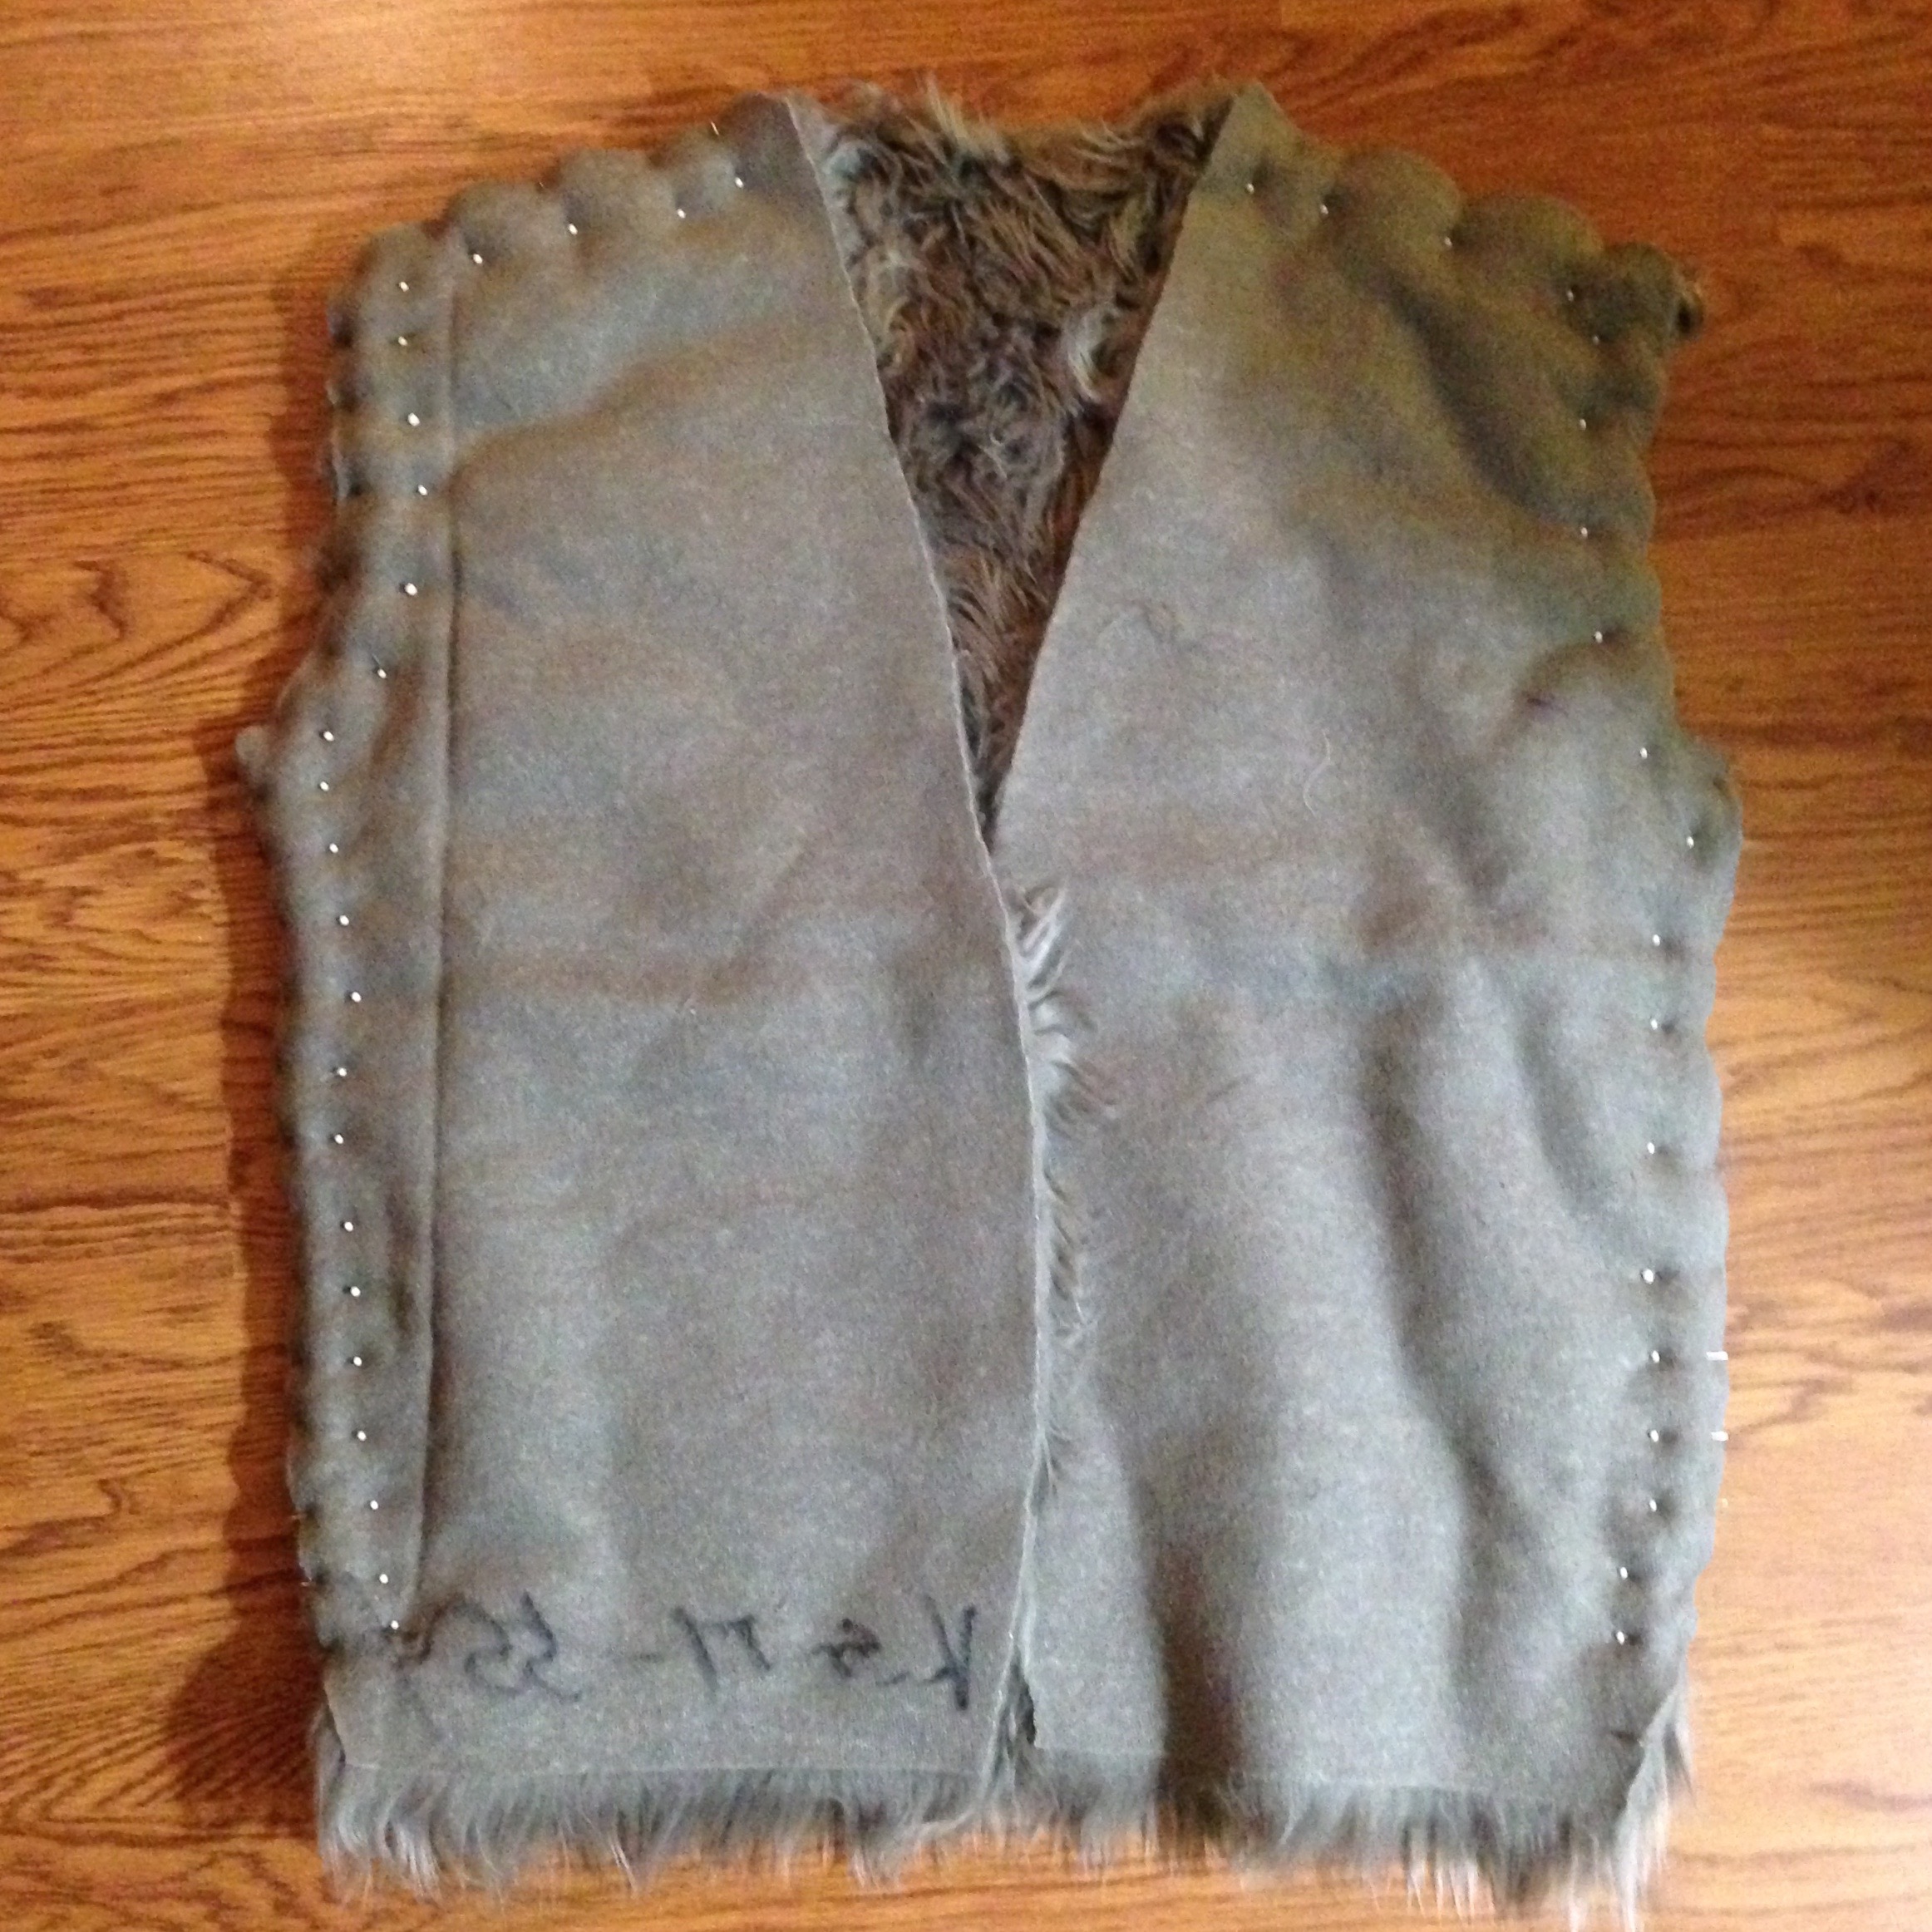
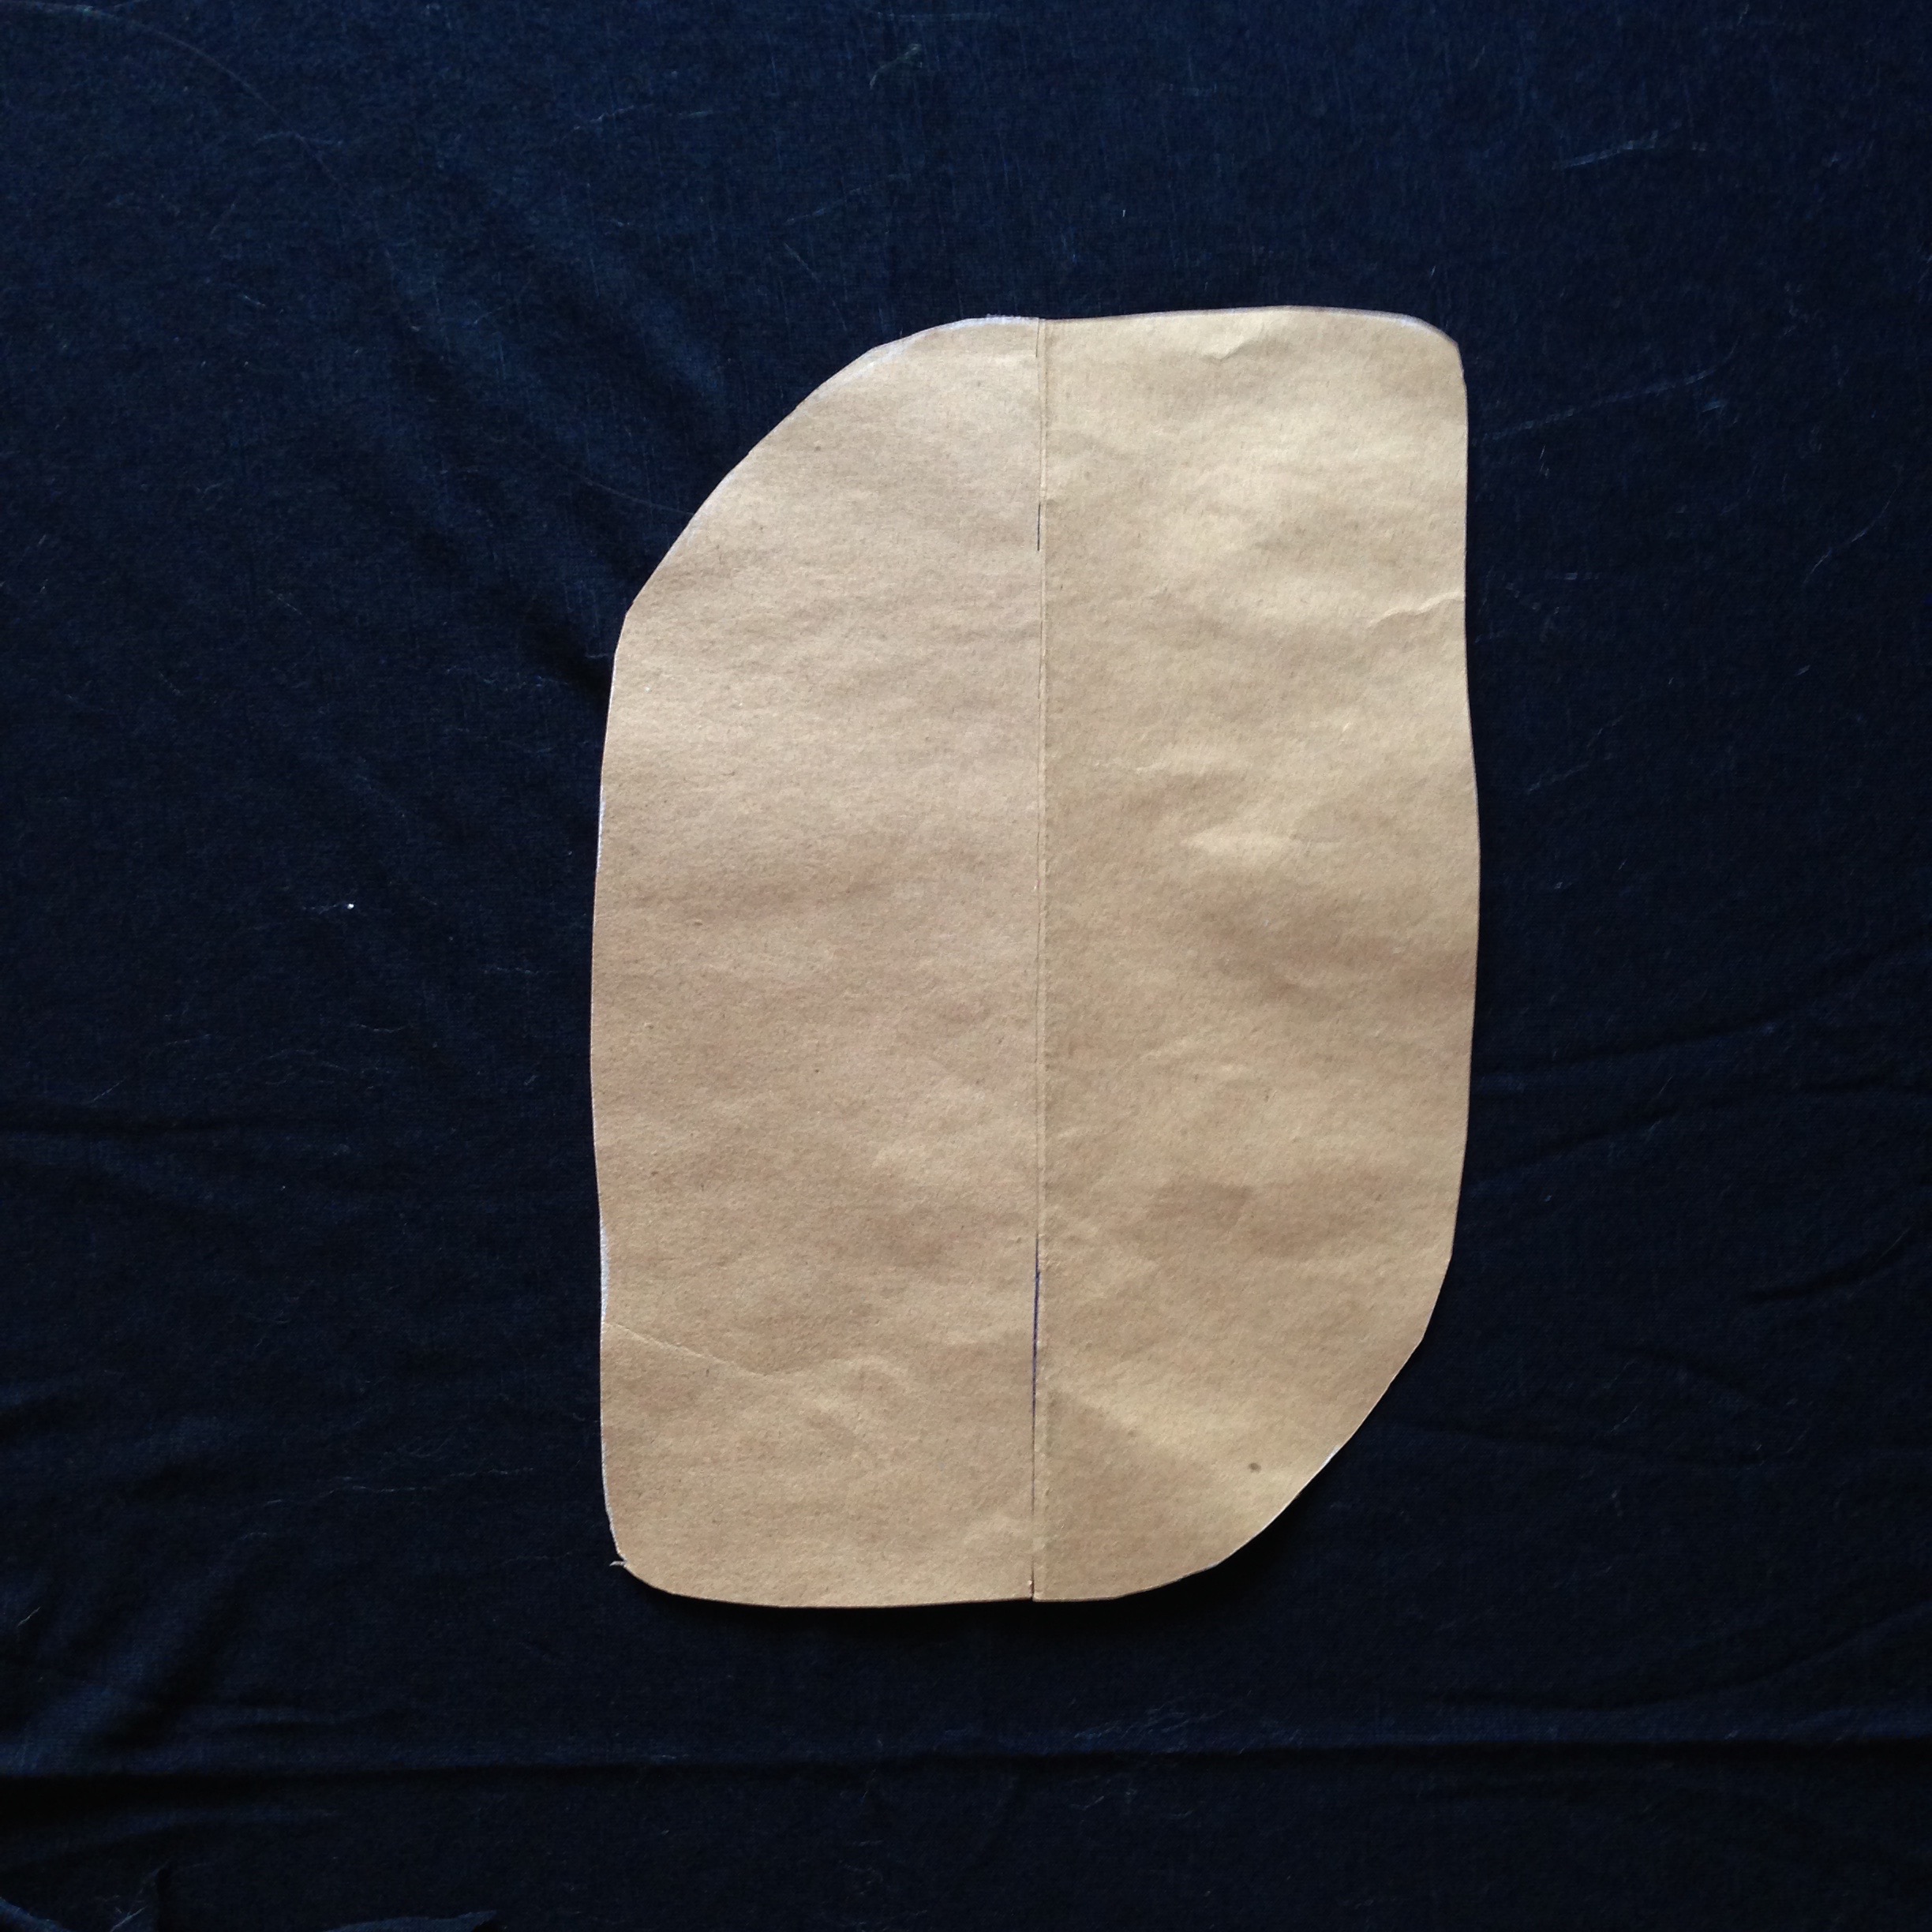
Then I went shopping at Nordstrom, the vests were all in the $200 range, I took down notes at what they did for material, lining and pockets versus what I was looking for. Then I went straight to the fabric warehouse and picked up the softest gray faux fur I could find($20/yd) and some black jersey knit($2/yd). I traced the individual pieces of my favorite cardigan on the the back of the faux fur and jersey knit. I picked that particular vintage Ralph Lauren cardigan because its big and drapey, but still shaped well to the outline of my body by cinching in all the right place. I was not a fan of the boxy designs I saw at the stores.
Quick DIY summary:
- Cut and sew together faux fur pieces(3)
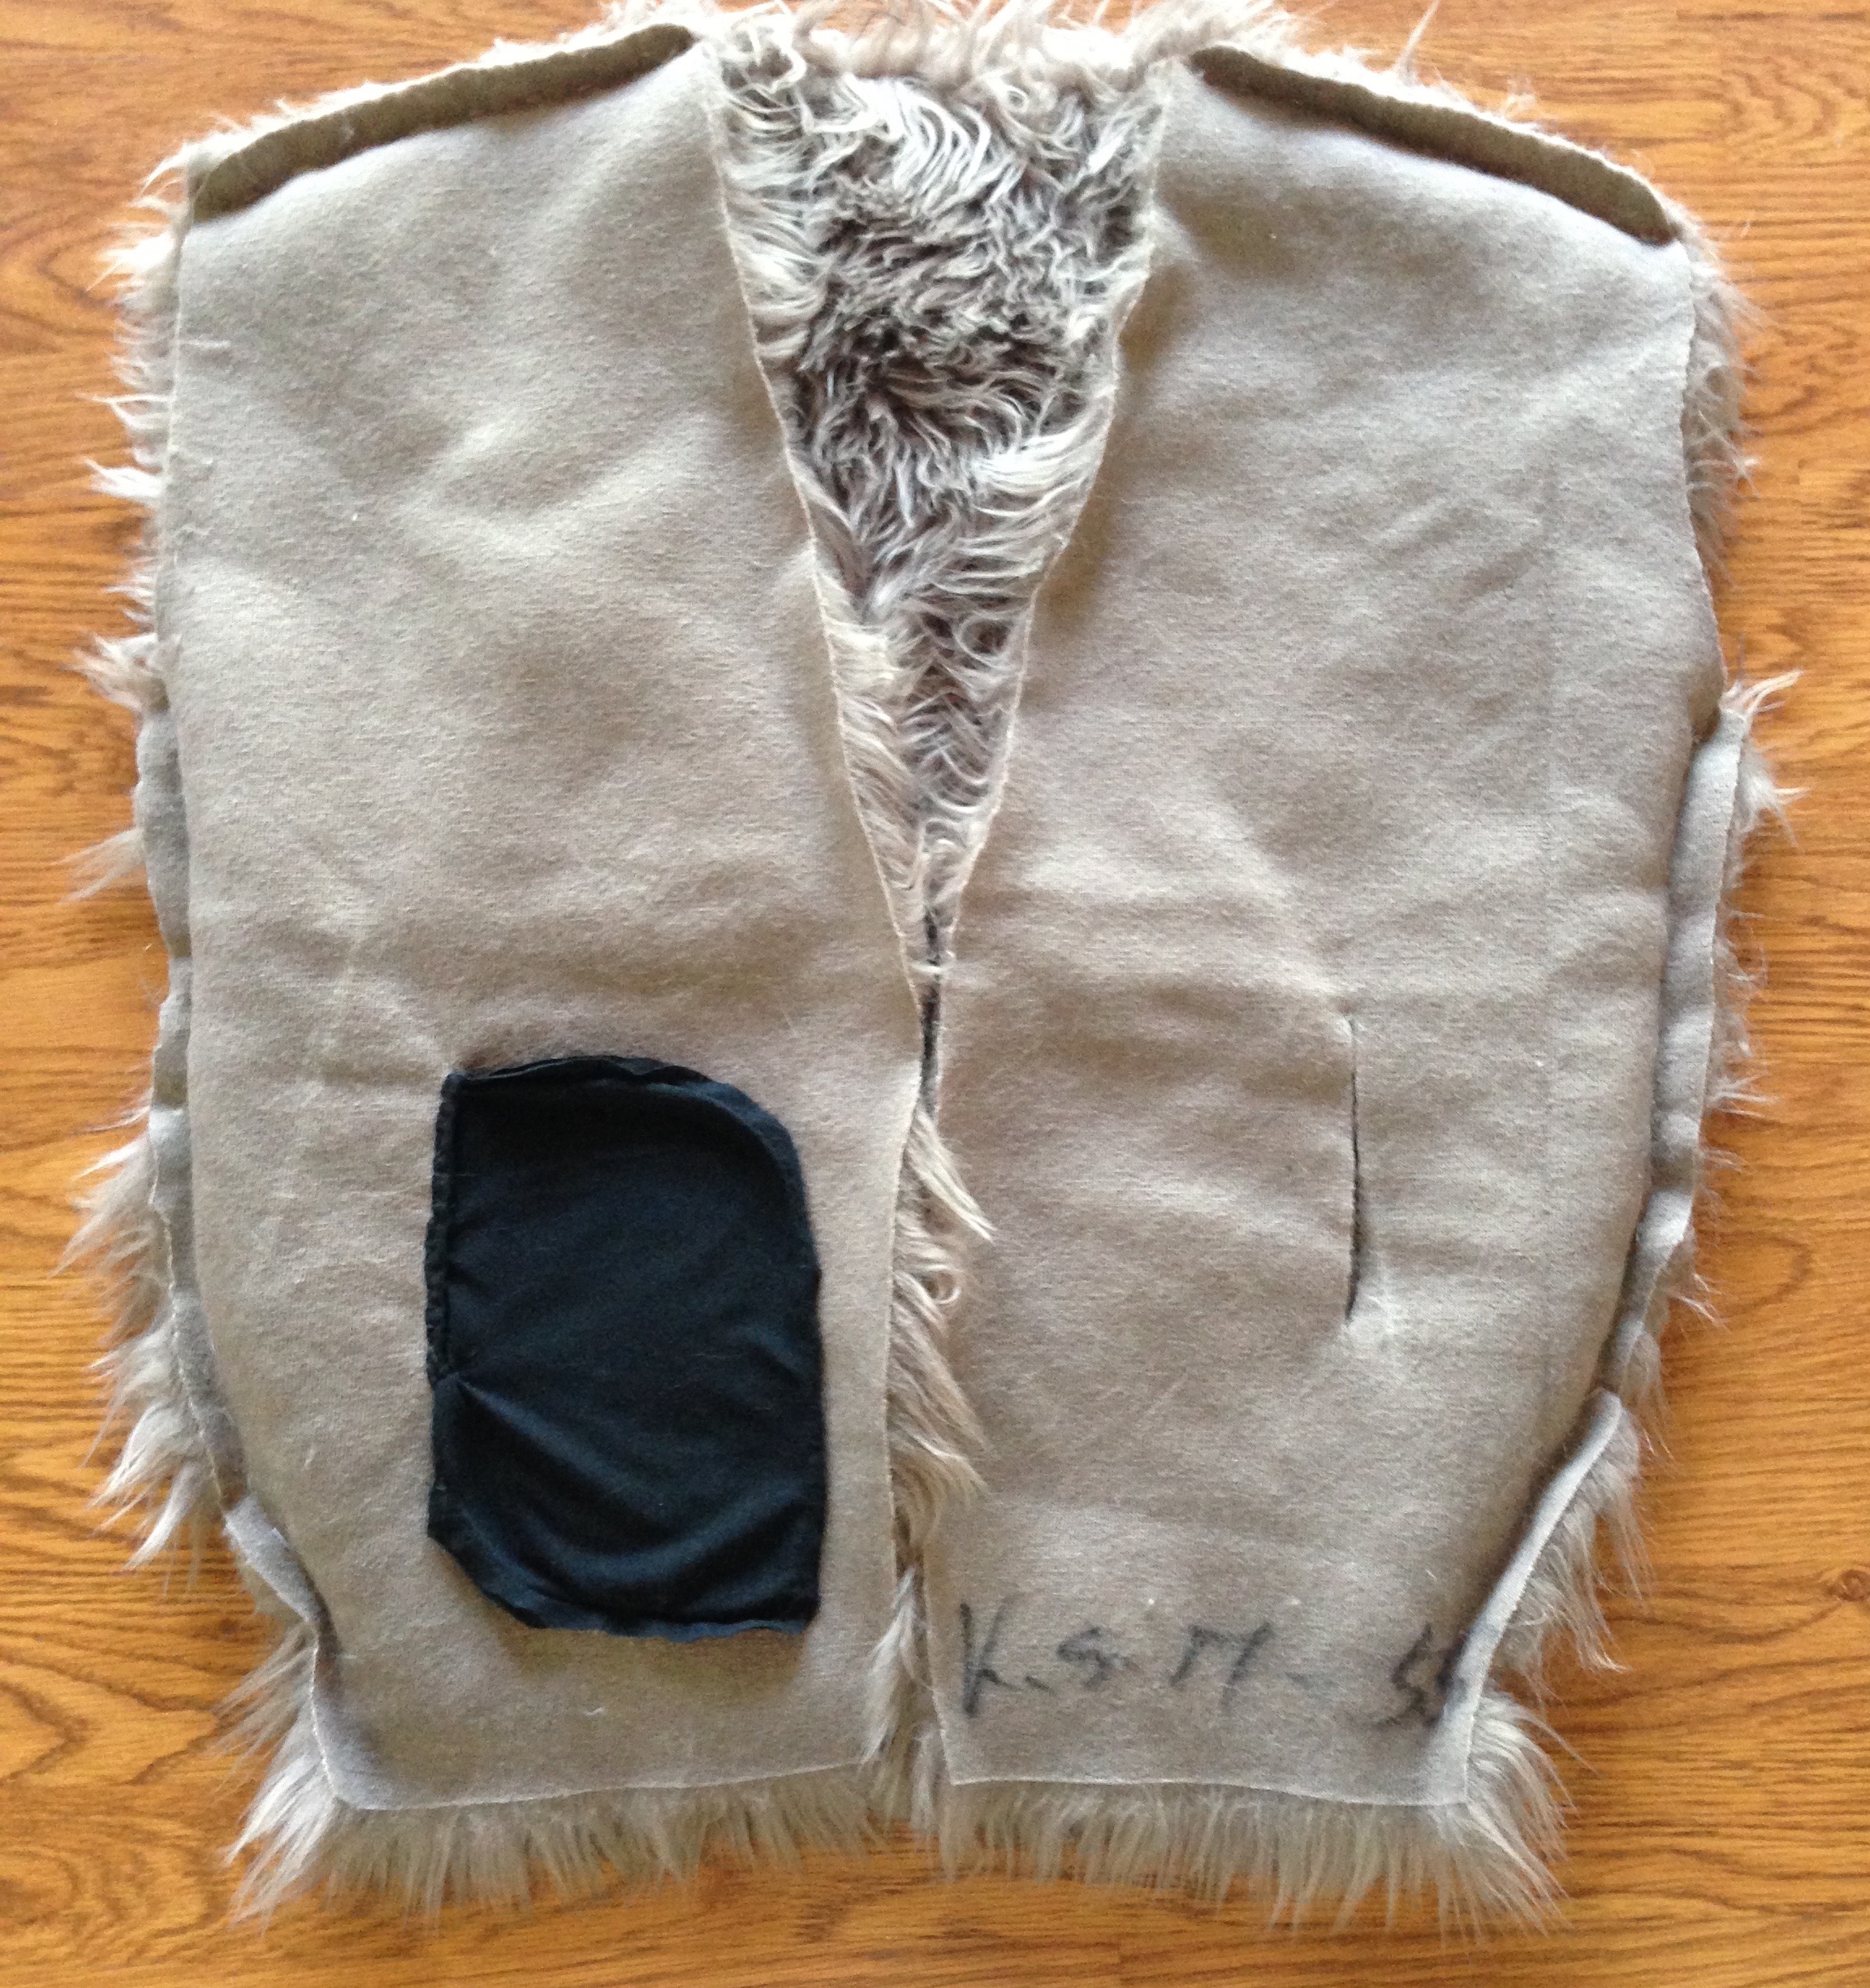
- Put on in-process vest and decide what's a comfortable pocket location. Pin it, reverse it and cut out pocket slits.
- Make pockets. (I simulated the pockets from a trench coat I got in Japan because the size and location of the pocket fit my arms better.)
- Hand sew on pocket.
- Sew together lining piece with fur vest. Make sure to hand sew armholes and bottom closure, the rest can be machine sewn.
I'm not an expert at DIY, but I'm happy with how this turned out. And being able to combine my favorite elements of the clothes I already have, makes this the comfiest outerwear I have now. Typically jersey knit is not what people use for clothing lining, but I chose it since I wanted to wear this out into the cold, and like to still have the comfy feel of my bedsheets hugging me everywhere I go. :P
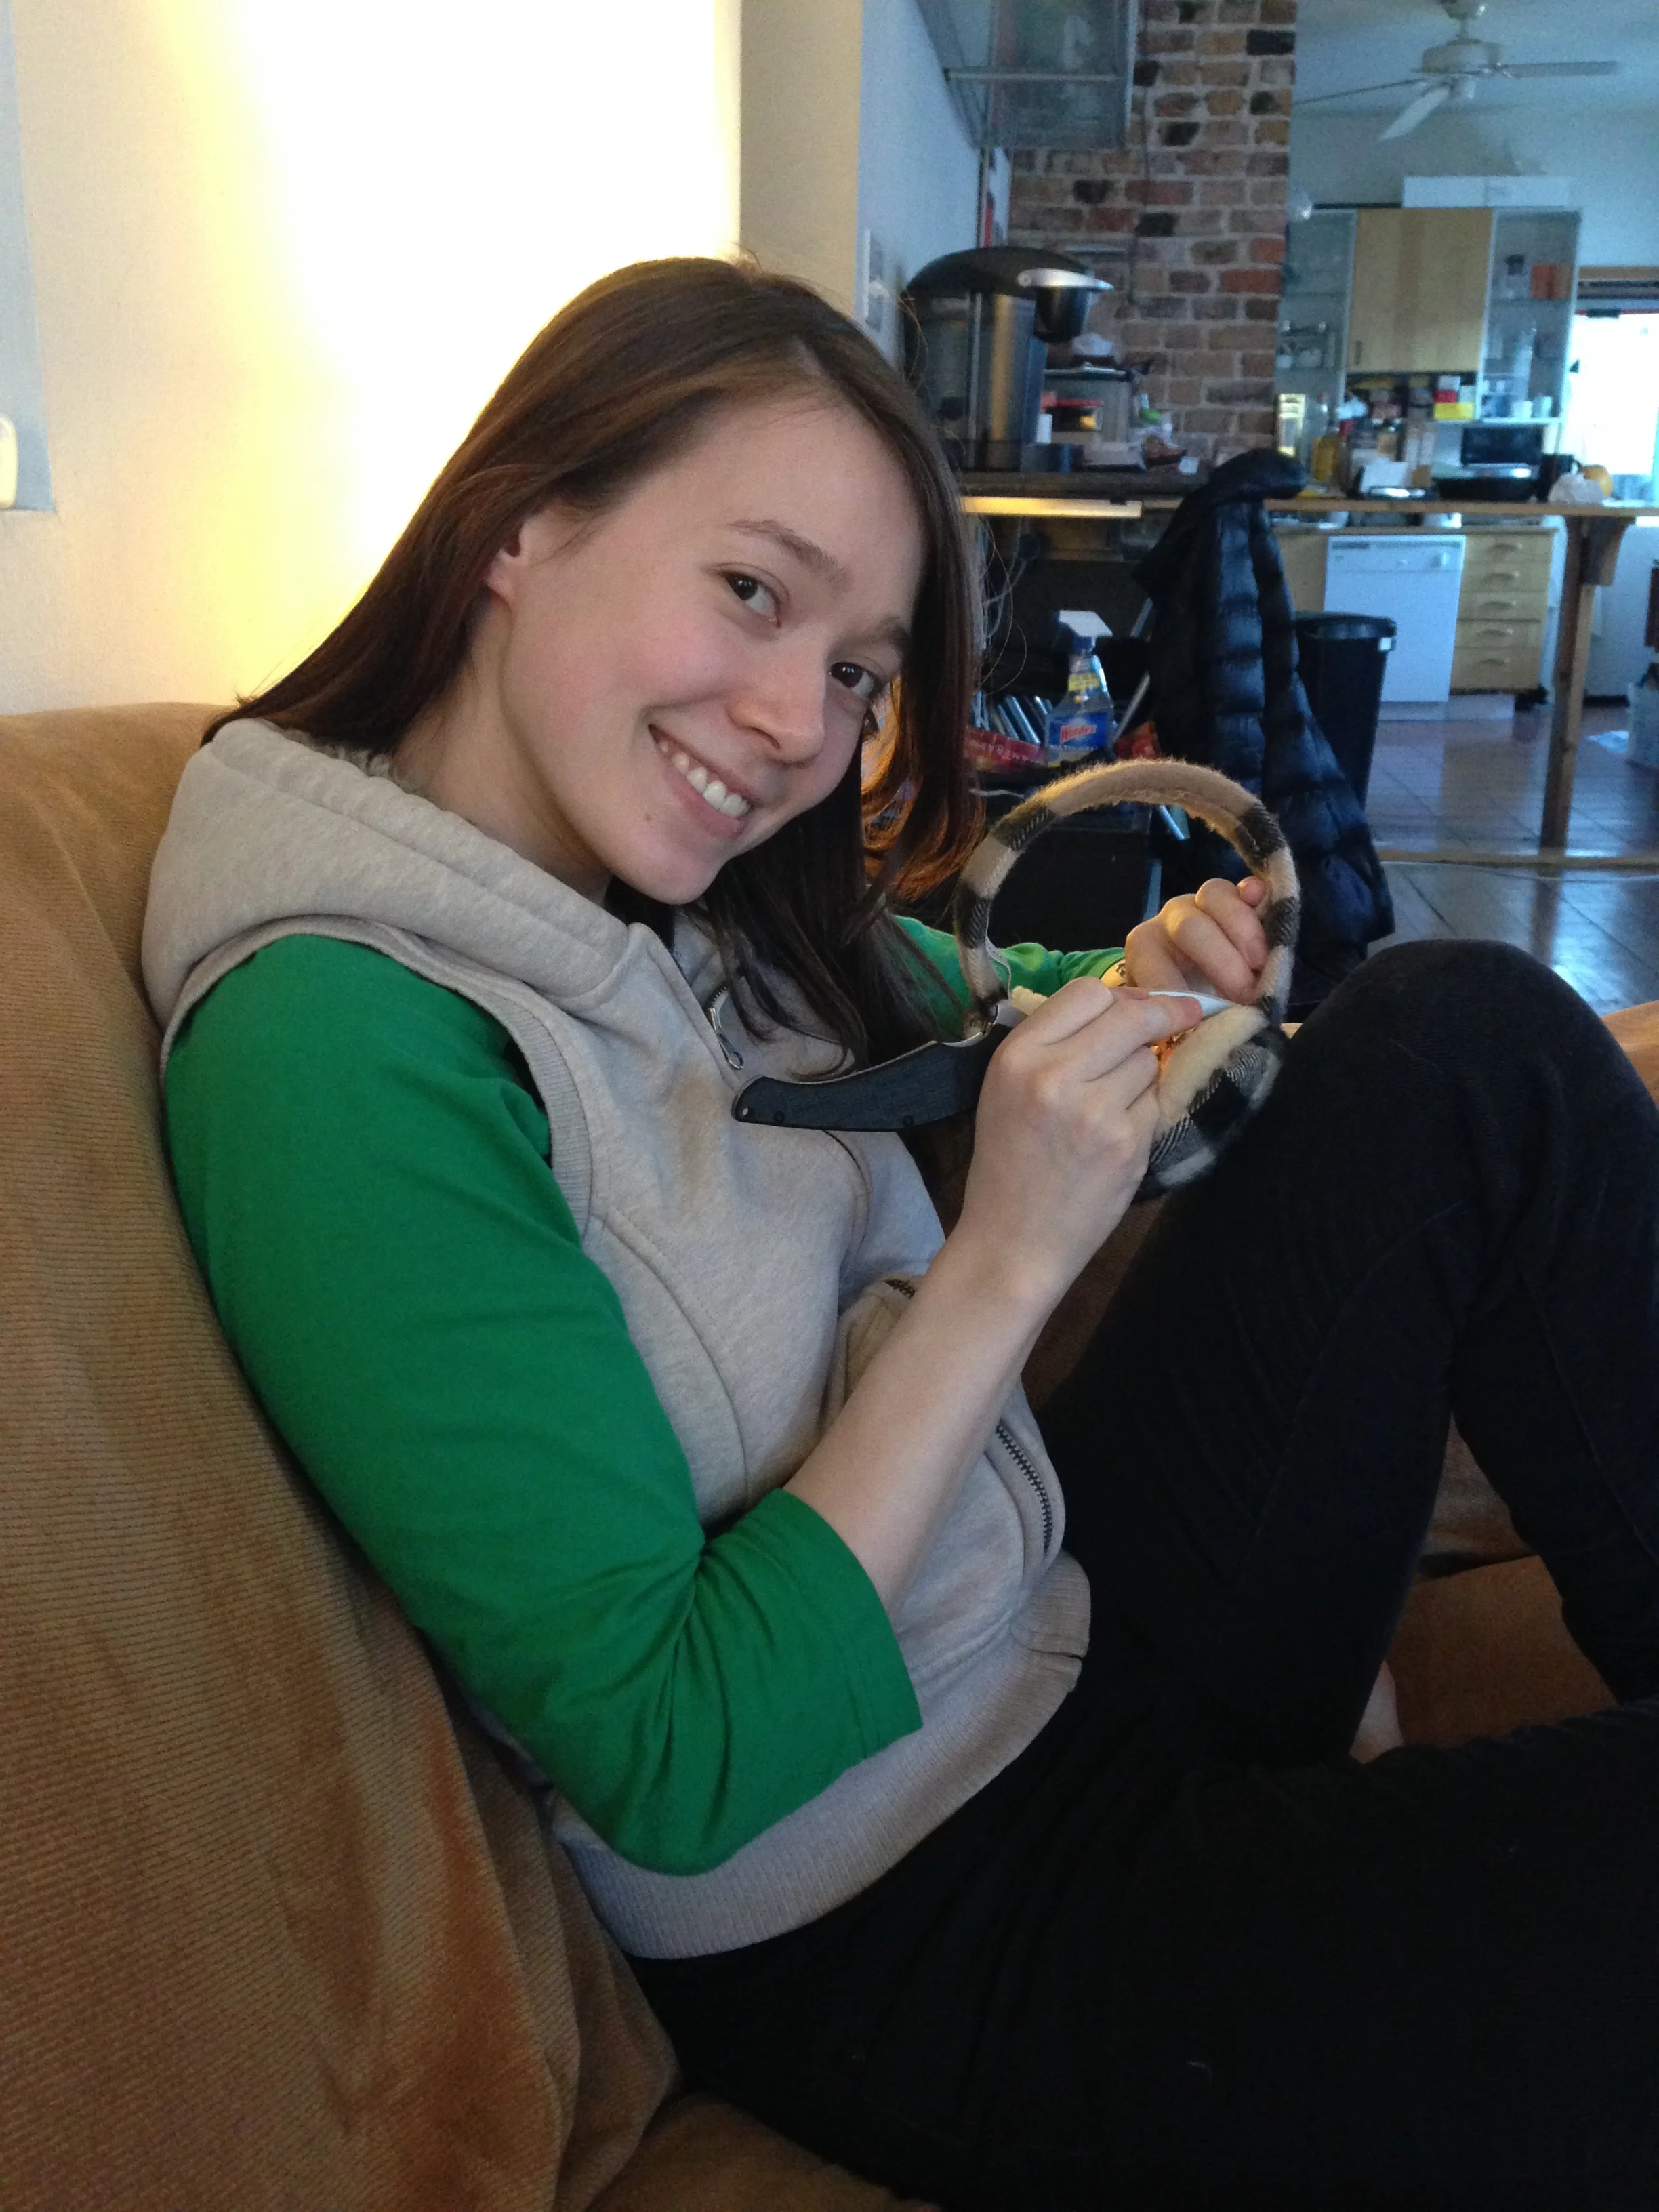
For animal ear tutorial, please see here.
Tail wasn't anything fancy, use scrap faux fur(from the vest fabric) + polyfil, and wrapped the black fabric on. For a more realistic effect I'd suggest looking into painting black stripes onto the fur instead.

Raccoon Out!