


FAQ: Why cows? 🤔
Seeing that cows aren't exactly the animals people associate with luxury or cuteness that's a very fair question!
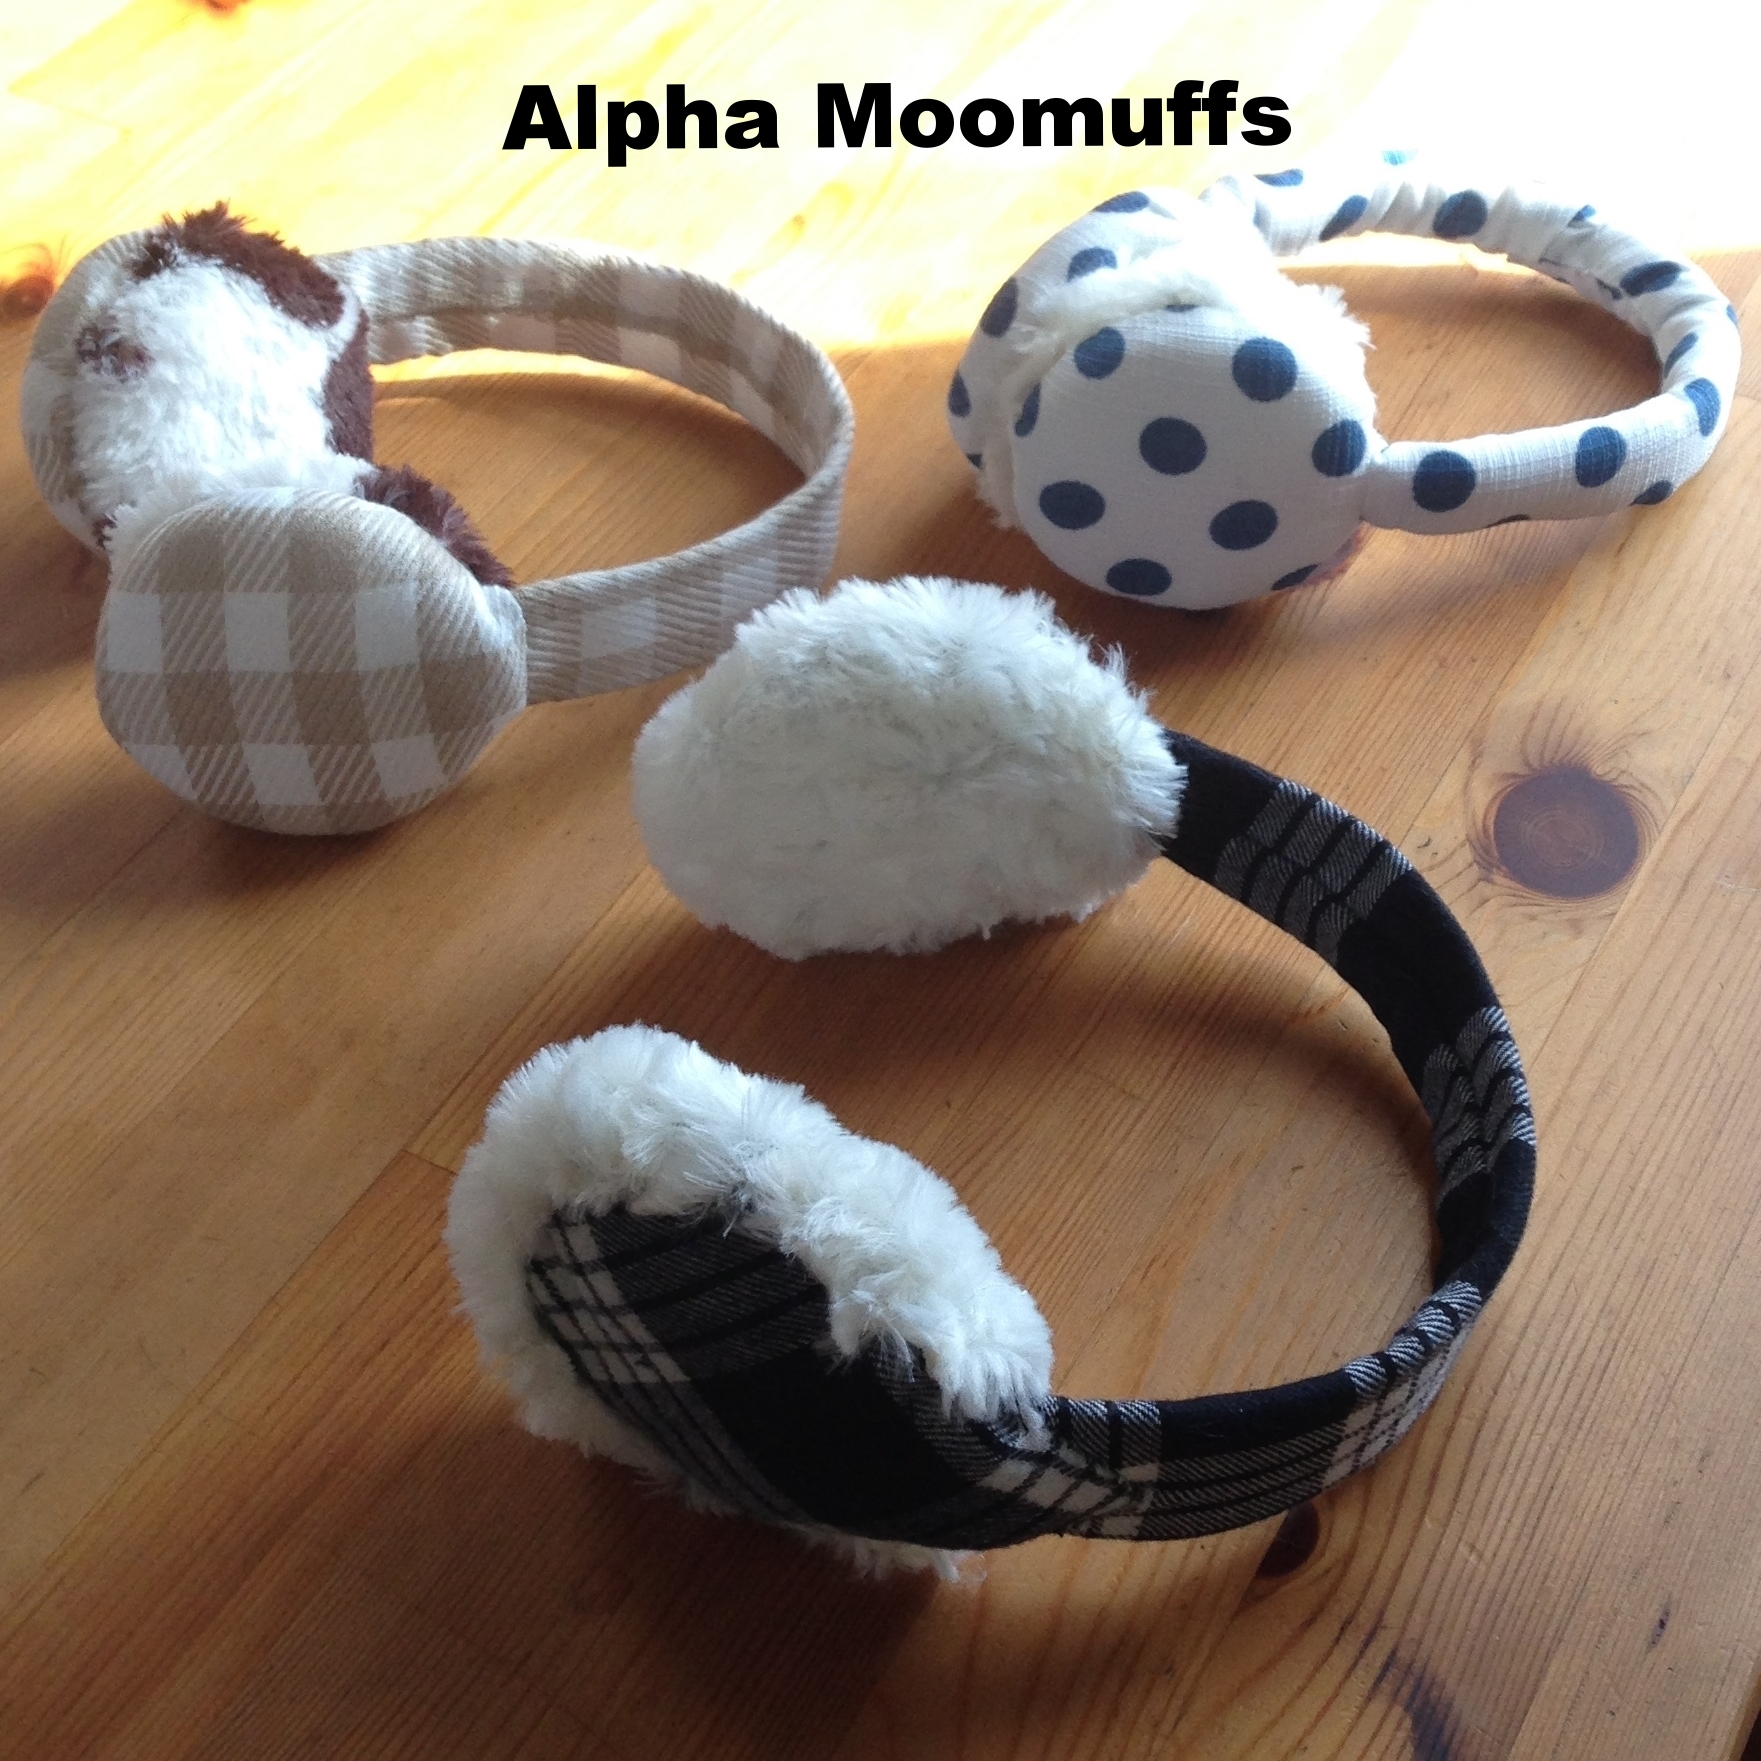
When I first started this project, I was mainly making earmuffs to fit my style and wardrobe. Seeing that this brand was a reflection of me, I had to pick something near and dear to me, the moo moos 🐄🐄🐄!!
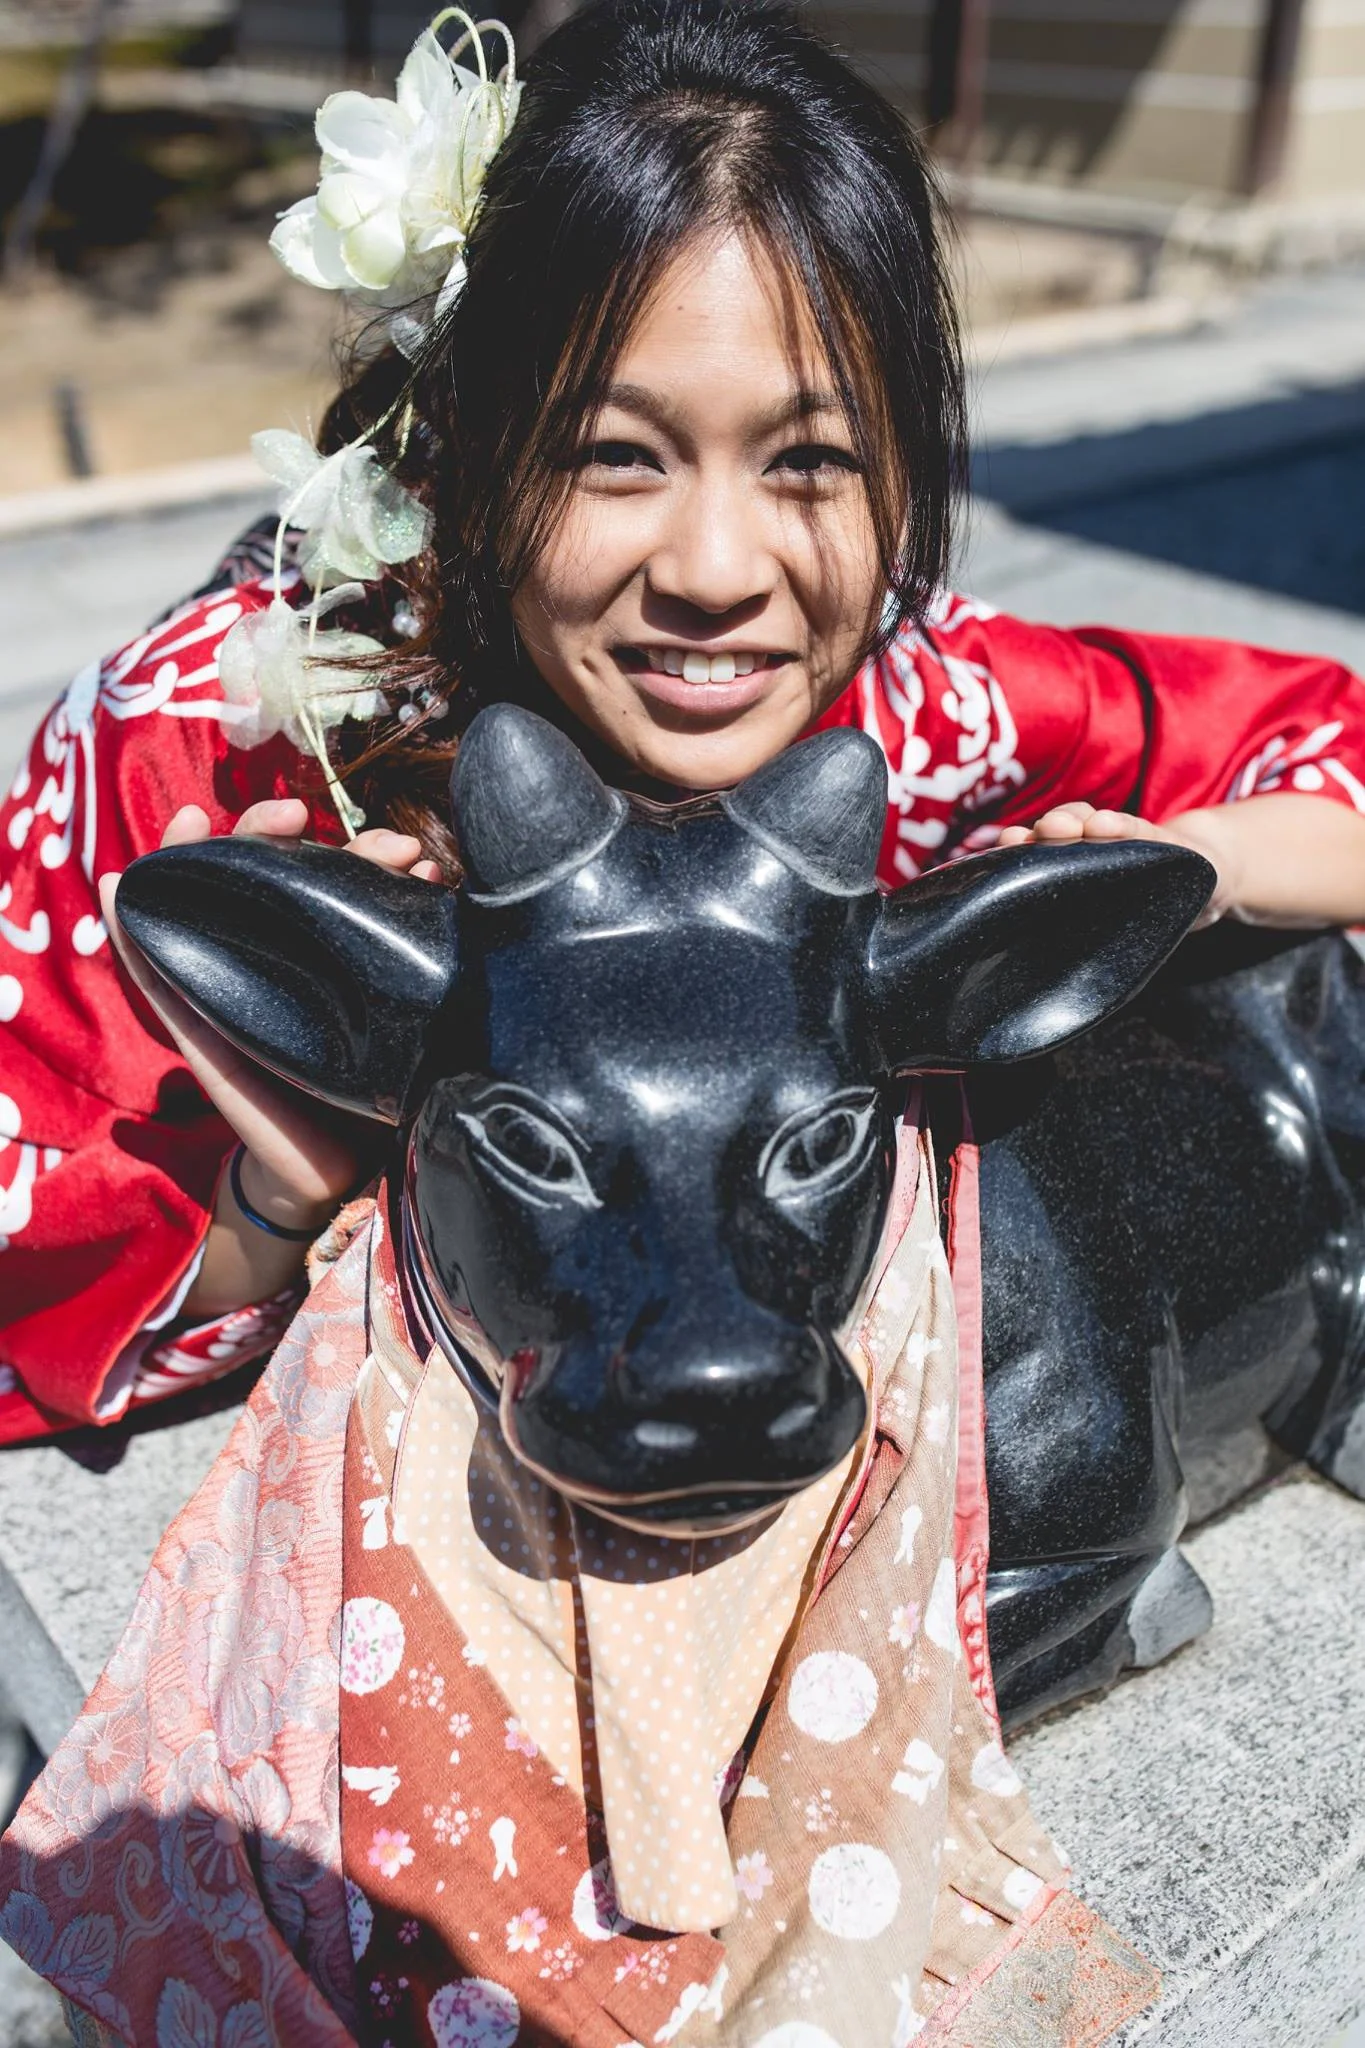
Cows were my favorite animals growing up because my Chinese zodiac sign is the Ox. So when I was a kid, my parents would buy me a stuffed cow plush every birthday. I associated cows very much with their love, and as gift giving was a rare occurrence in my household (Santa's reindeers weren't able to fly to Taiwan) it was the most exciting time of the year to wake up to a new cow plush waiting by my bedside for me to hug.
Eventually I was too old to wake up to cows on my birthday, but my parents continued to encouraged the cow obsession, saying that liking something different 'builds character'.
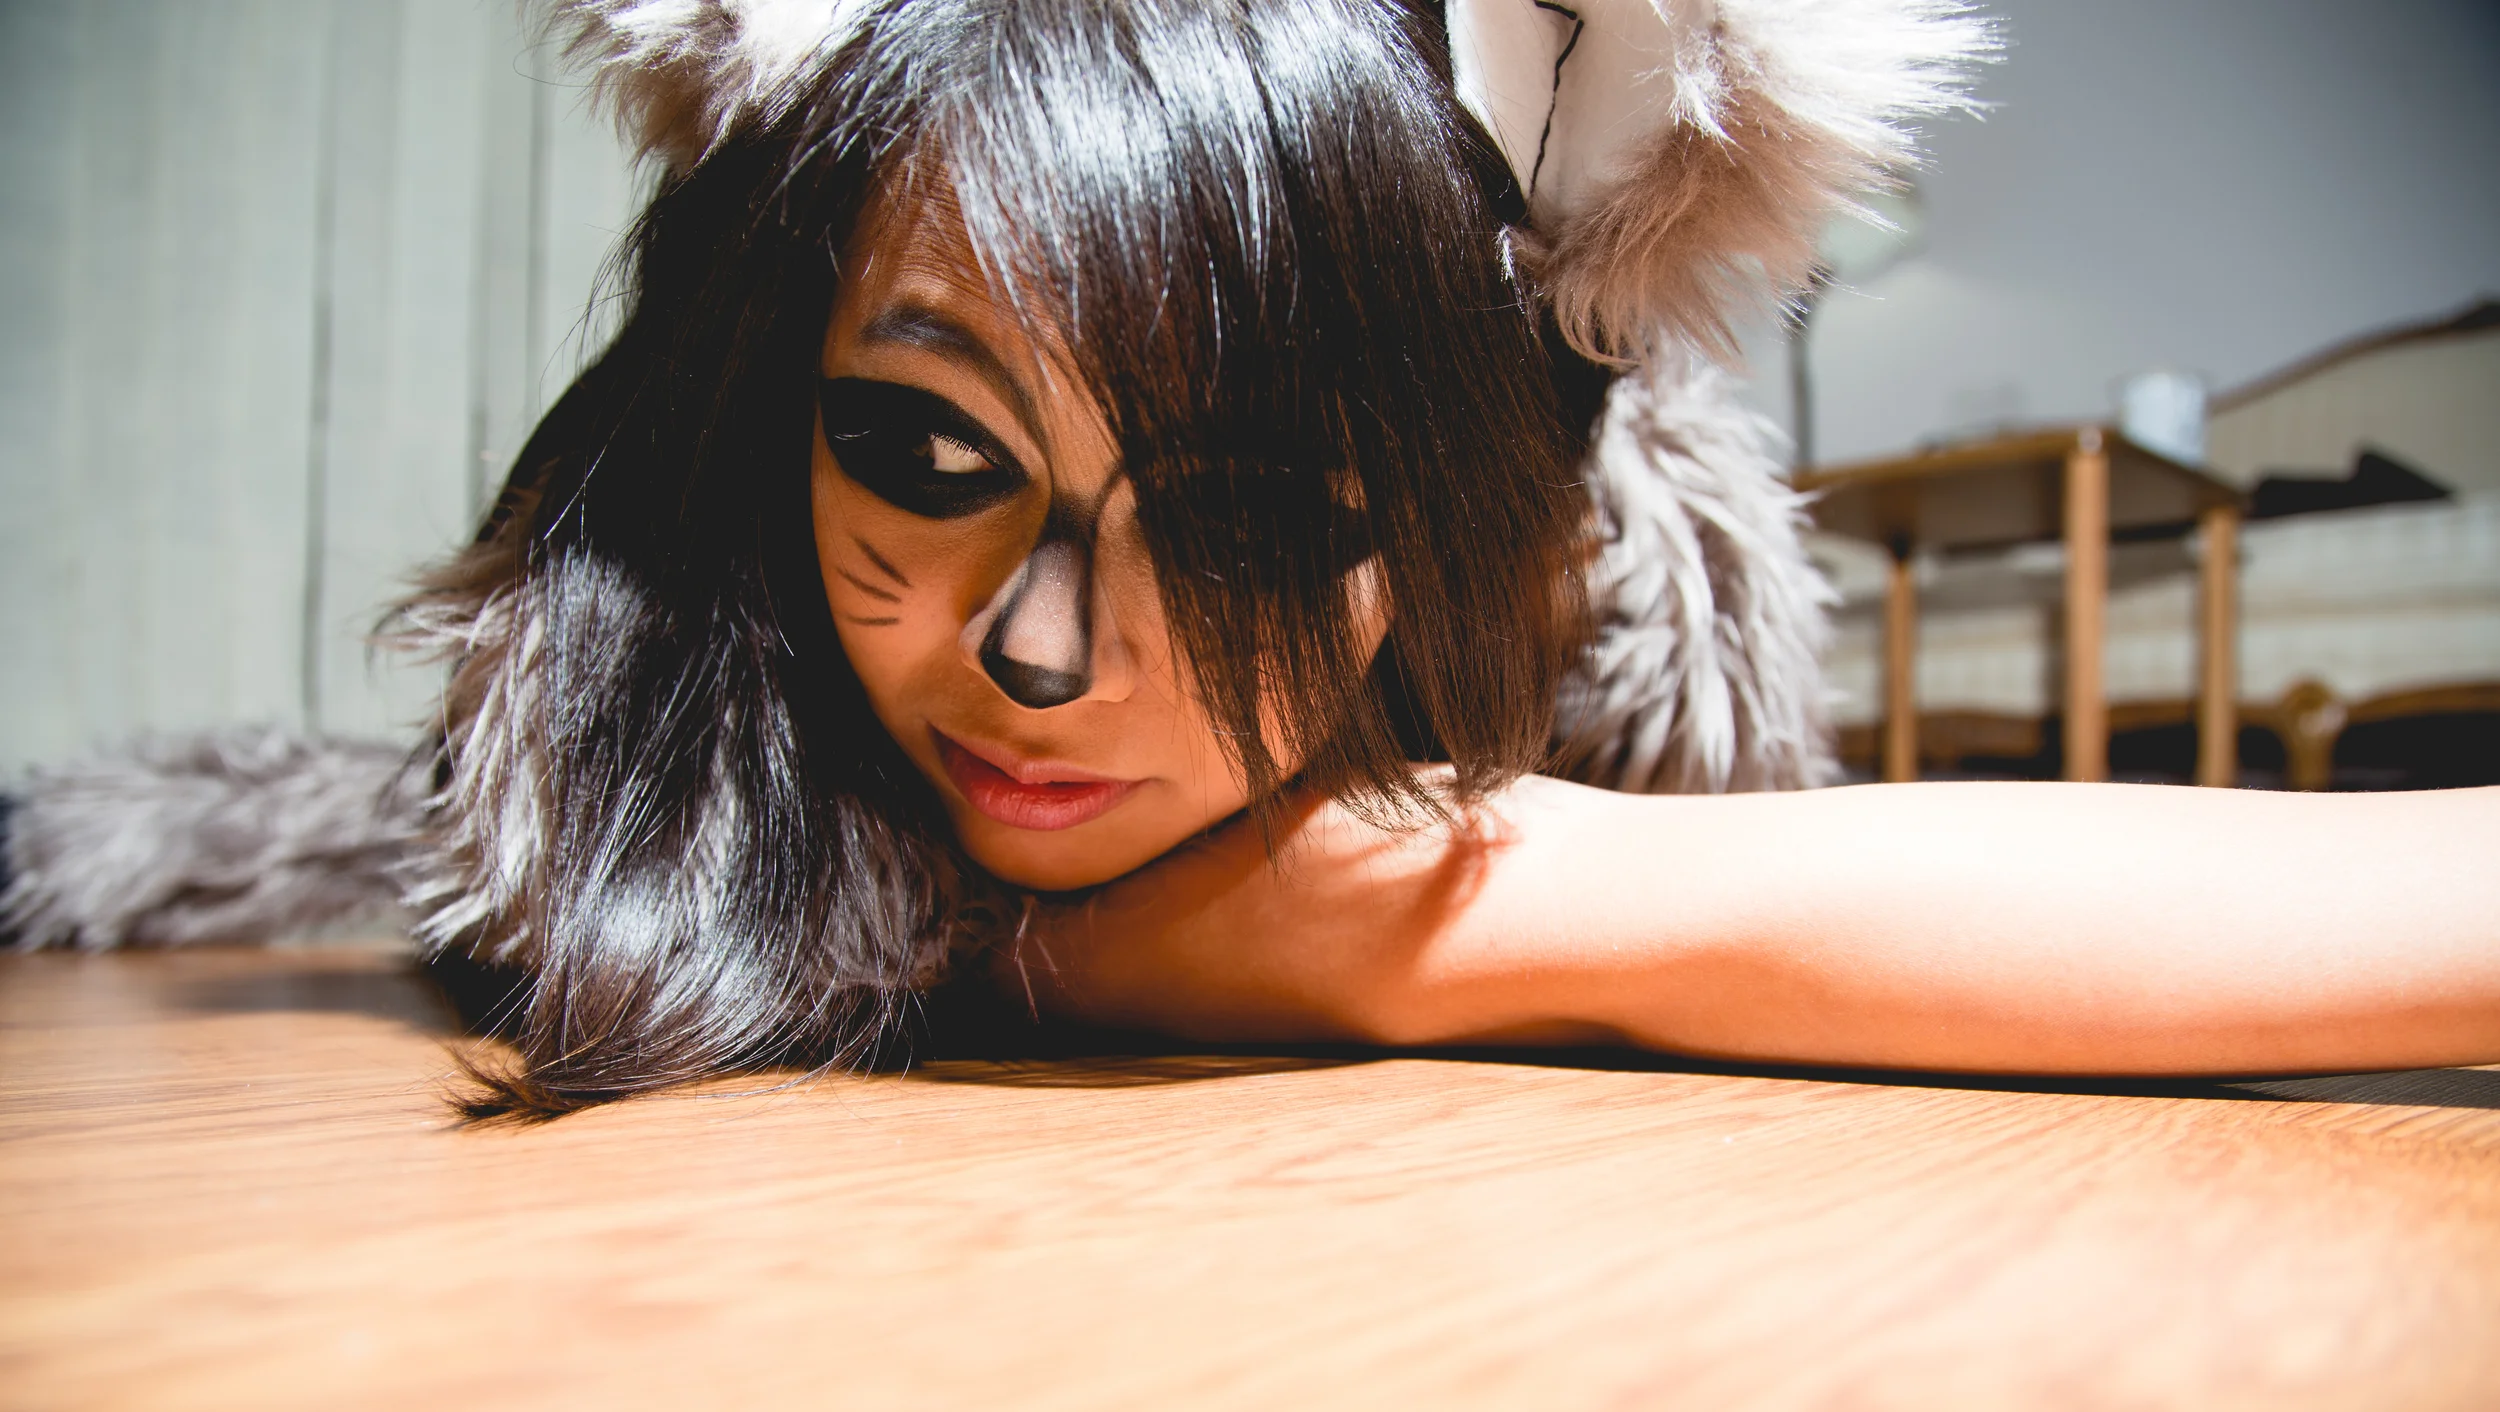
Many people after meeting me, can never see cows the same way again. Cows are not just delicious, but a special symbol of love, happiness, and warmth that inspires confidence in UG's world. And so when it comes time for me to 'build' something to share, incorporating #cows are a must!
FAQ: Why is the name Moobury?
1. I am obsessed with cows! (Moo!)
2. This whole venture started when I was trying to 'bury' the earmuff-shaped hole in my heart.
3. It's catchy and rhymes with Burberry
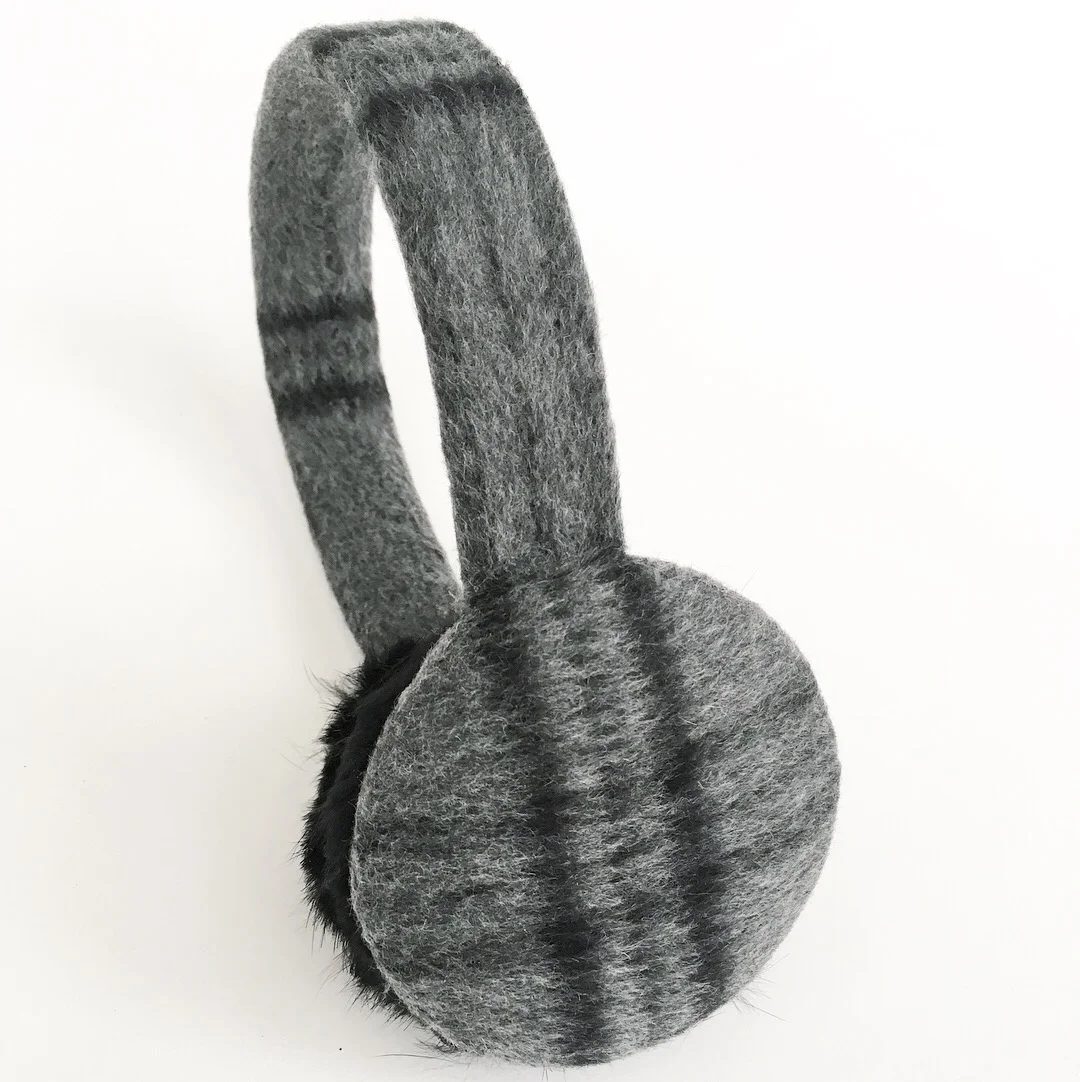
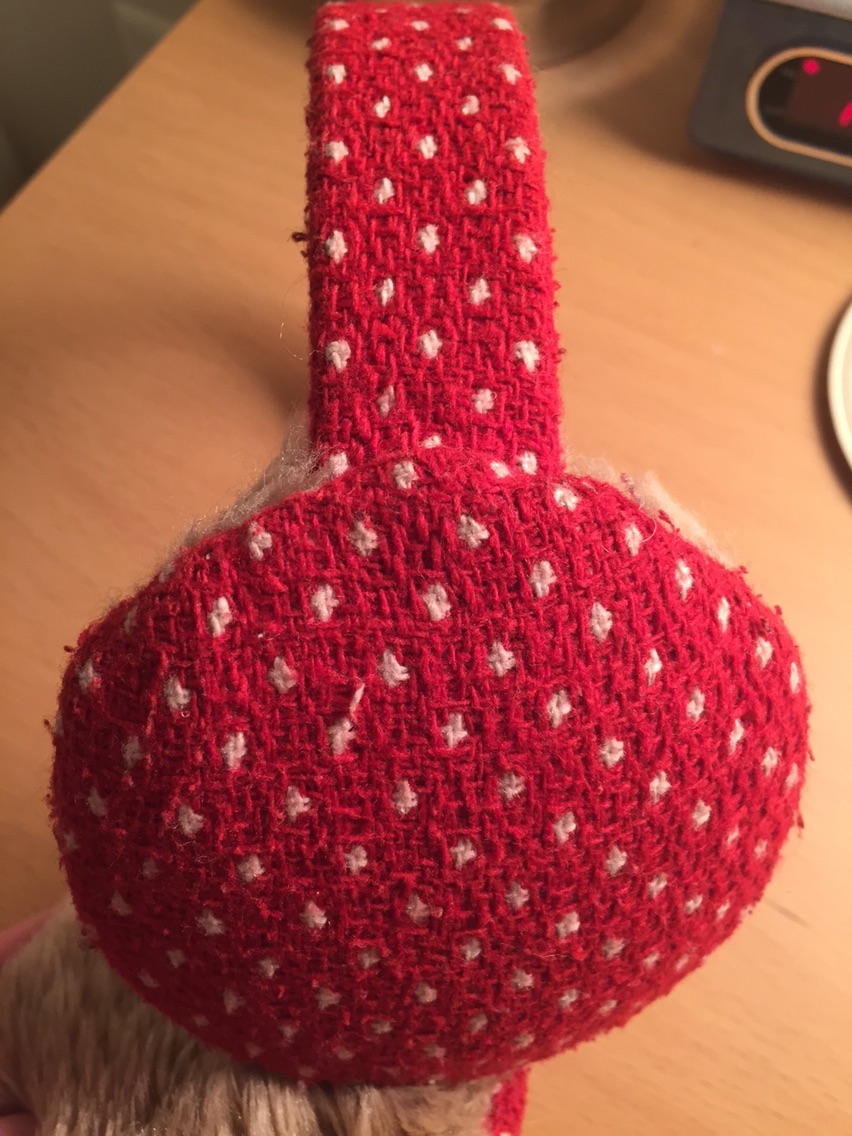
FAQ: How long does it take for you to handmake an earmuff?
Each earmuff takes roughly 6 hours to make. This does not include the time spent researching and developing the different designs.
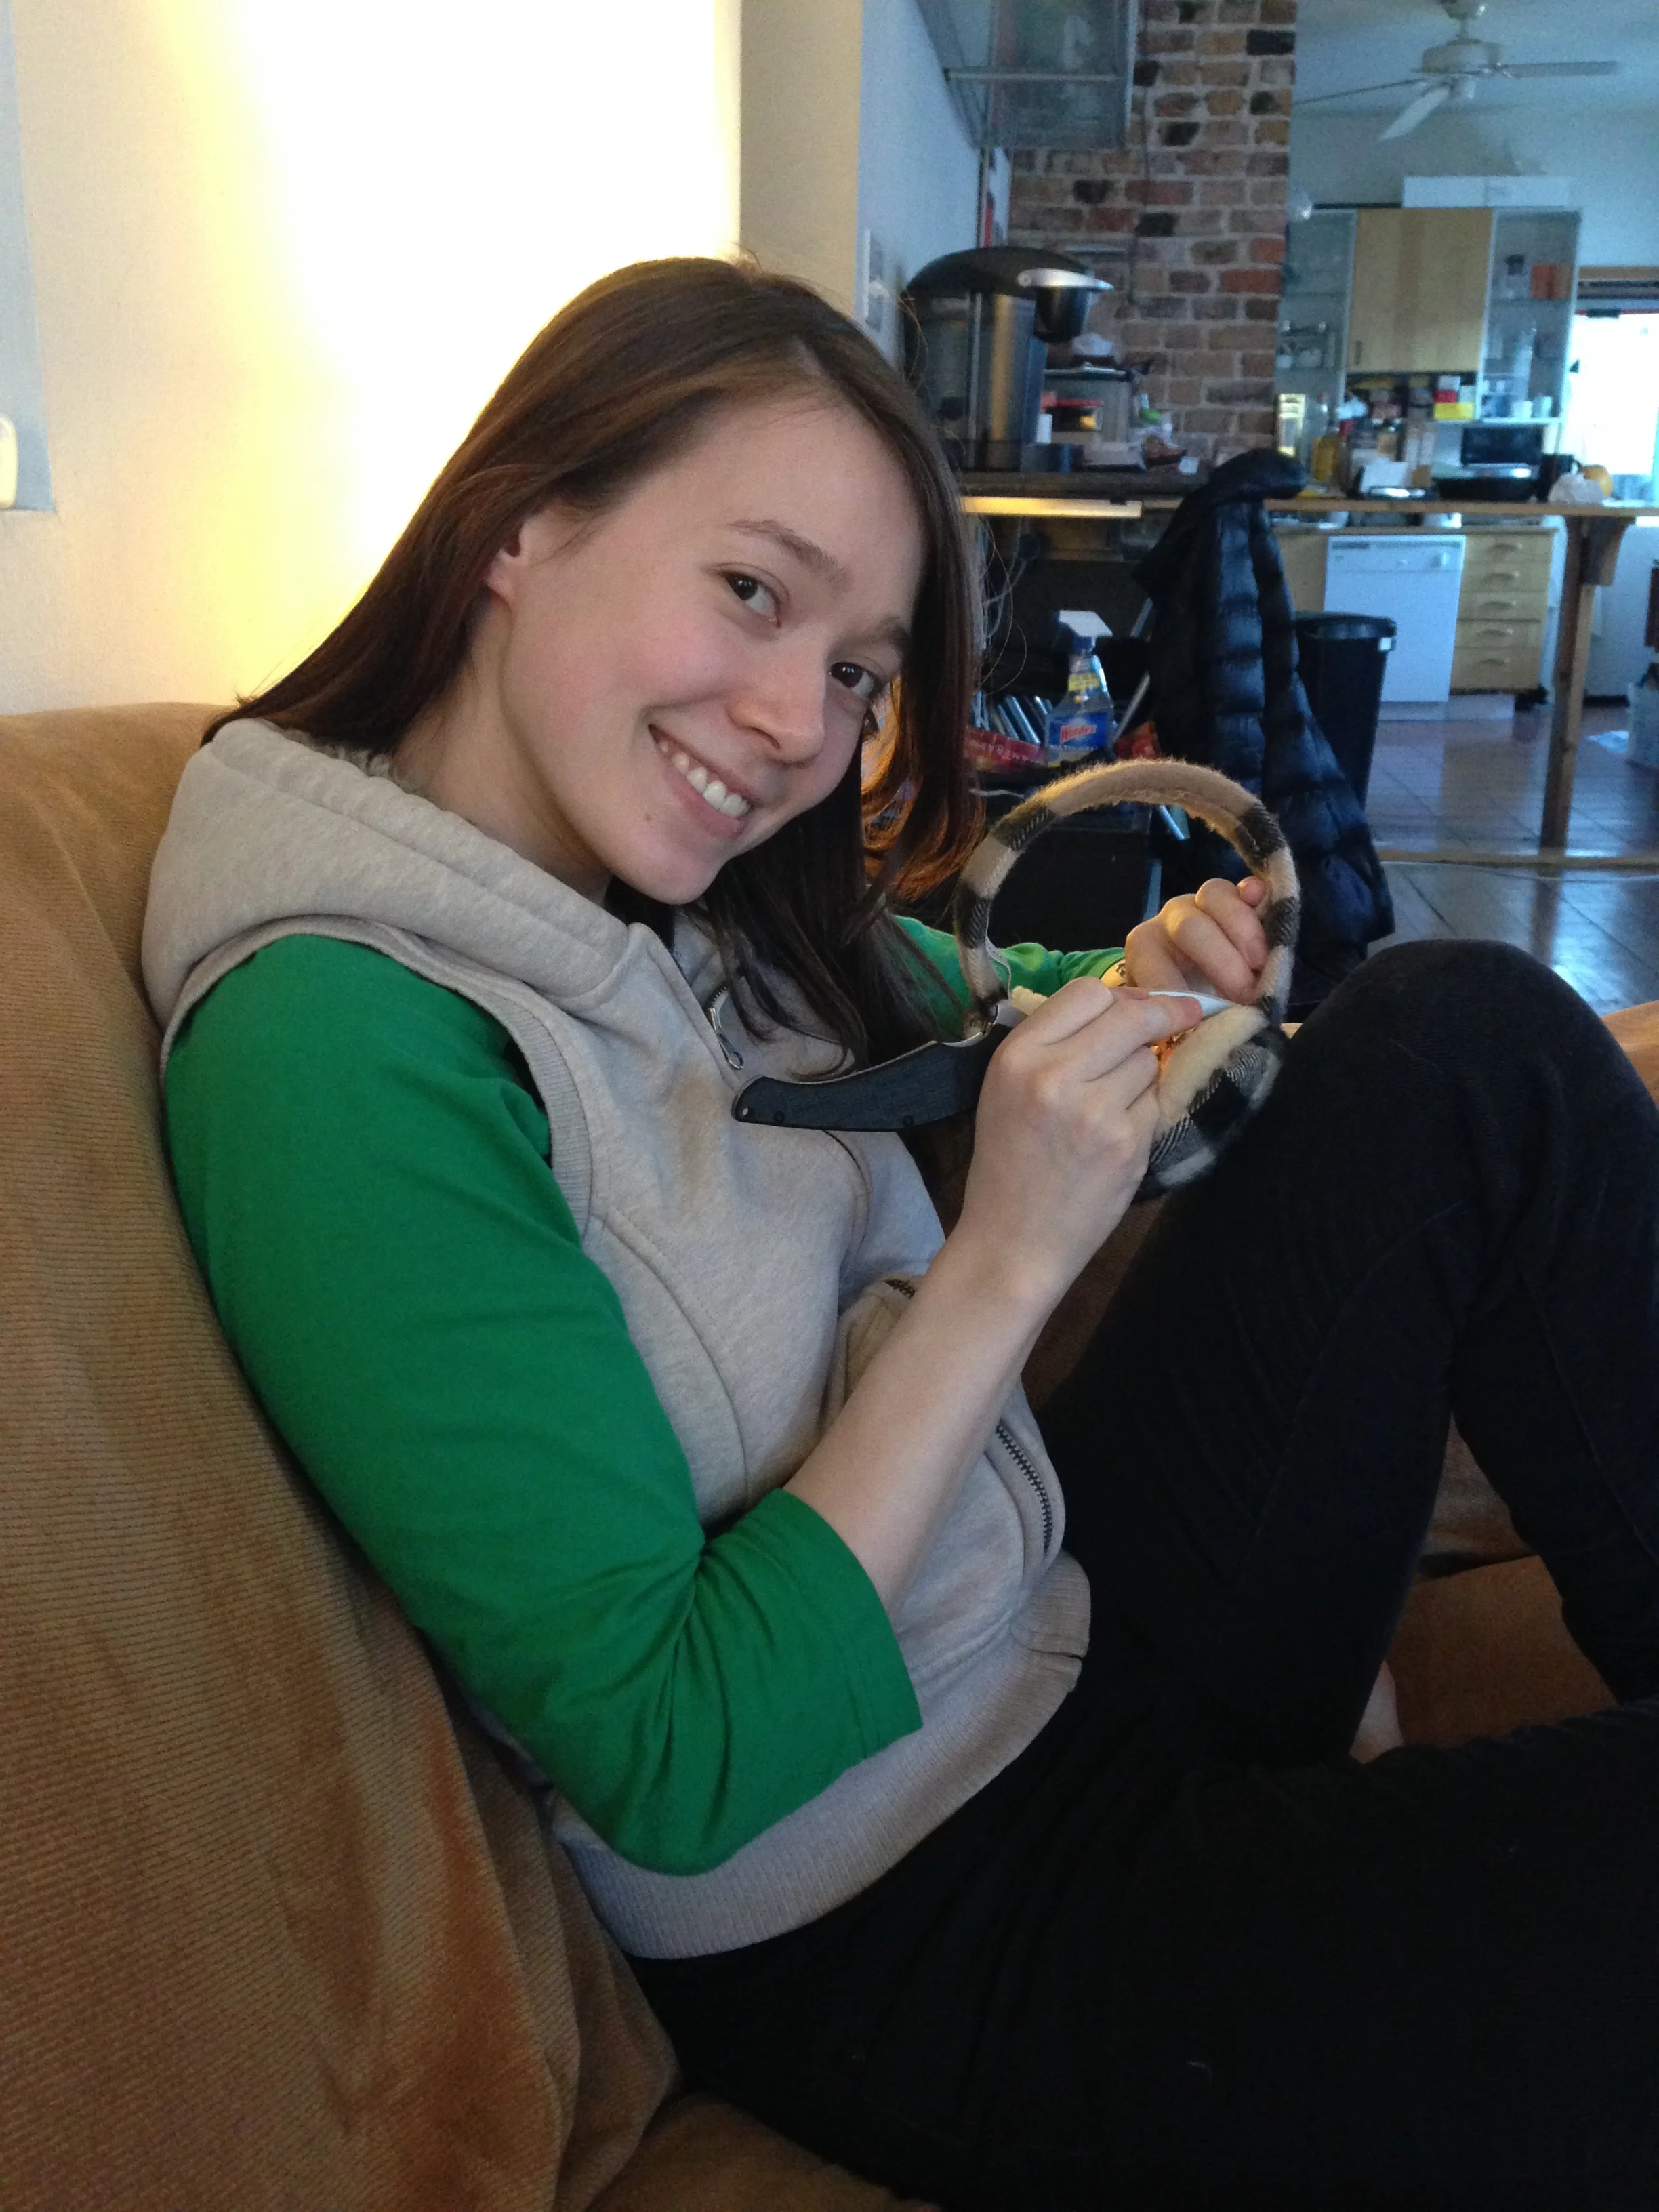
At some point I was able to push myself to 'complete' an earmuff in the 2-3 hour frame, however it came at the price of me overlooking small flaws and very cramped hands. 😖👎
Nowadays I give myself the time I need to make every stitch perfect. I want to enjoy the process, and have customers that can accept and appreciate that.