Thai Fisherman Pants DIY

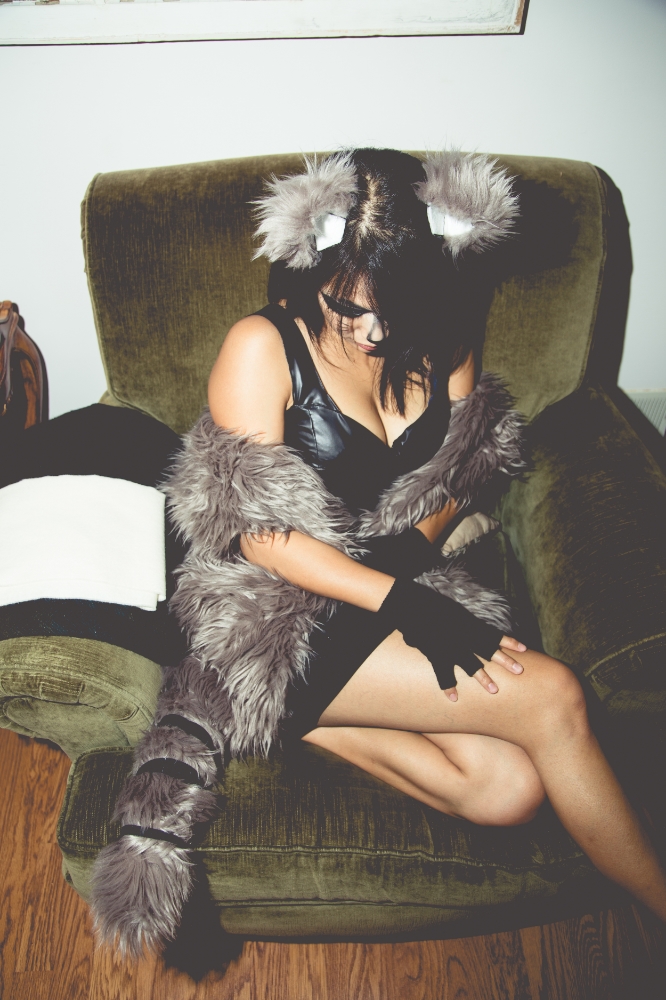
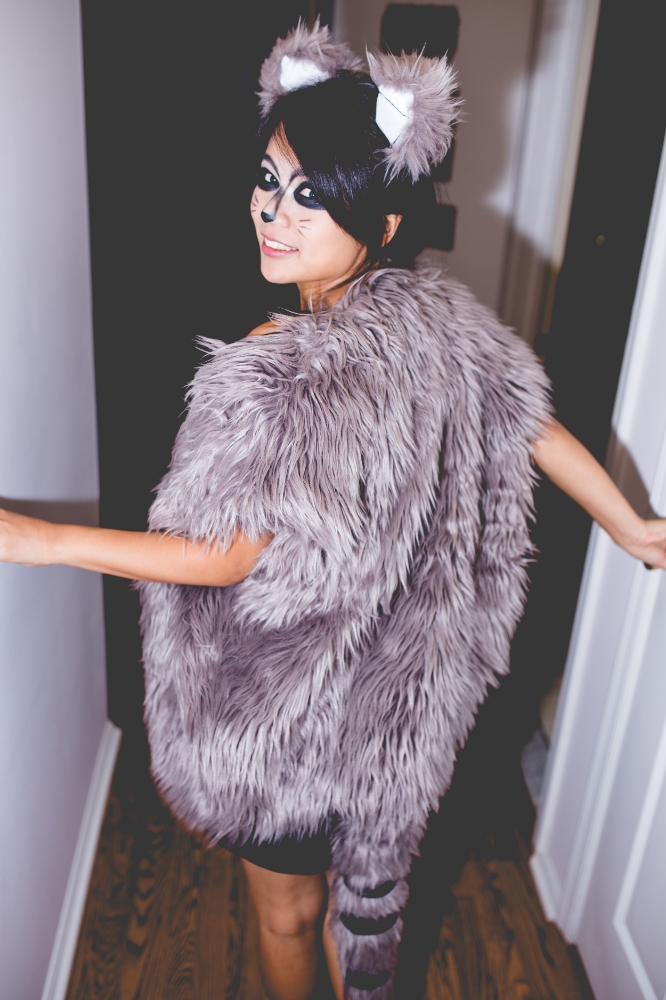
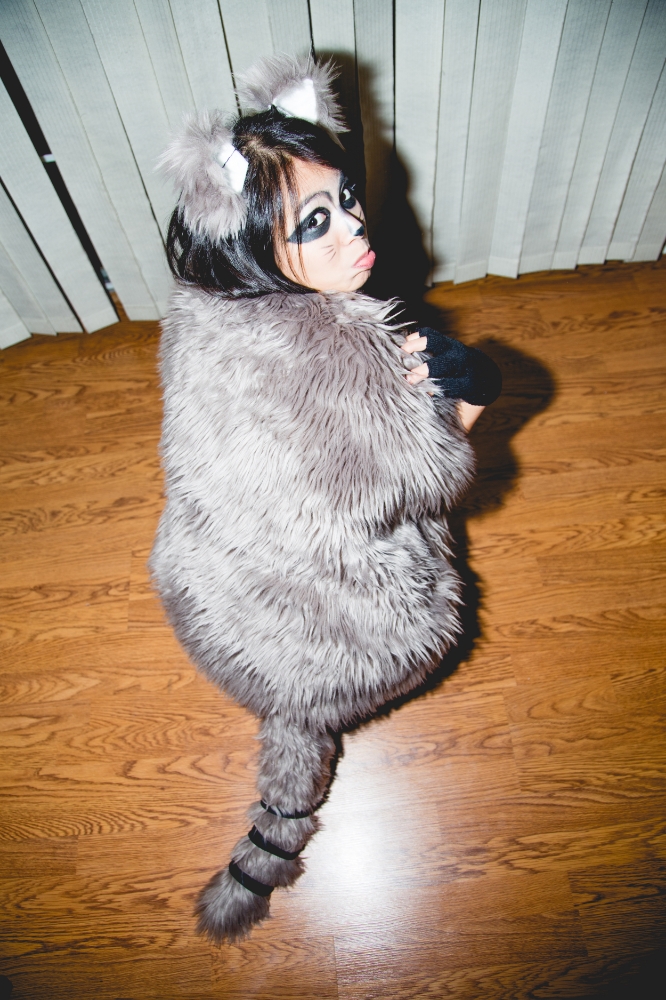
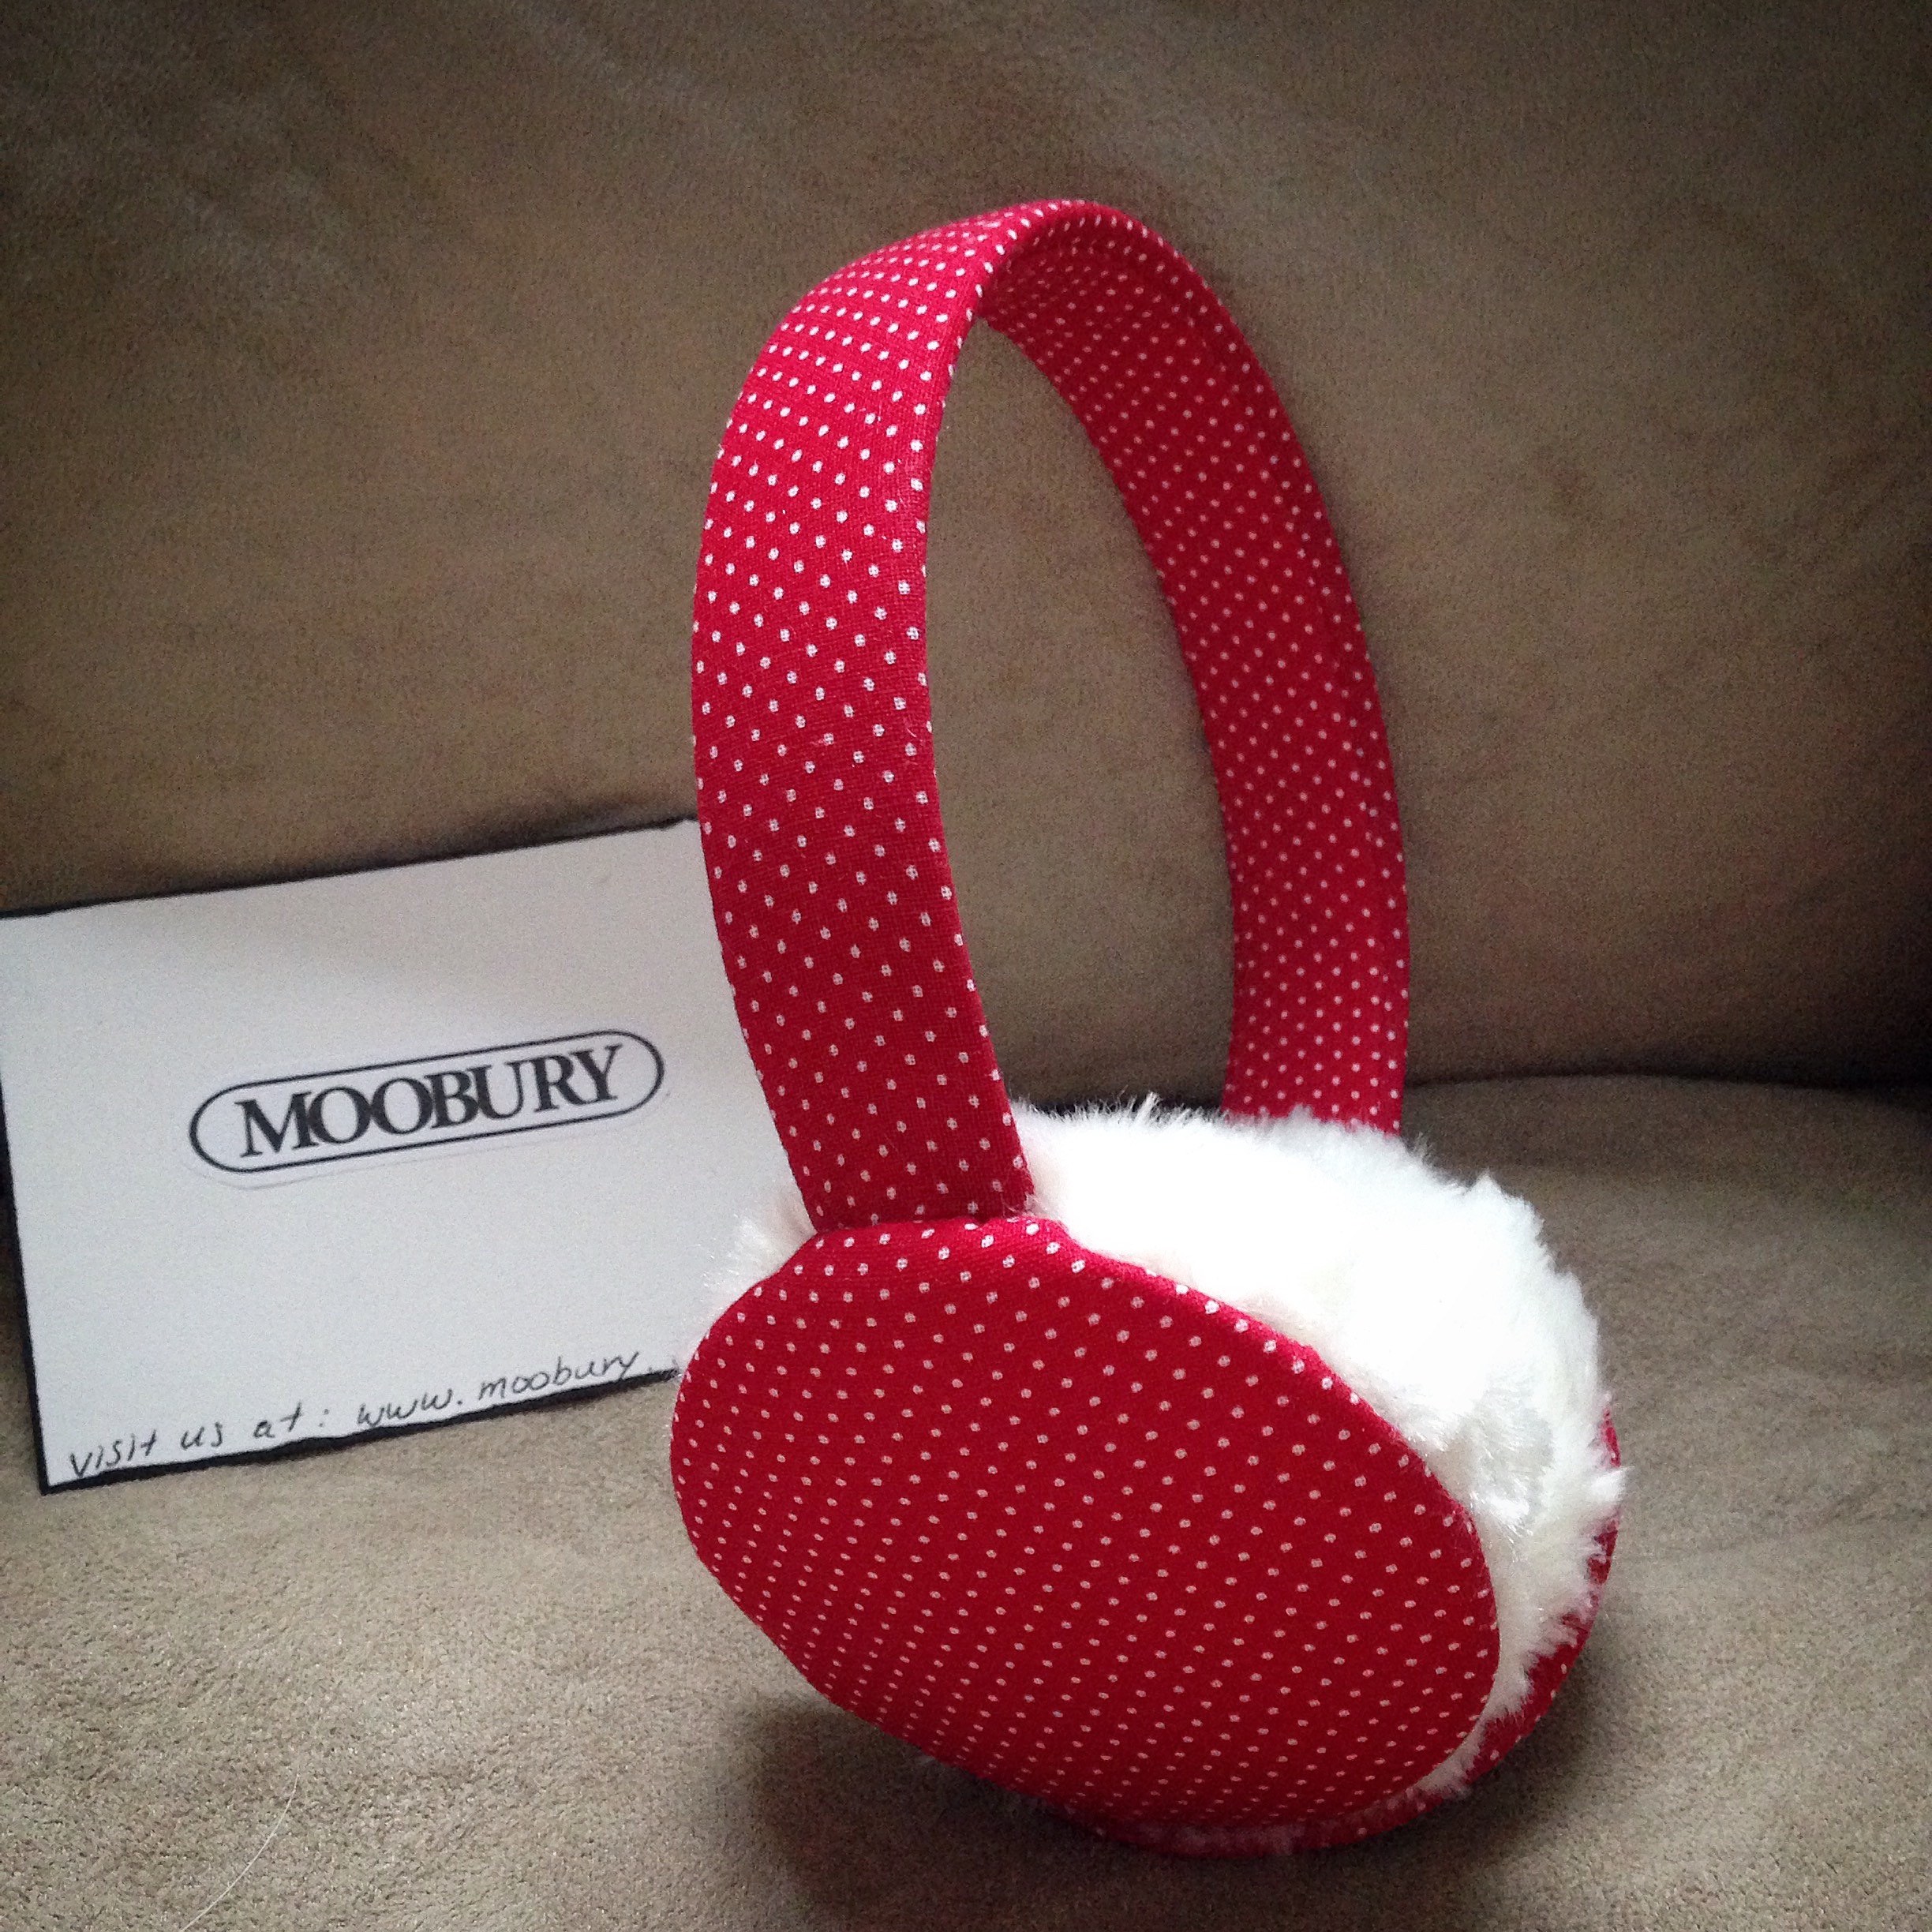
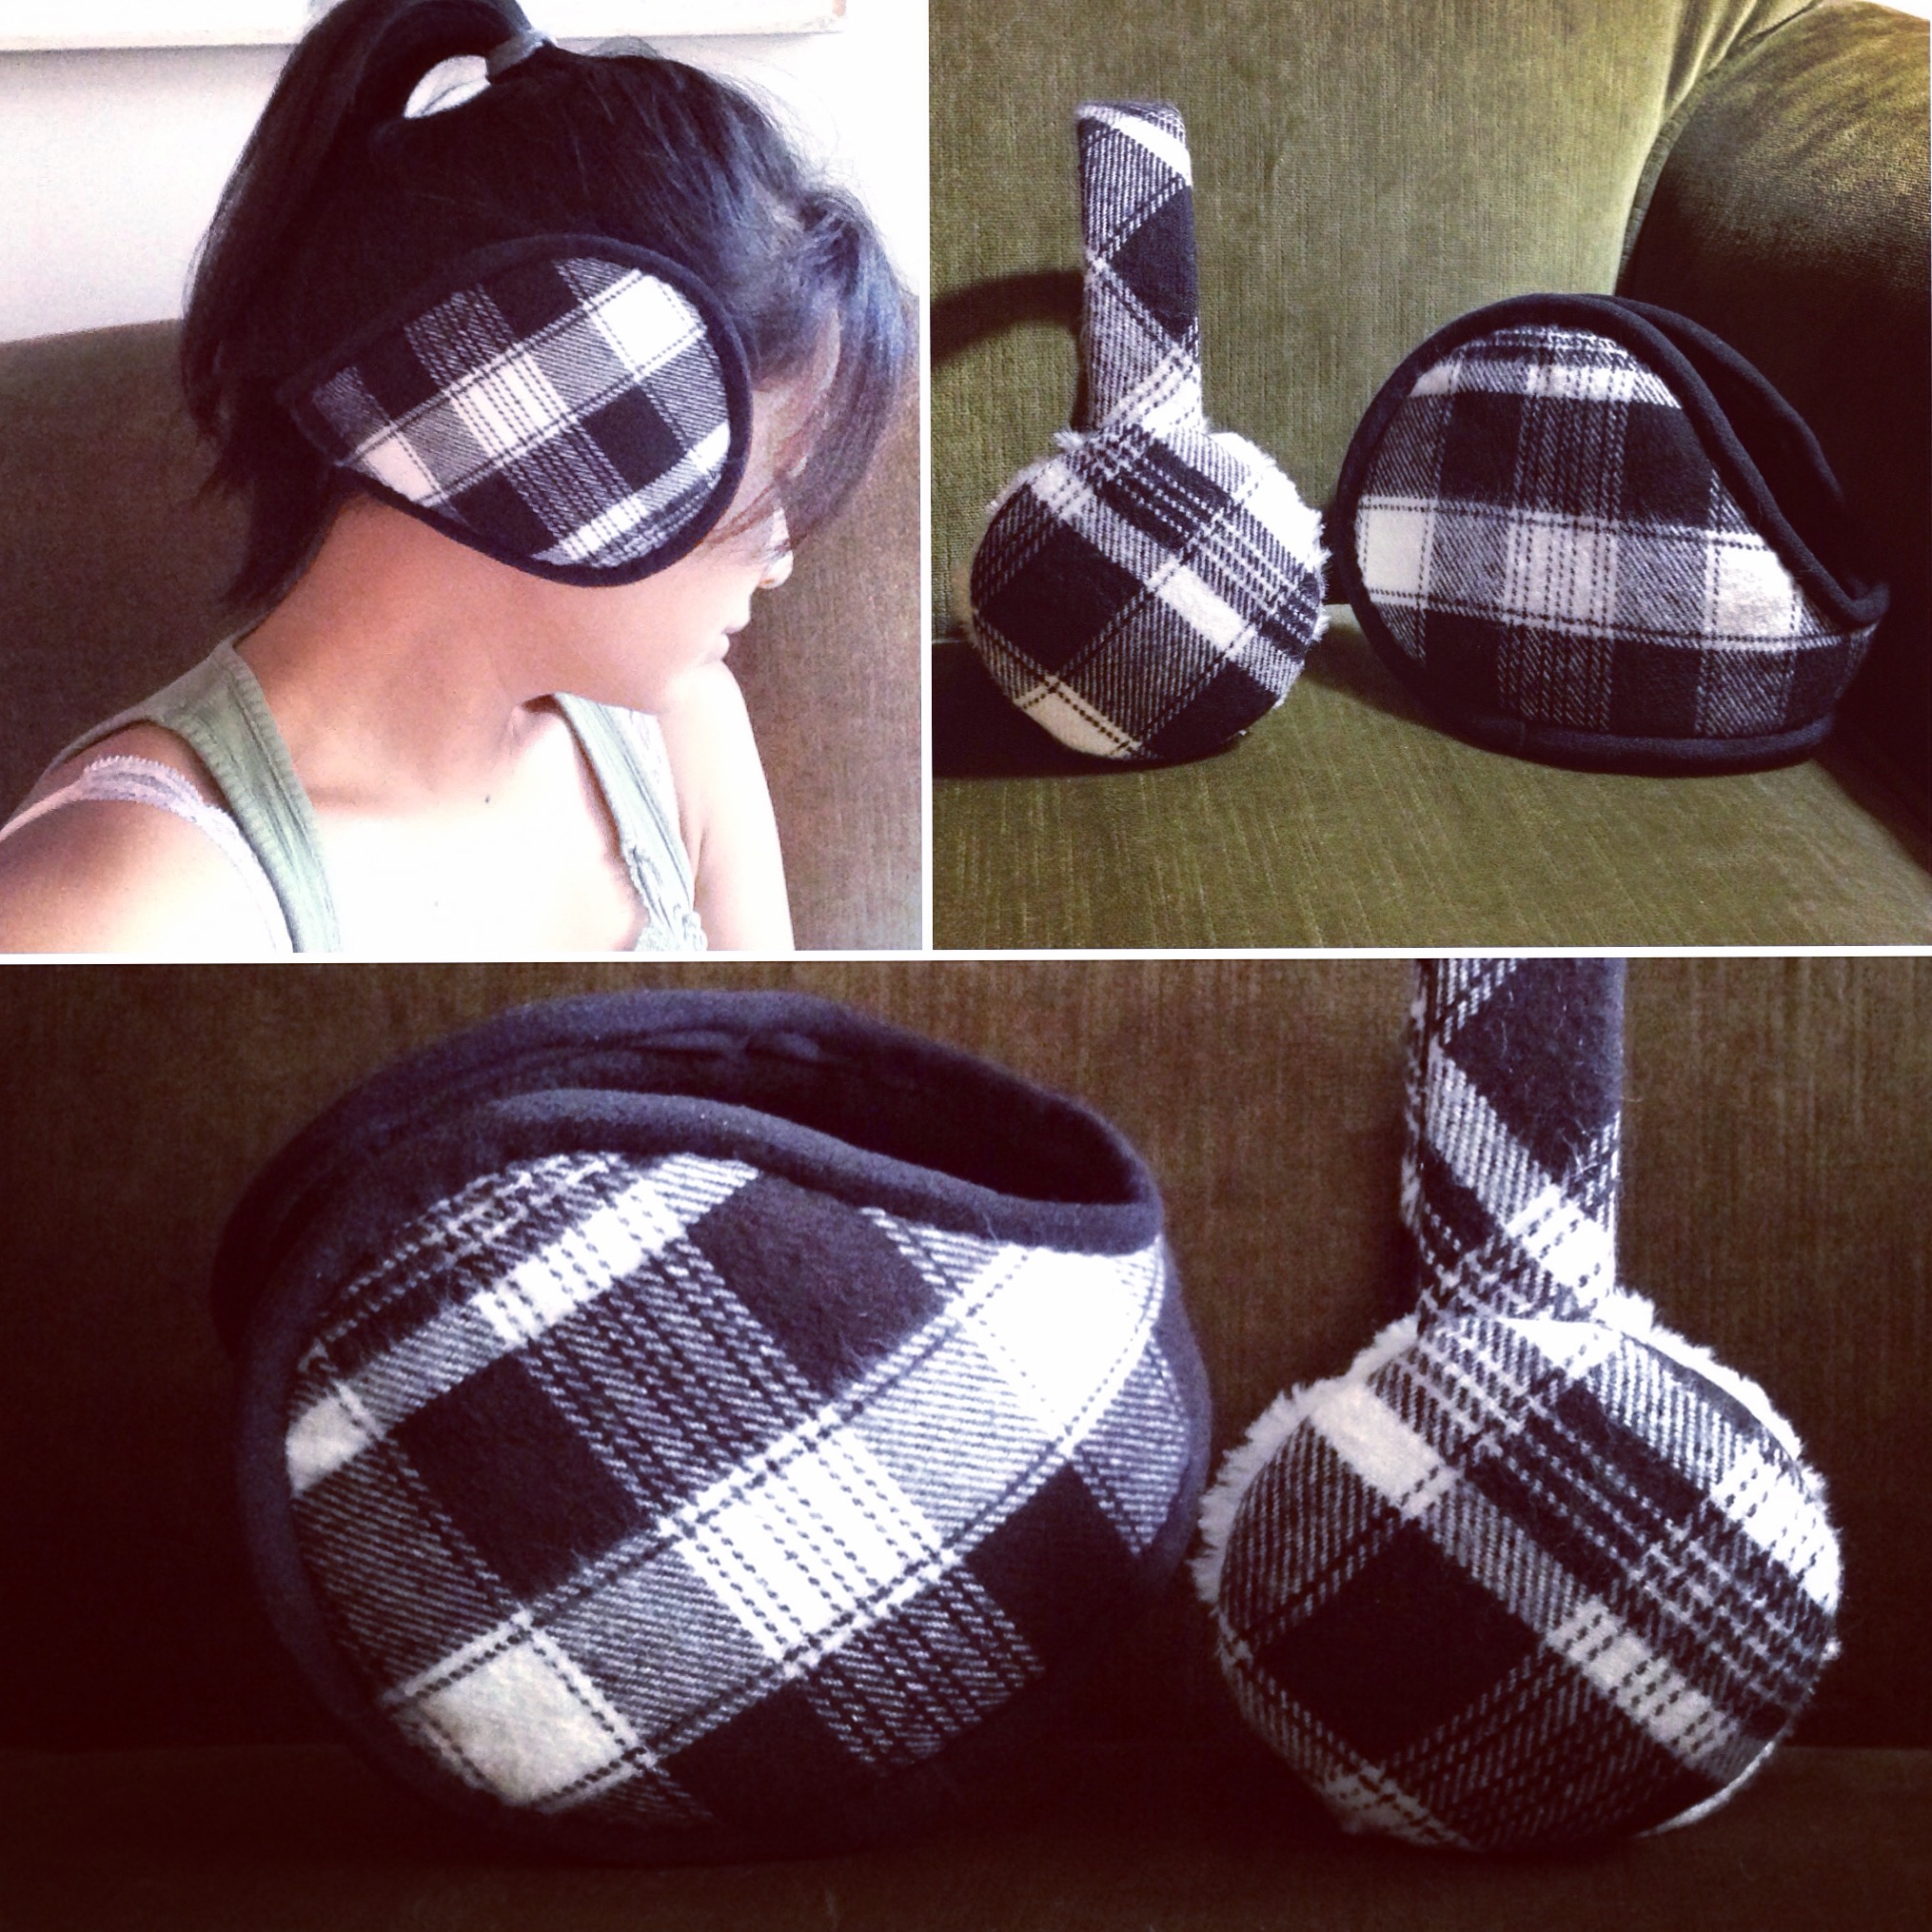
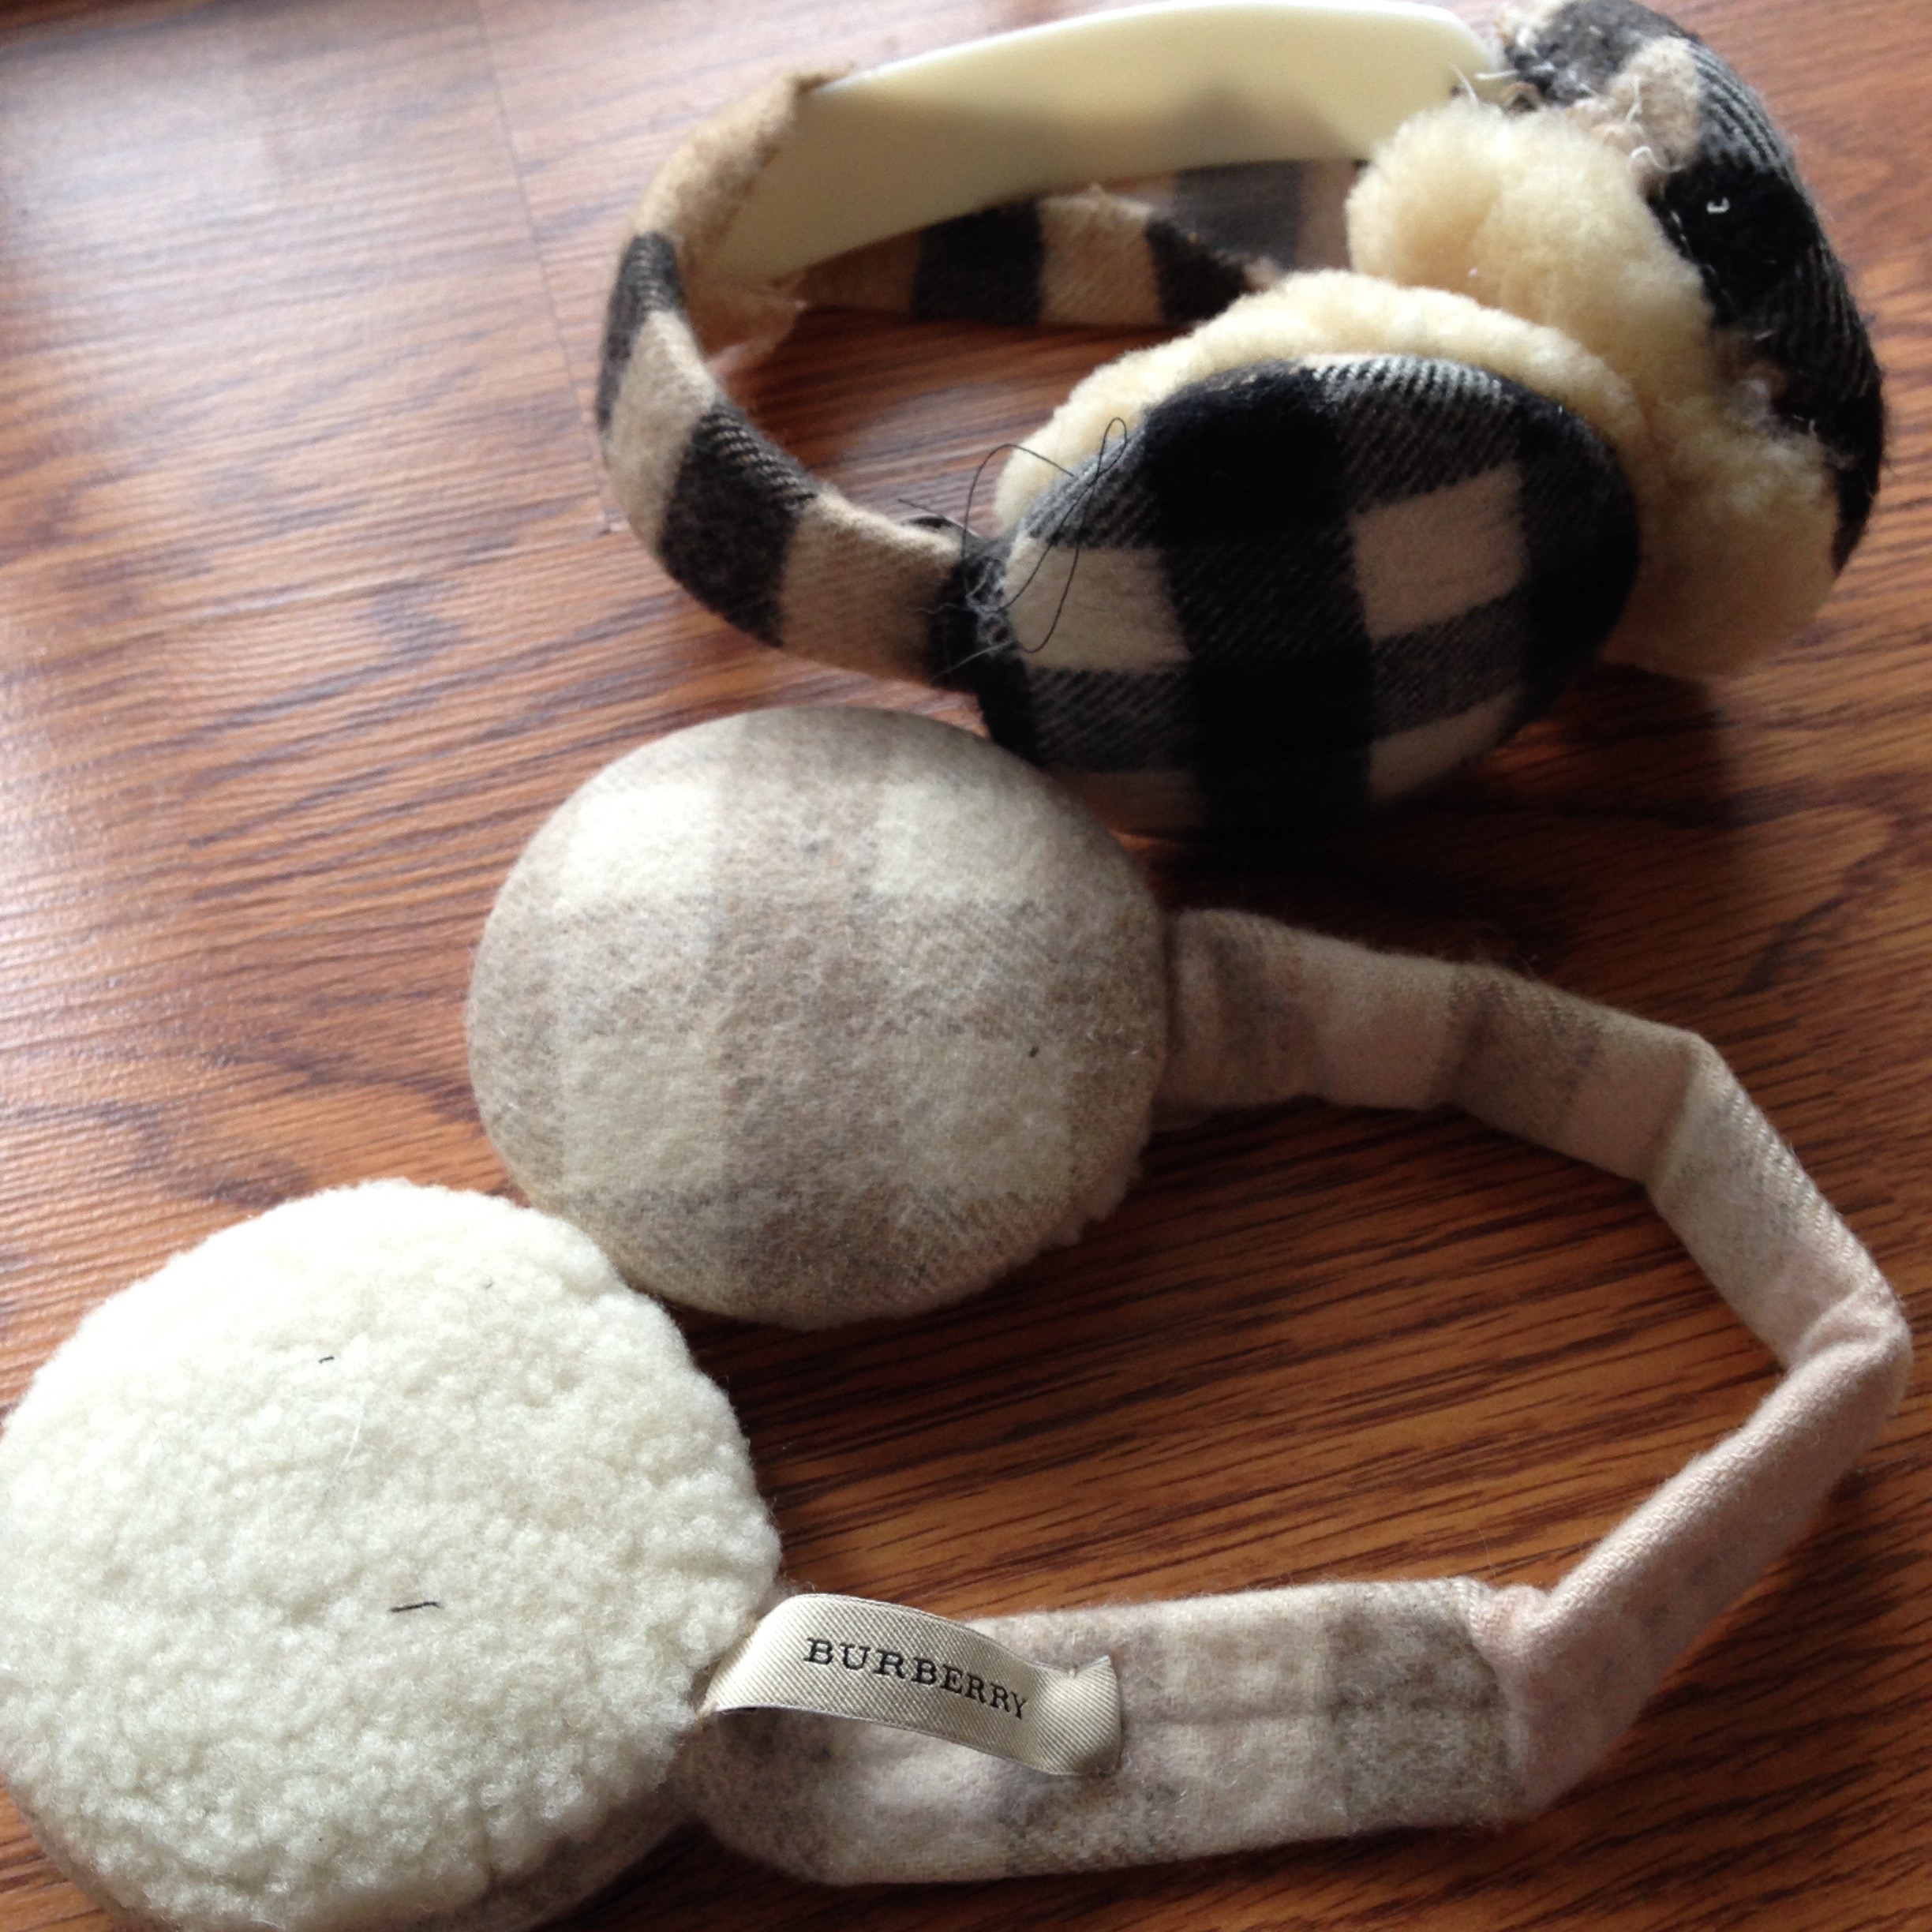
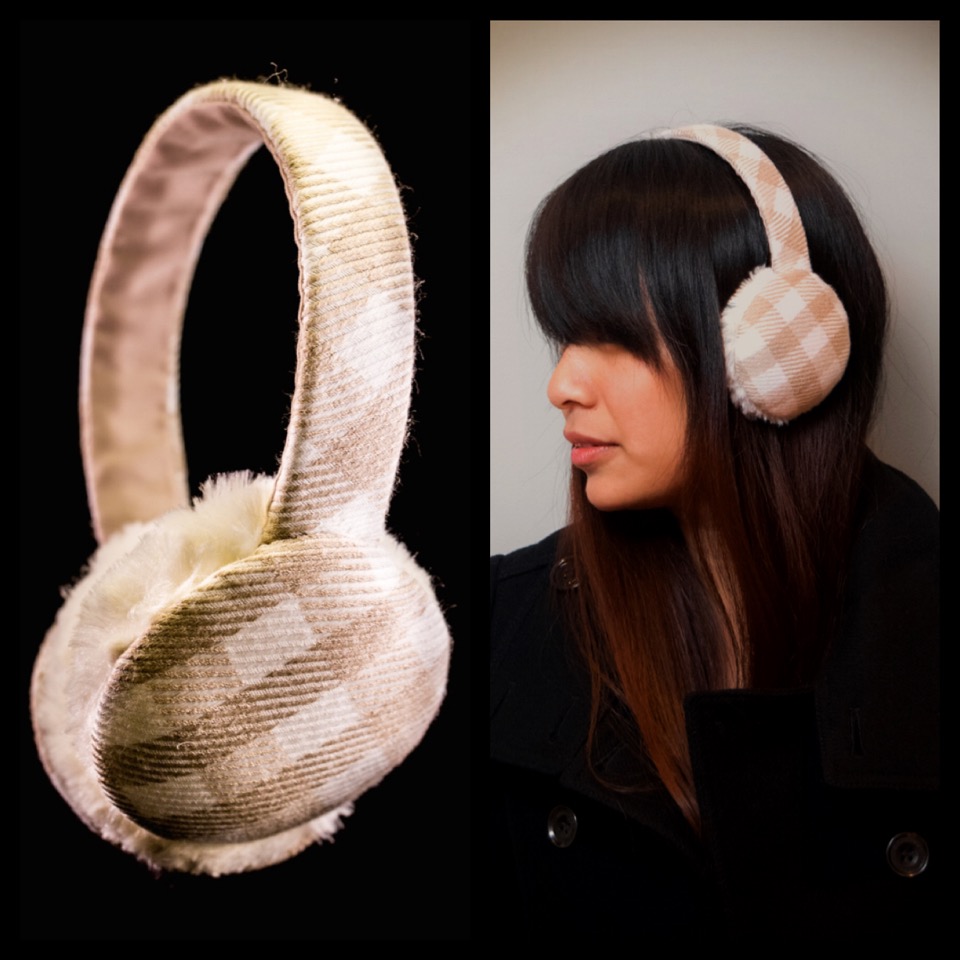
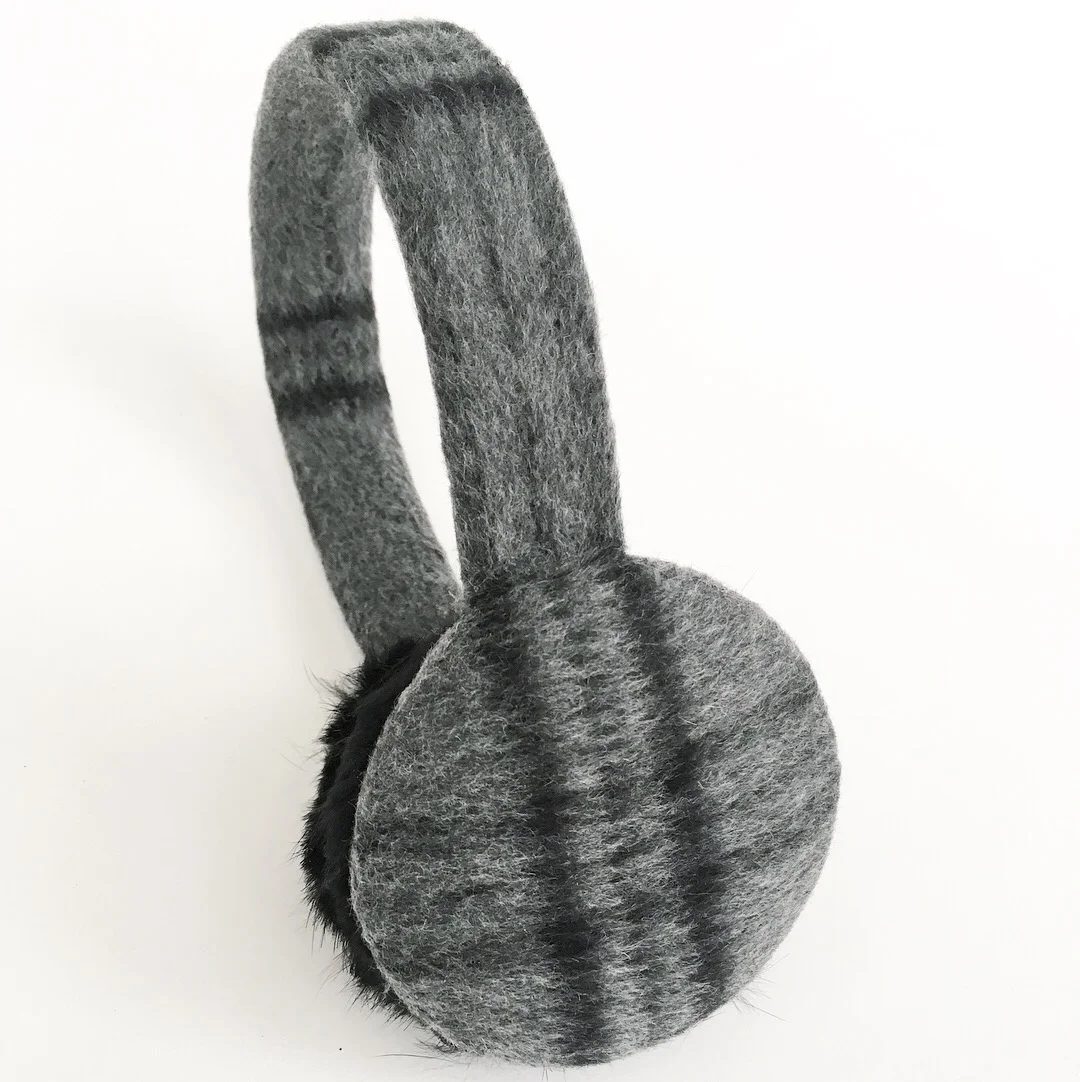
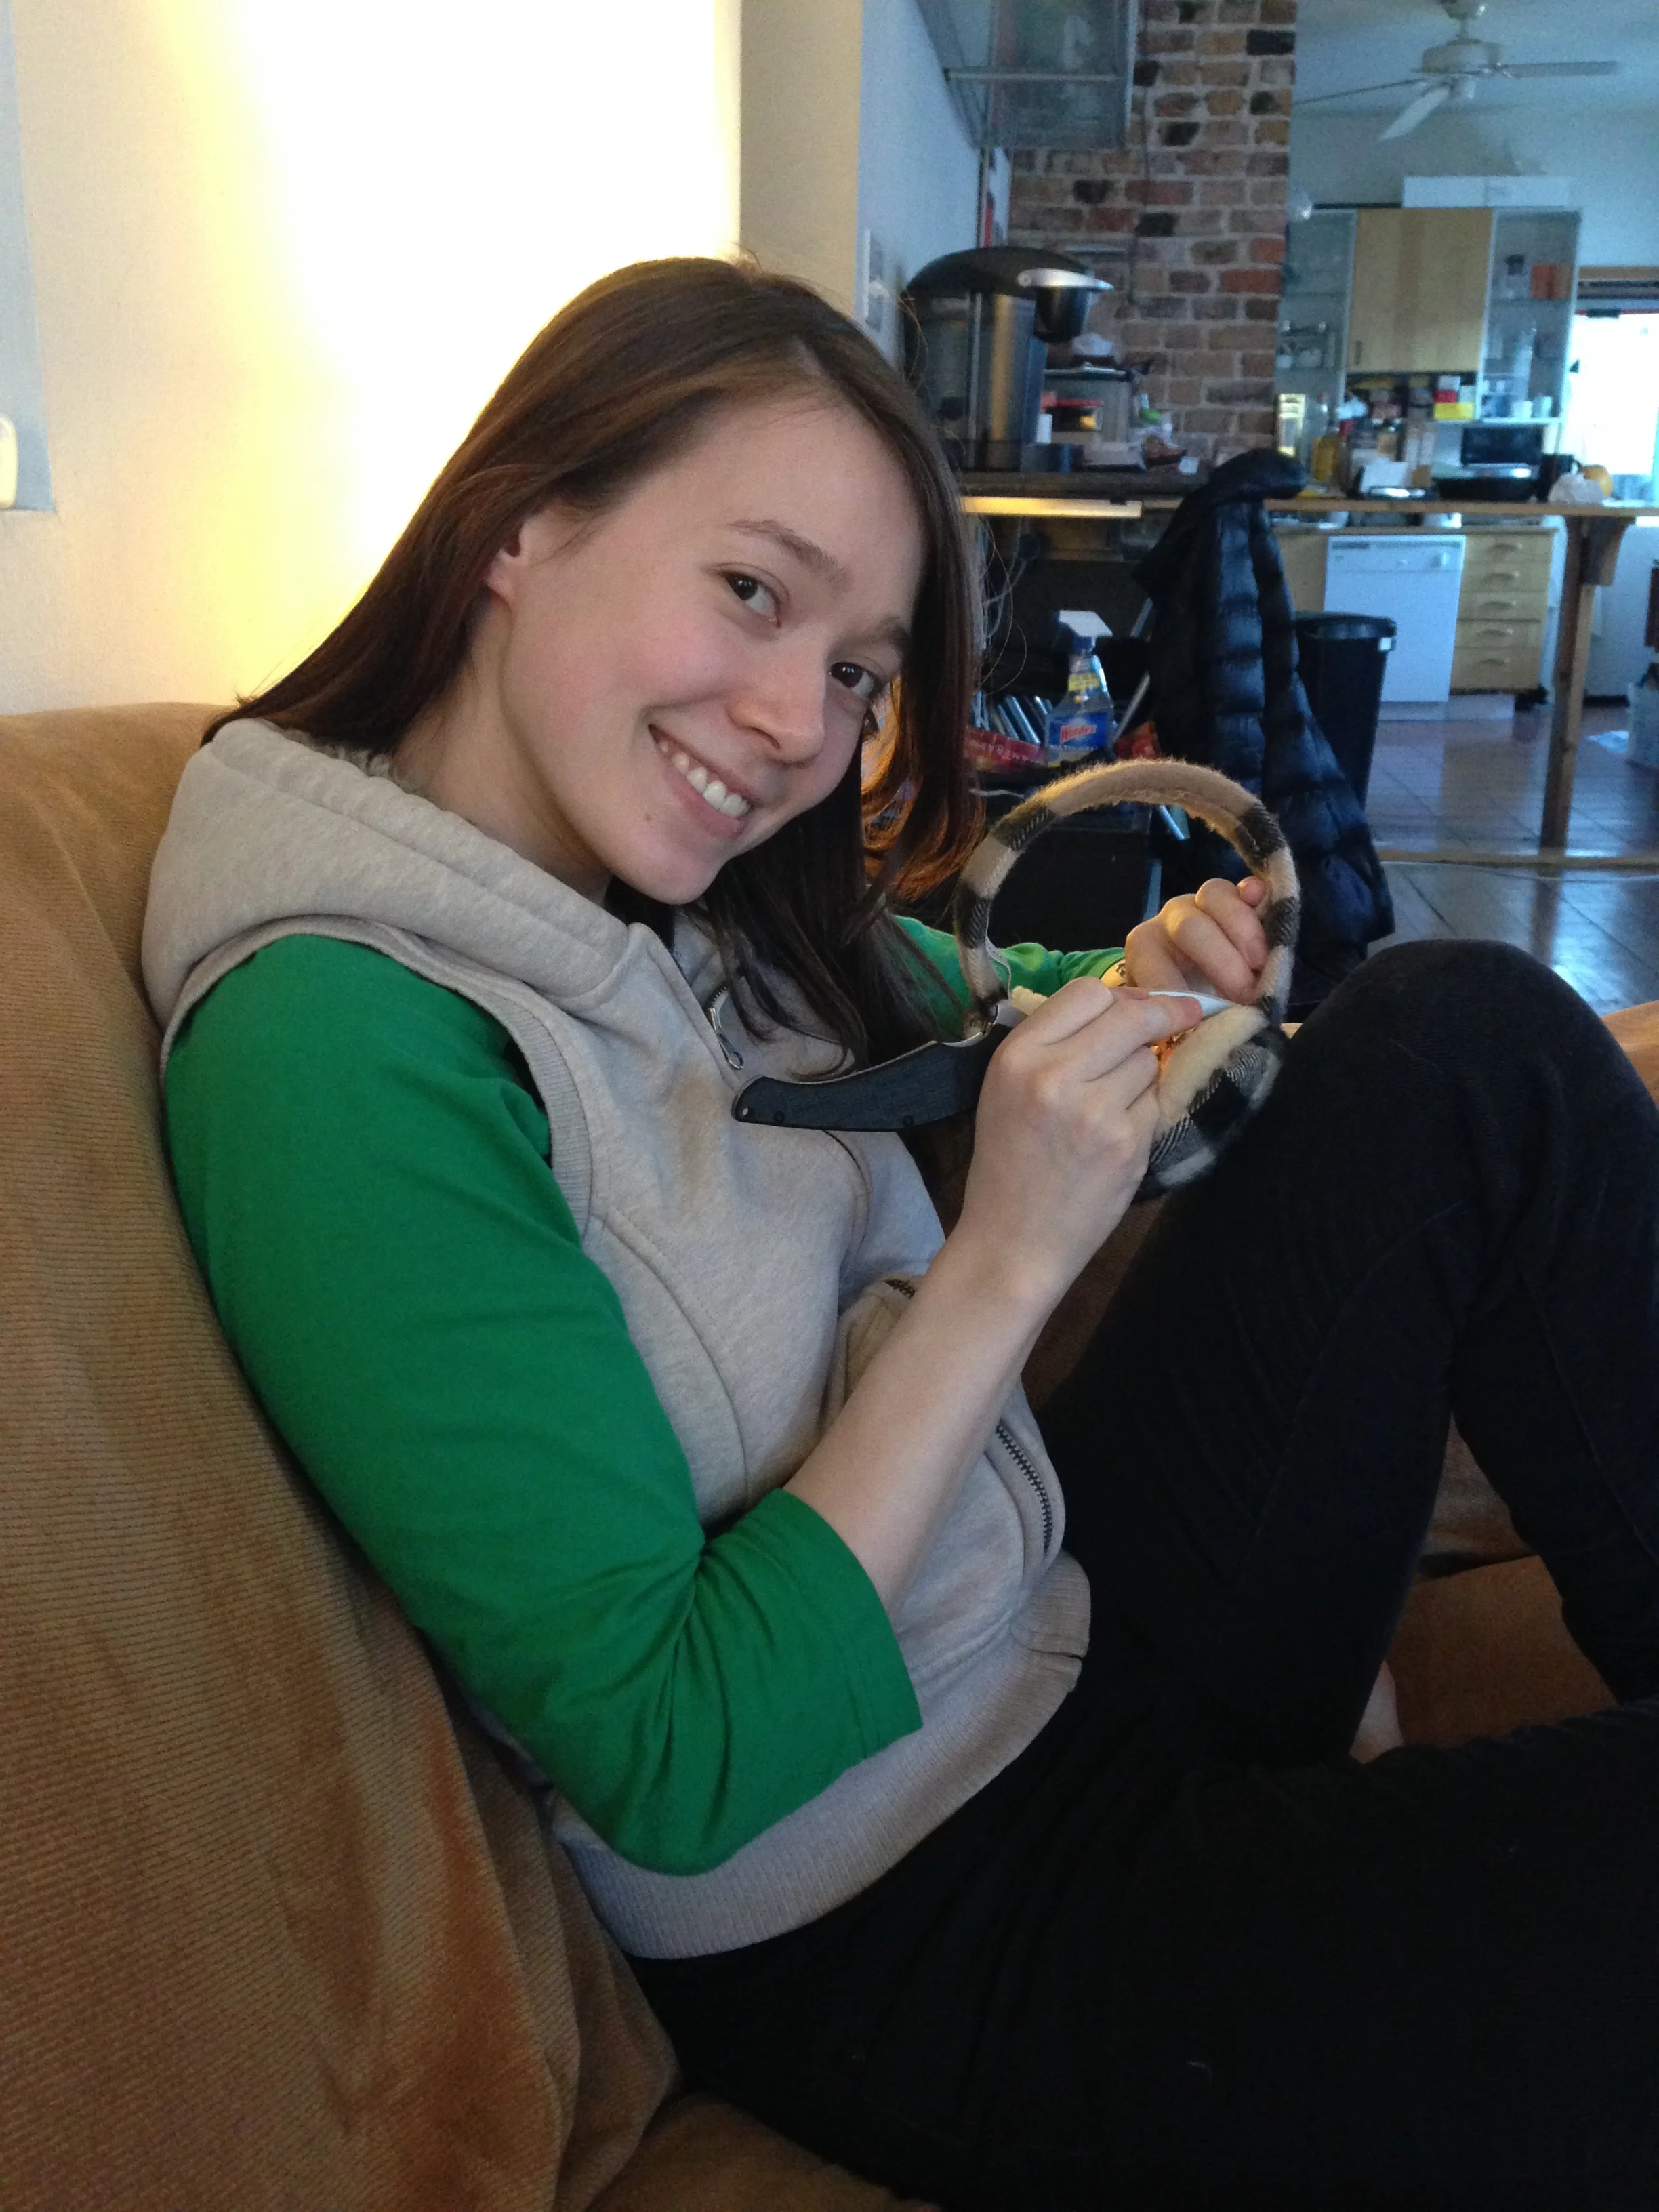
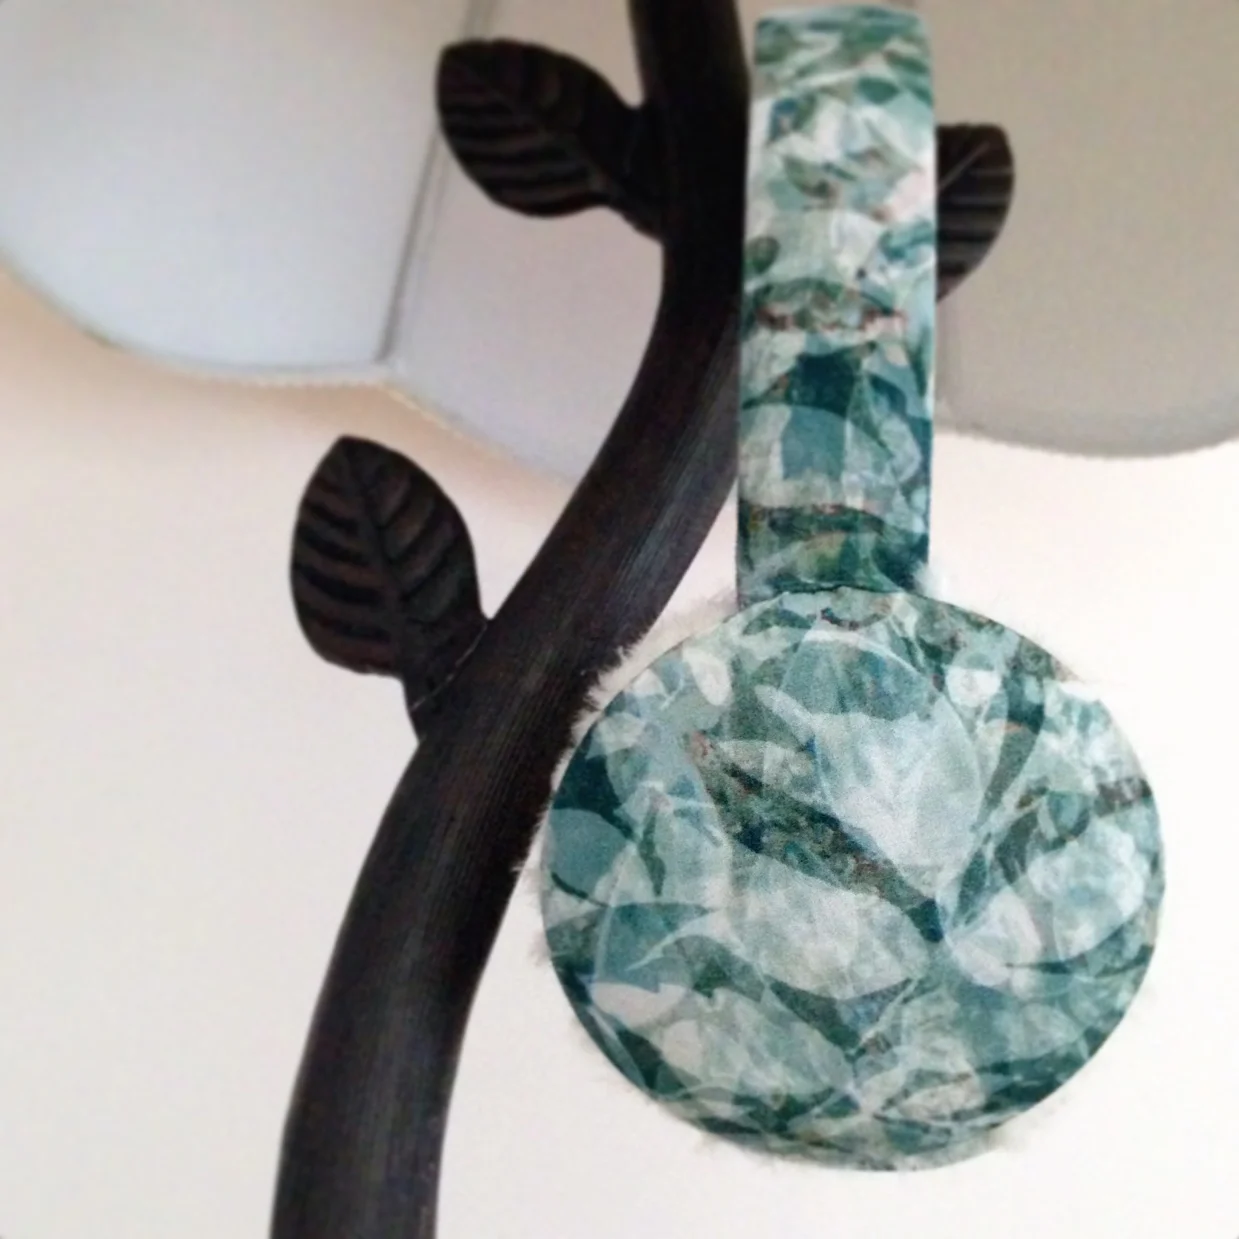
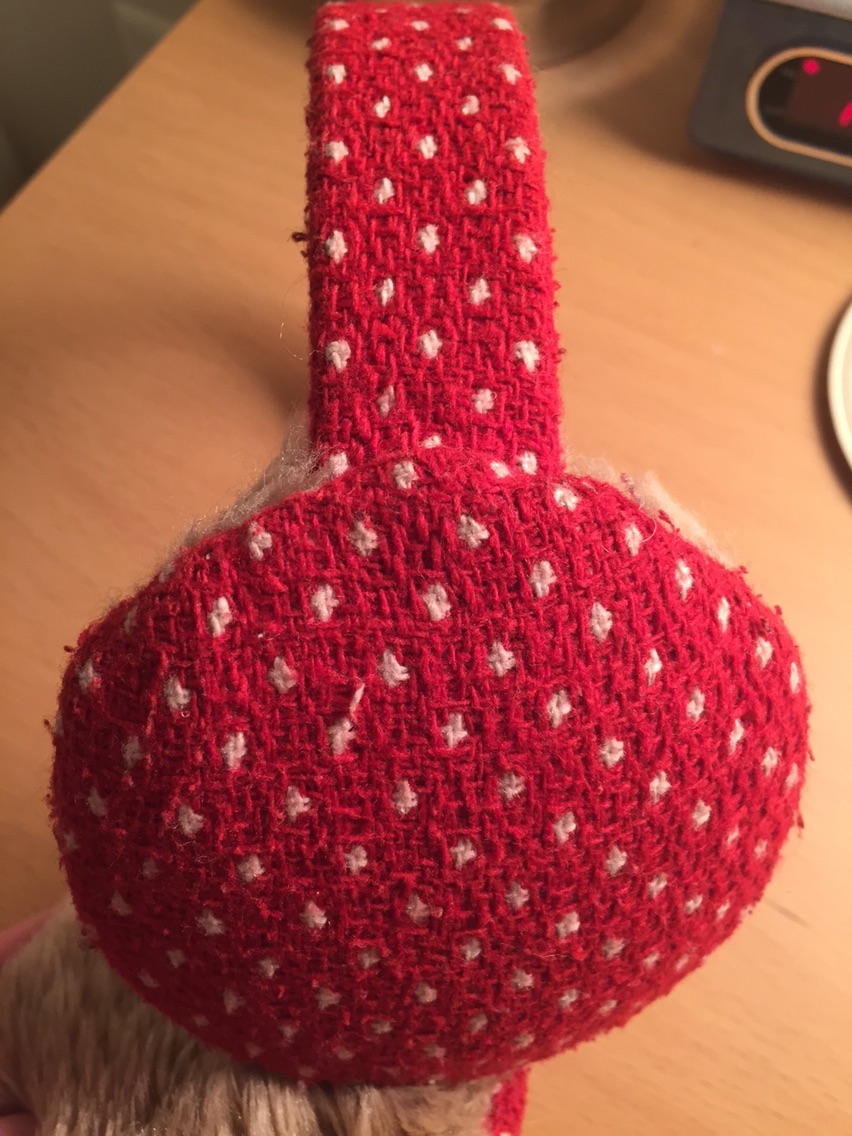
Lately I’ve been finding this new sewing/crafting hobby quite useful.  I’ve been feeling much less restricted as I now have options I didn't have before.  I can actually create my ideas!  In the past I could only shop for what I wanted, and when I couldn't find what I was looking for, I would end up settling.  I buy the next closest thing out of necessity, but always feeling unsatisfied.  So if my pickiness with earmuffs led me to start Moobury, it was only a matter of time before this obsessiveness seeped into other aspects of my life.

In my spare time, I’ve been working on a series of at home projects that give me a good creative outlet.  Bit by bit I’m creating the world I want to have around me.

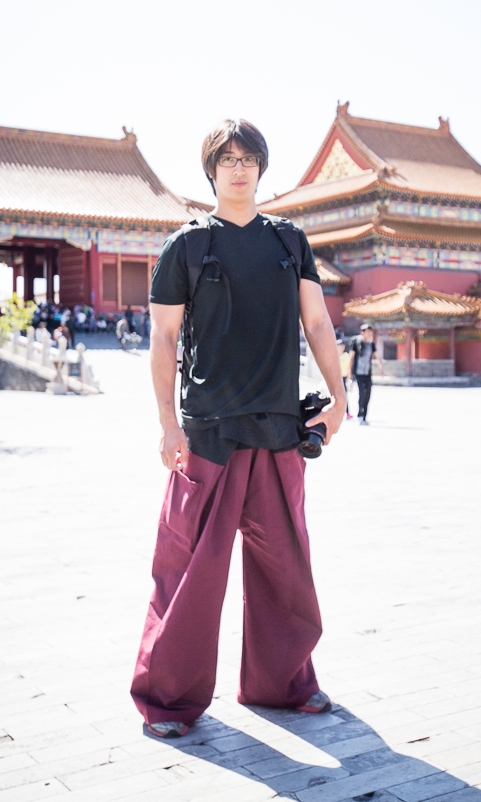
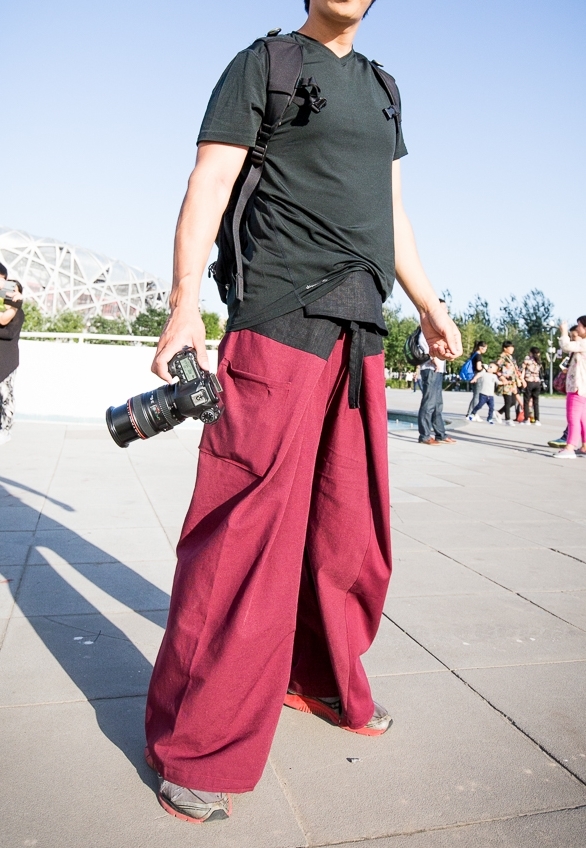
My most recent d.i.y project was a pair of thai fisherman pants.  It was a favor for a friend because he’s quite tall, and somehow all the pants available online are too short/one size fits all. #onesizedoesNOTfitall #tallpeopleproblems

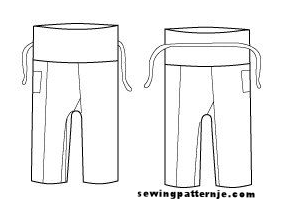
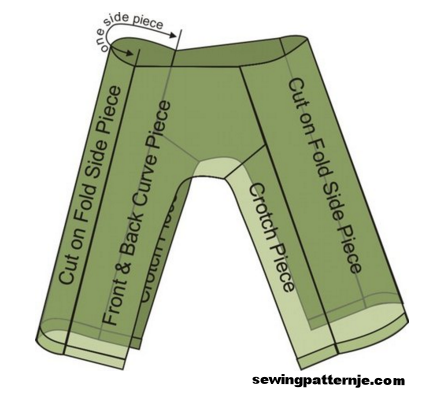
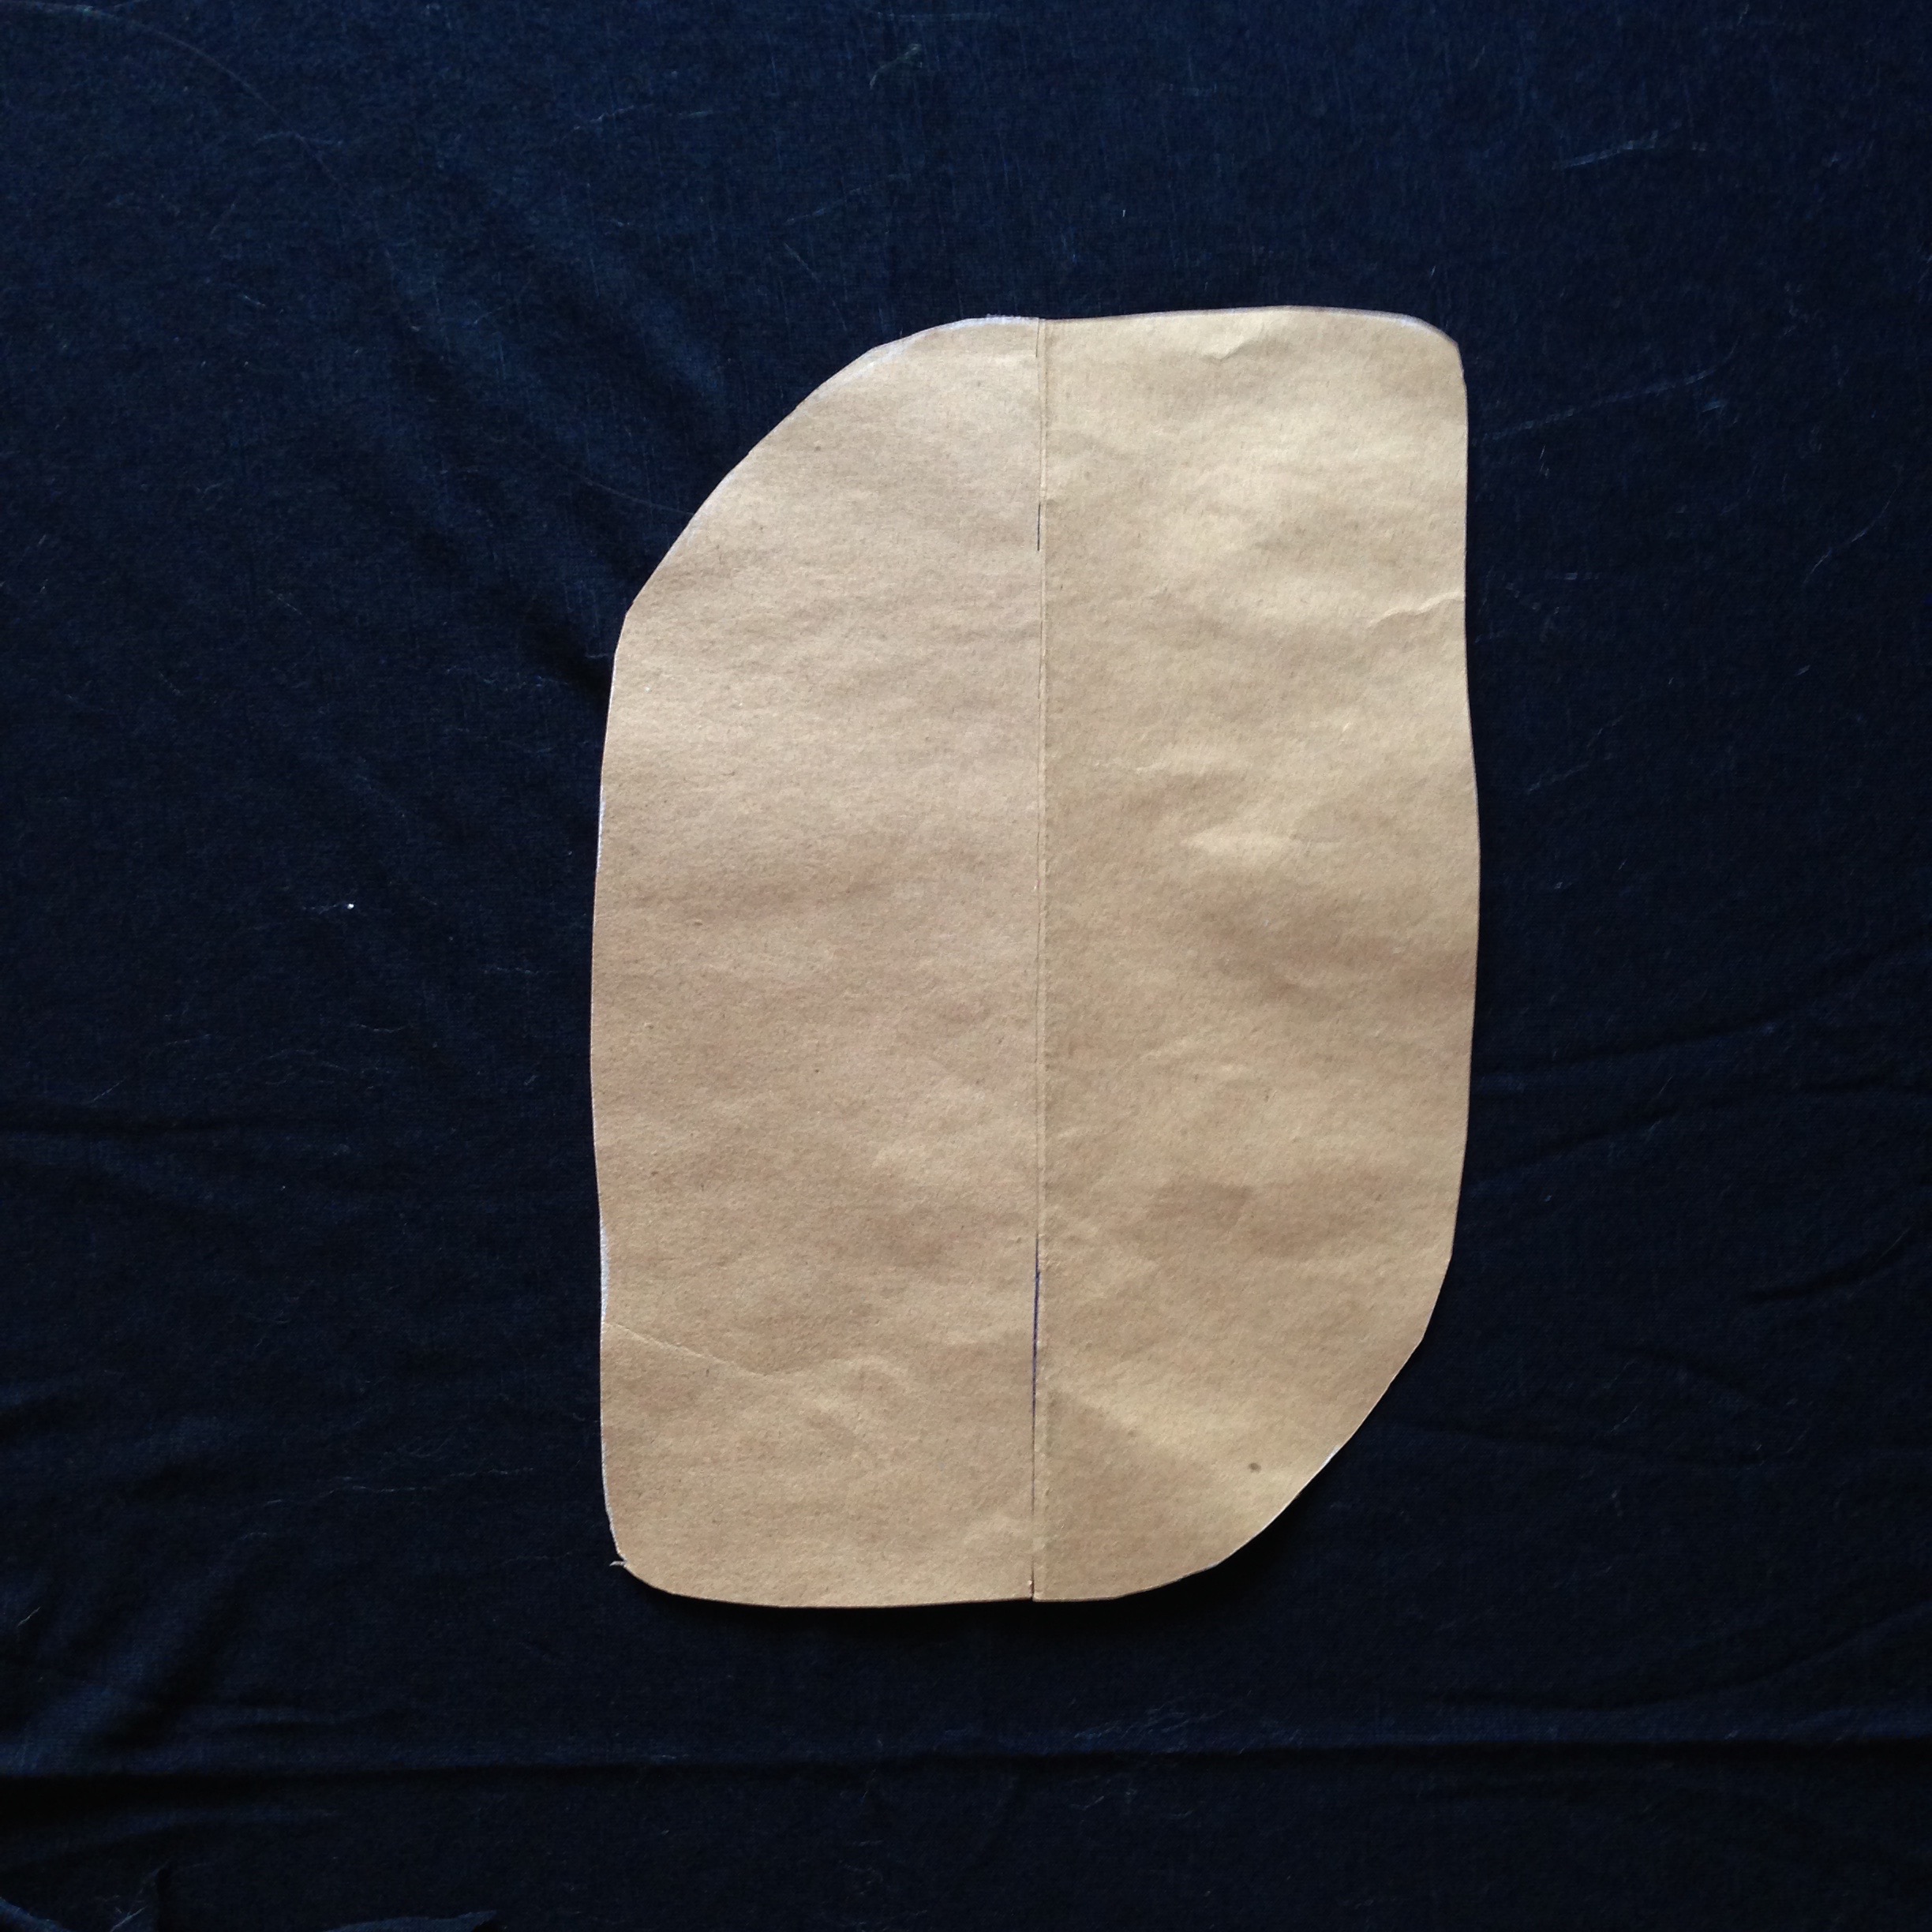
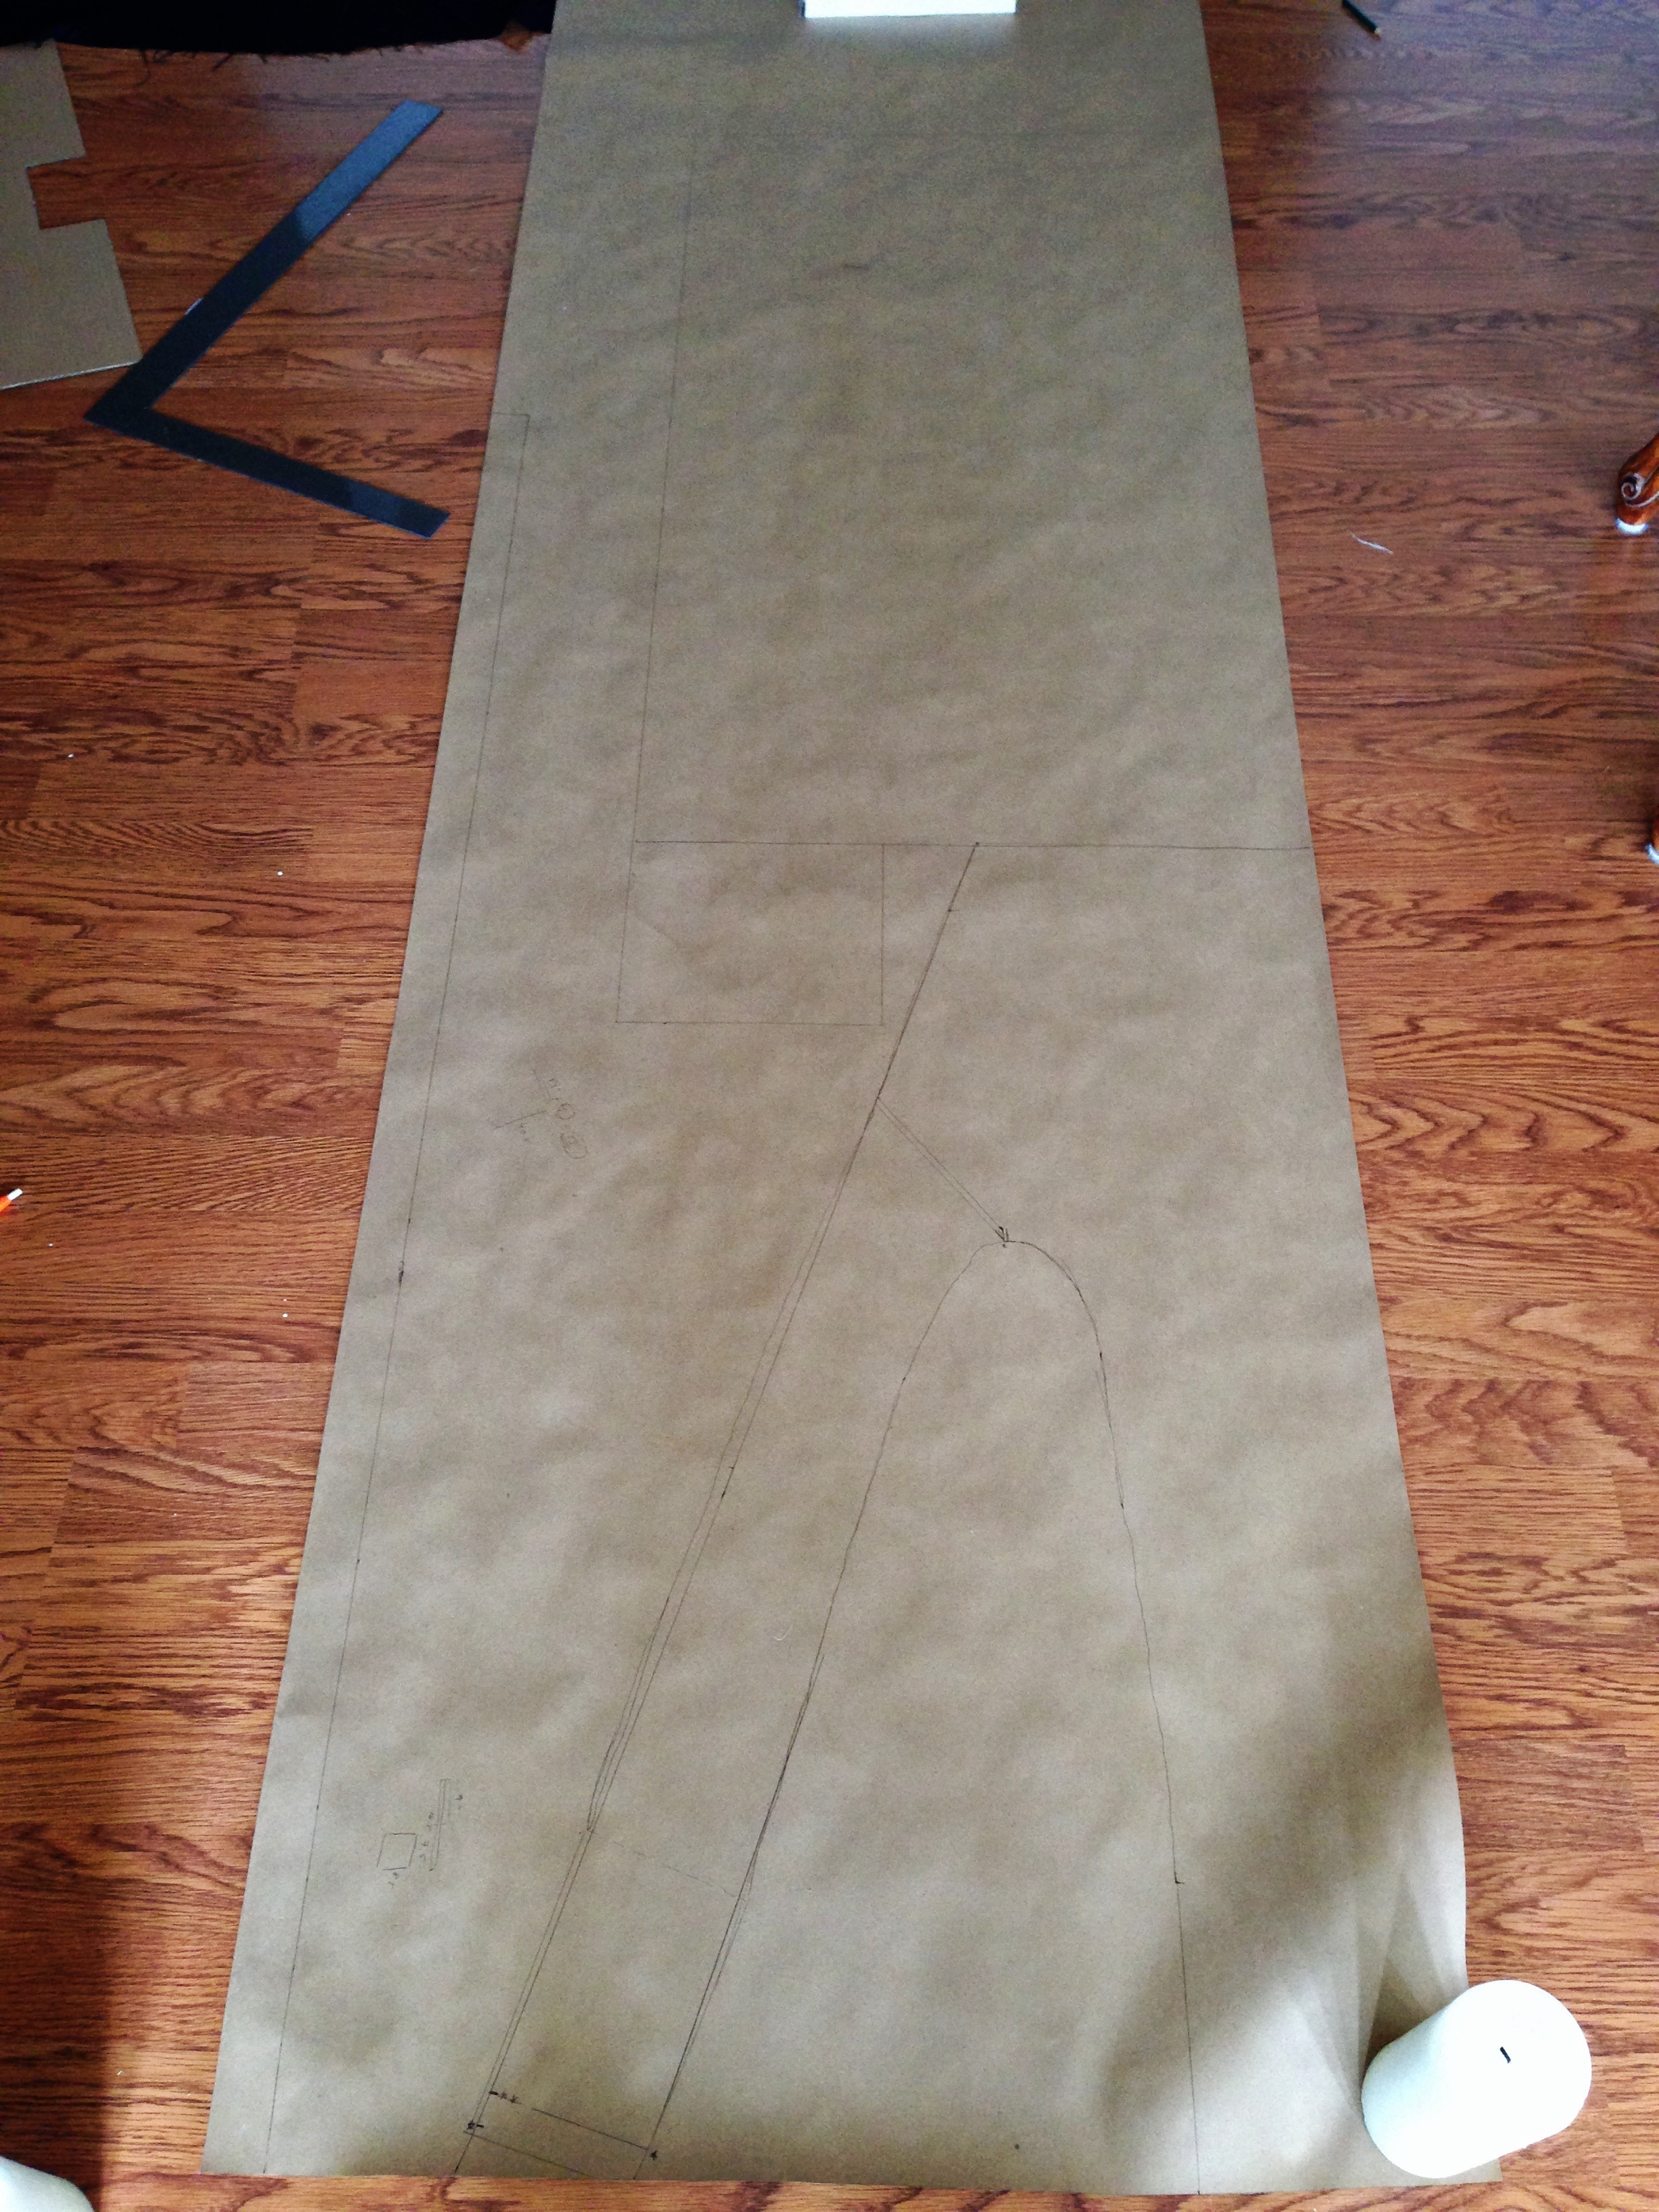
Since I wasn’t able to find a good sewing pattern with detailed measurements online, they were either ugly or extremely vague, I ended up purchasing a cheap pair off Amazon.  They fit me perfectly, cool, nothing’s going to waste.  I proceeded to trace the outline of individual pieces onto kraft paper, and made my friend put on the pants (one size fits all right?).  From there I measured which areas were short, what needed to be added, and extended the lines on my pattern as needed.

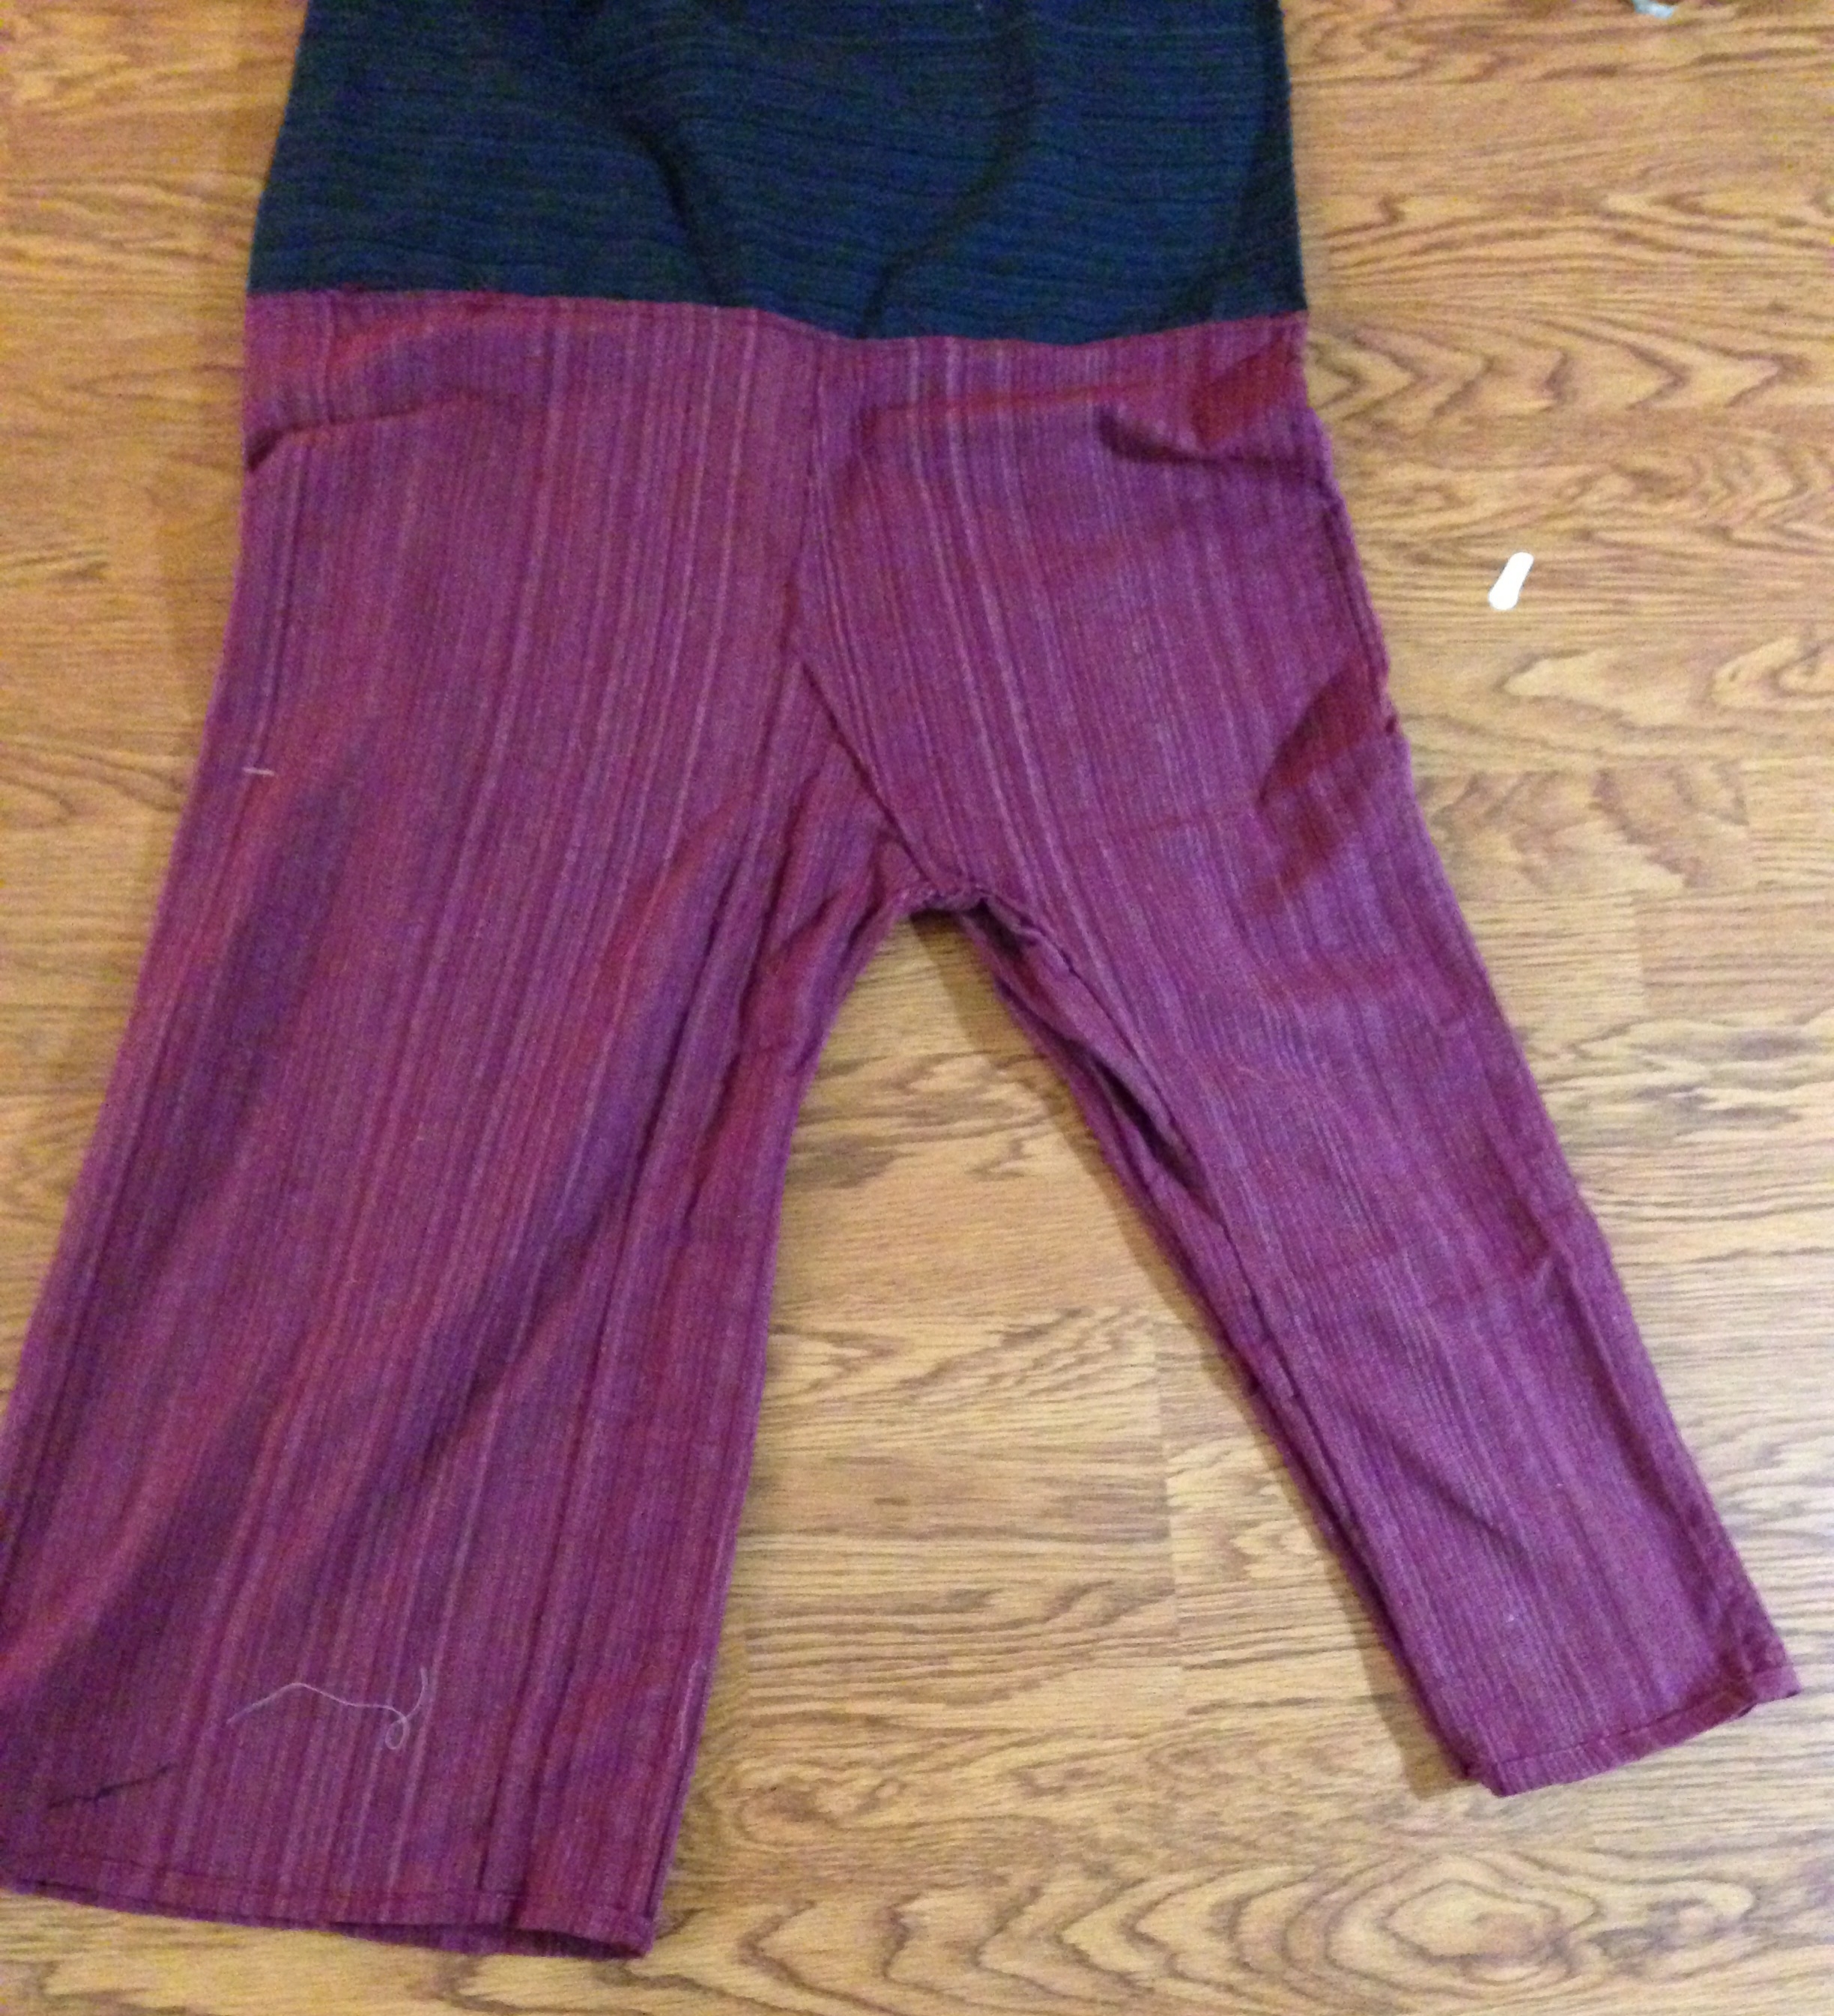
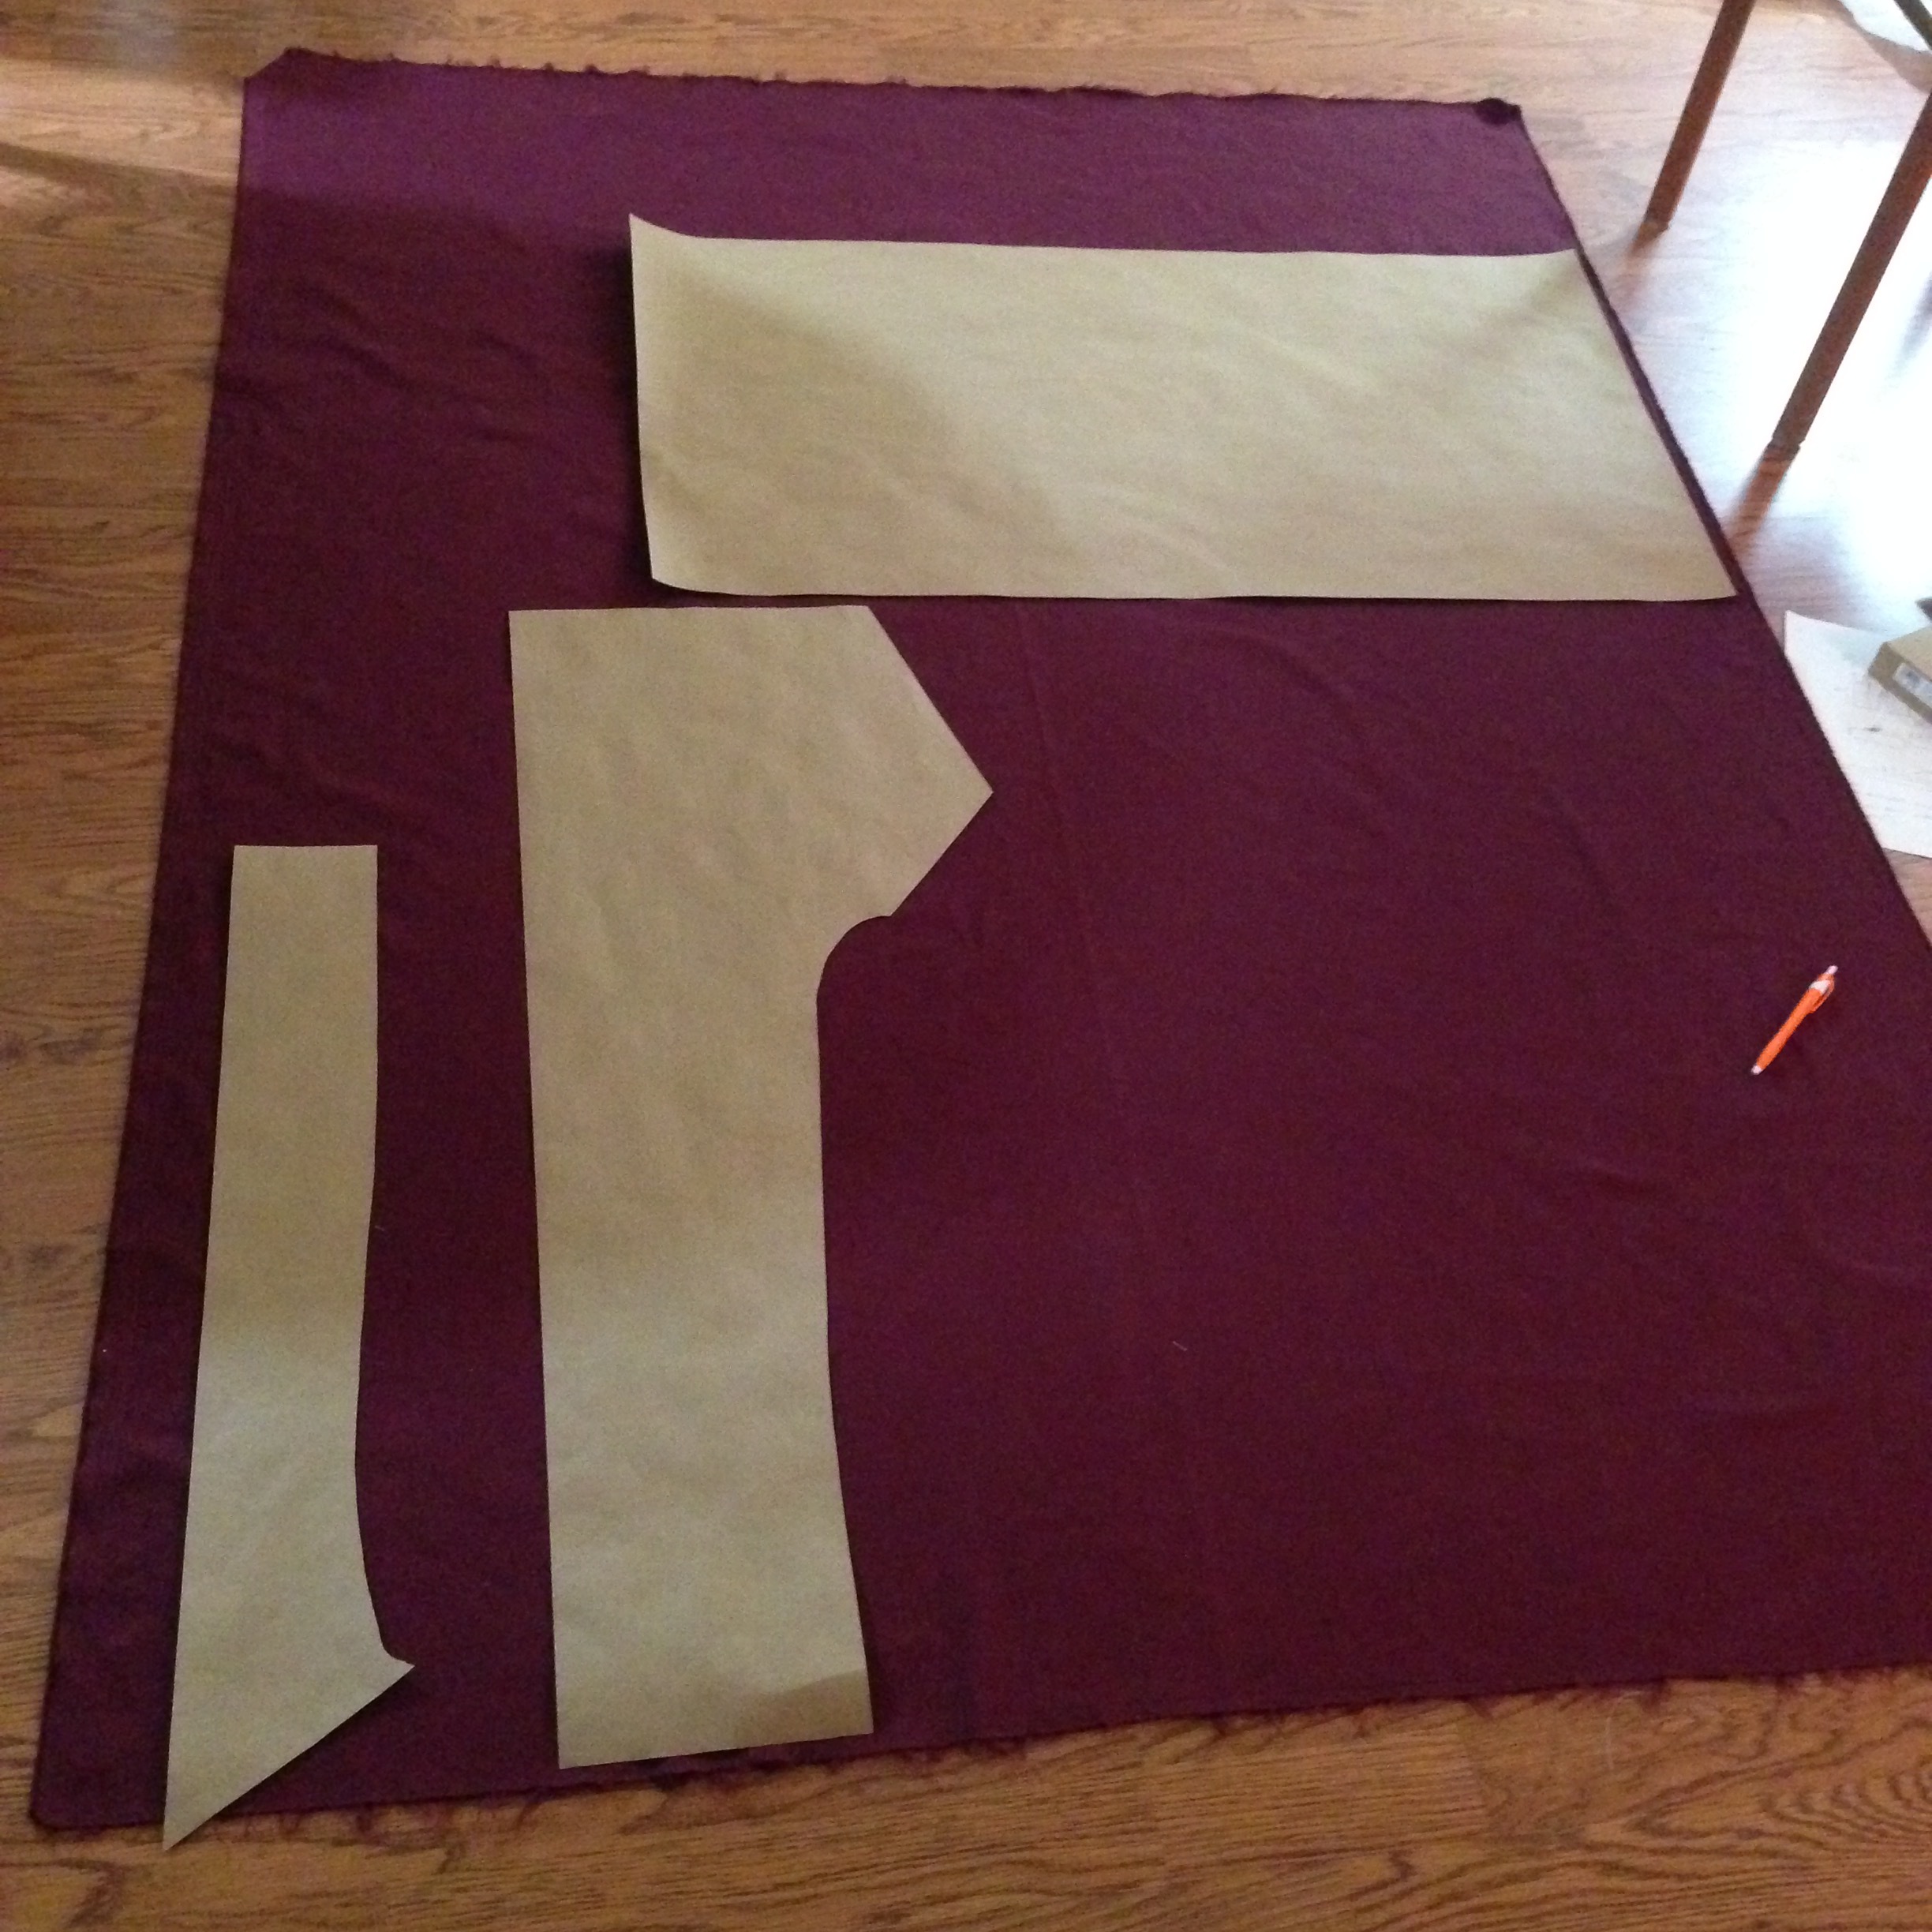
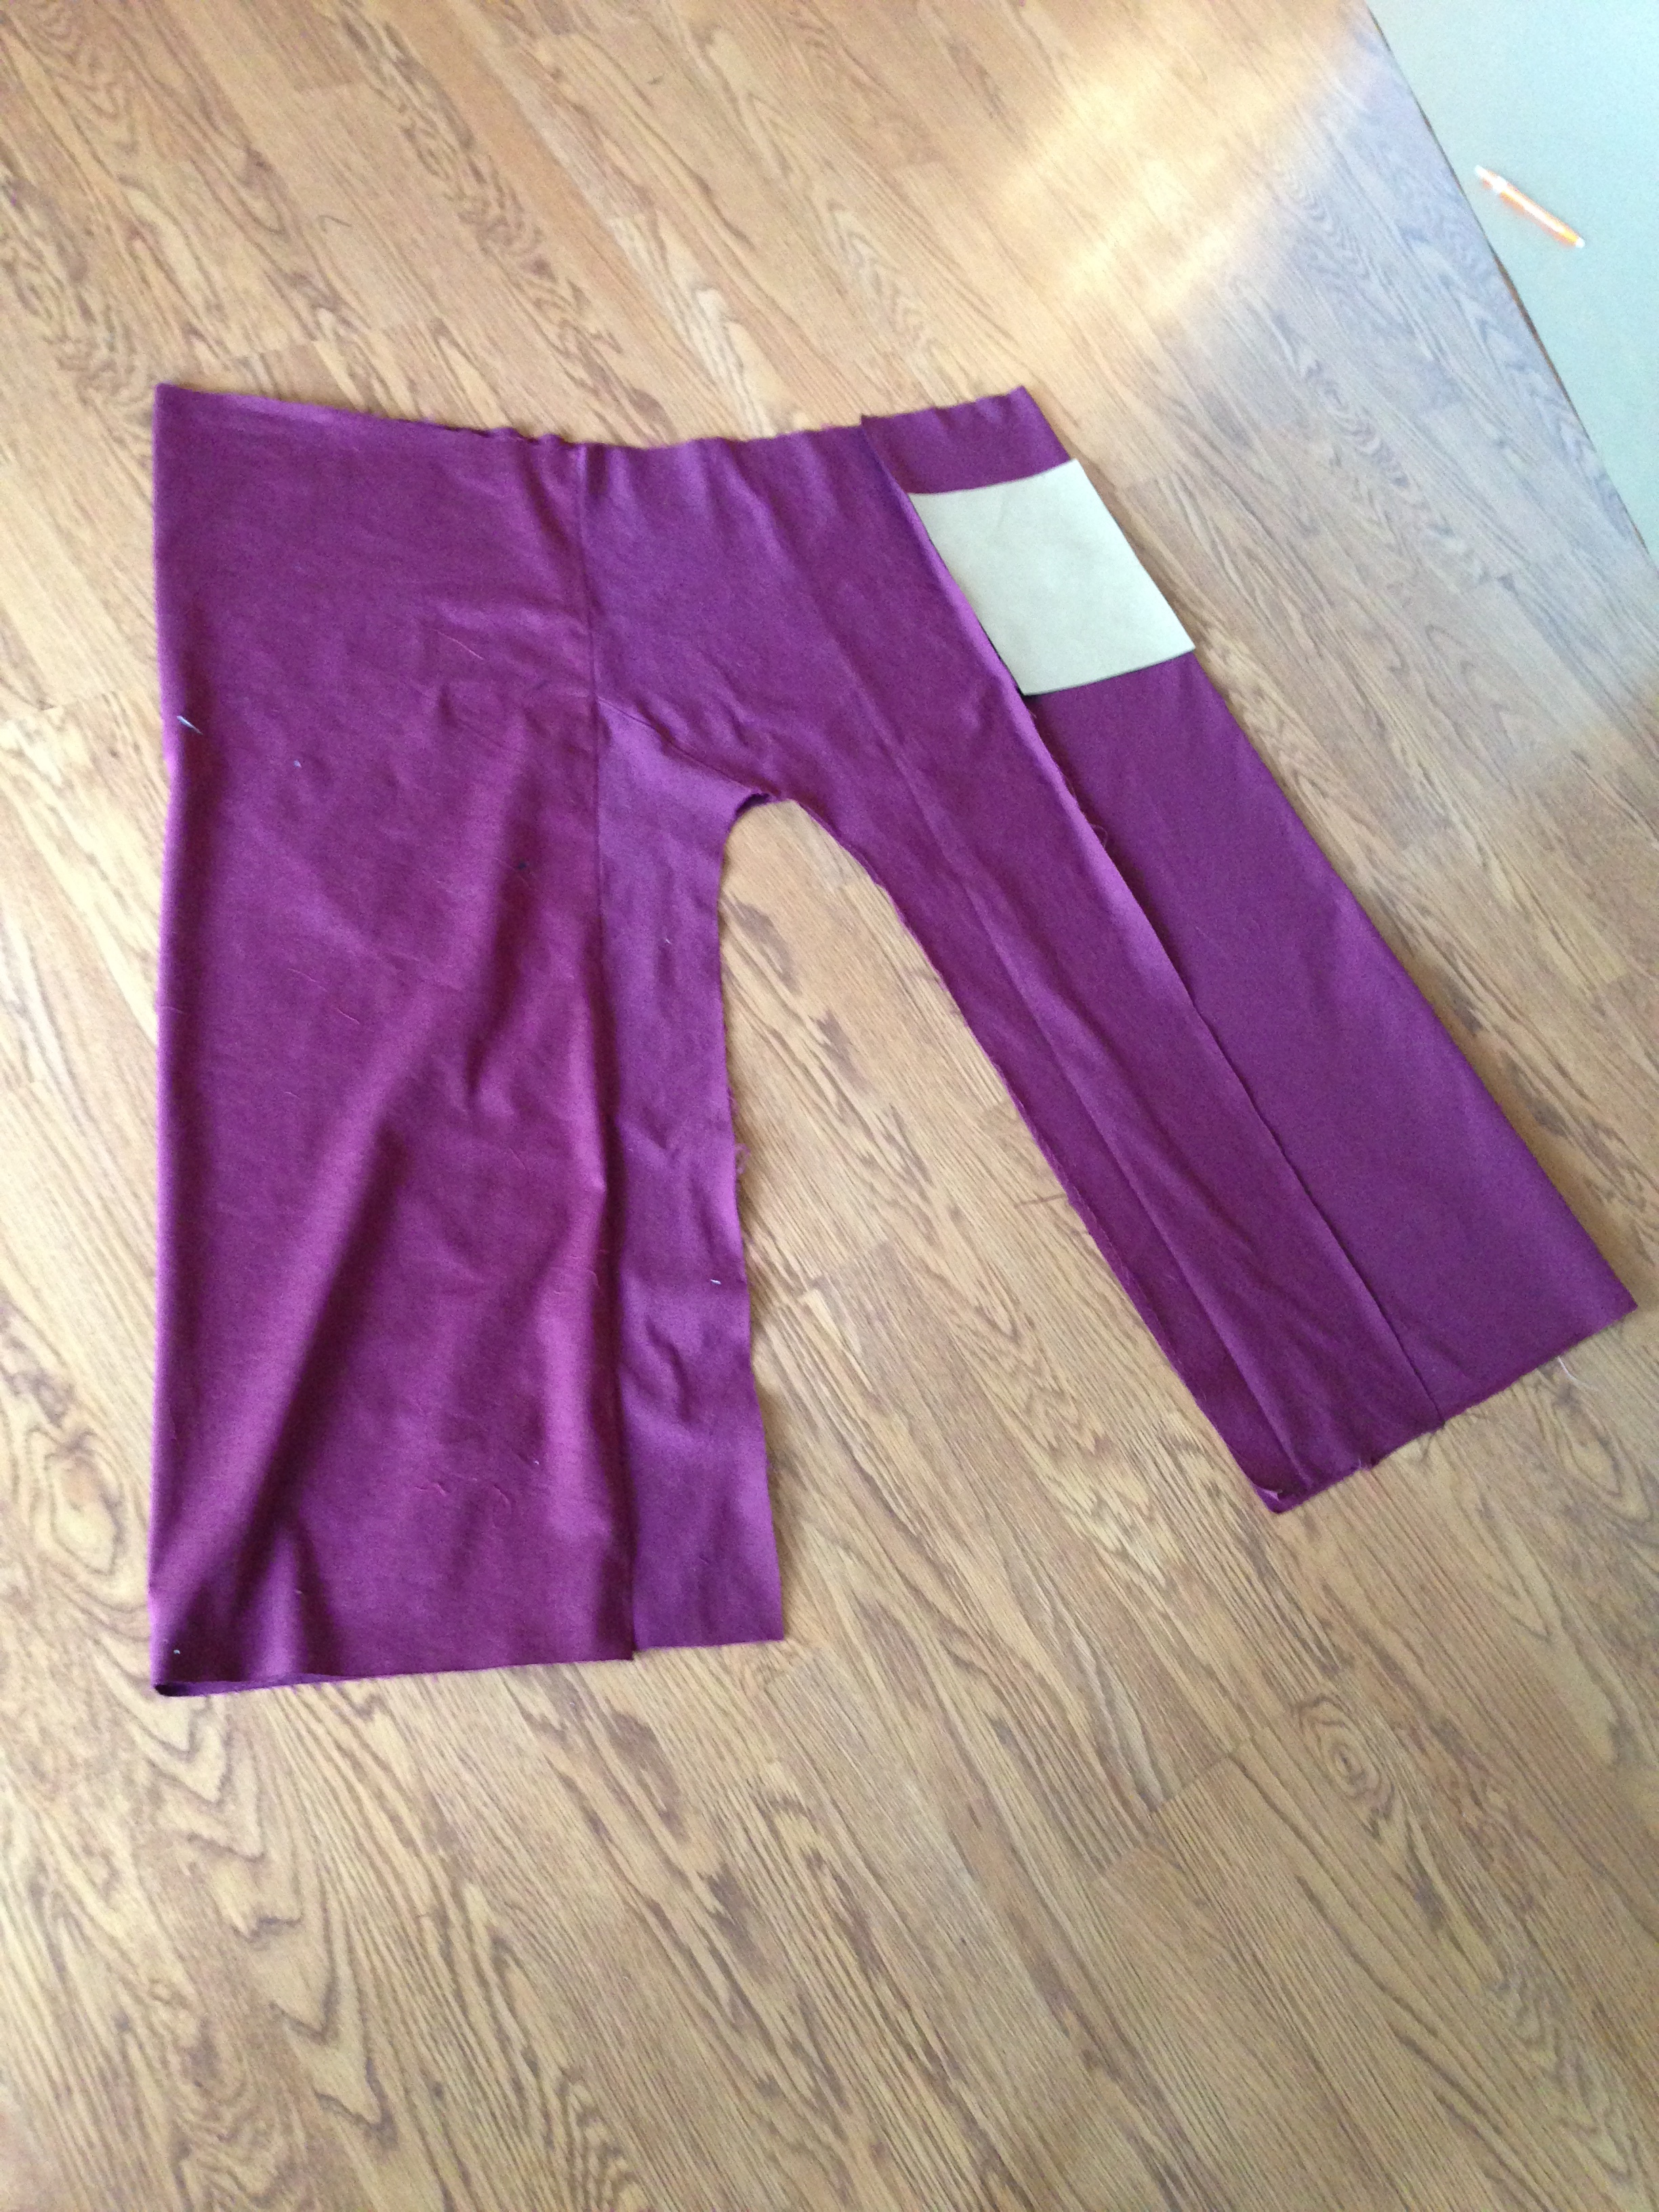
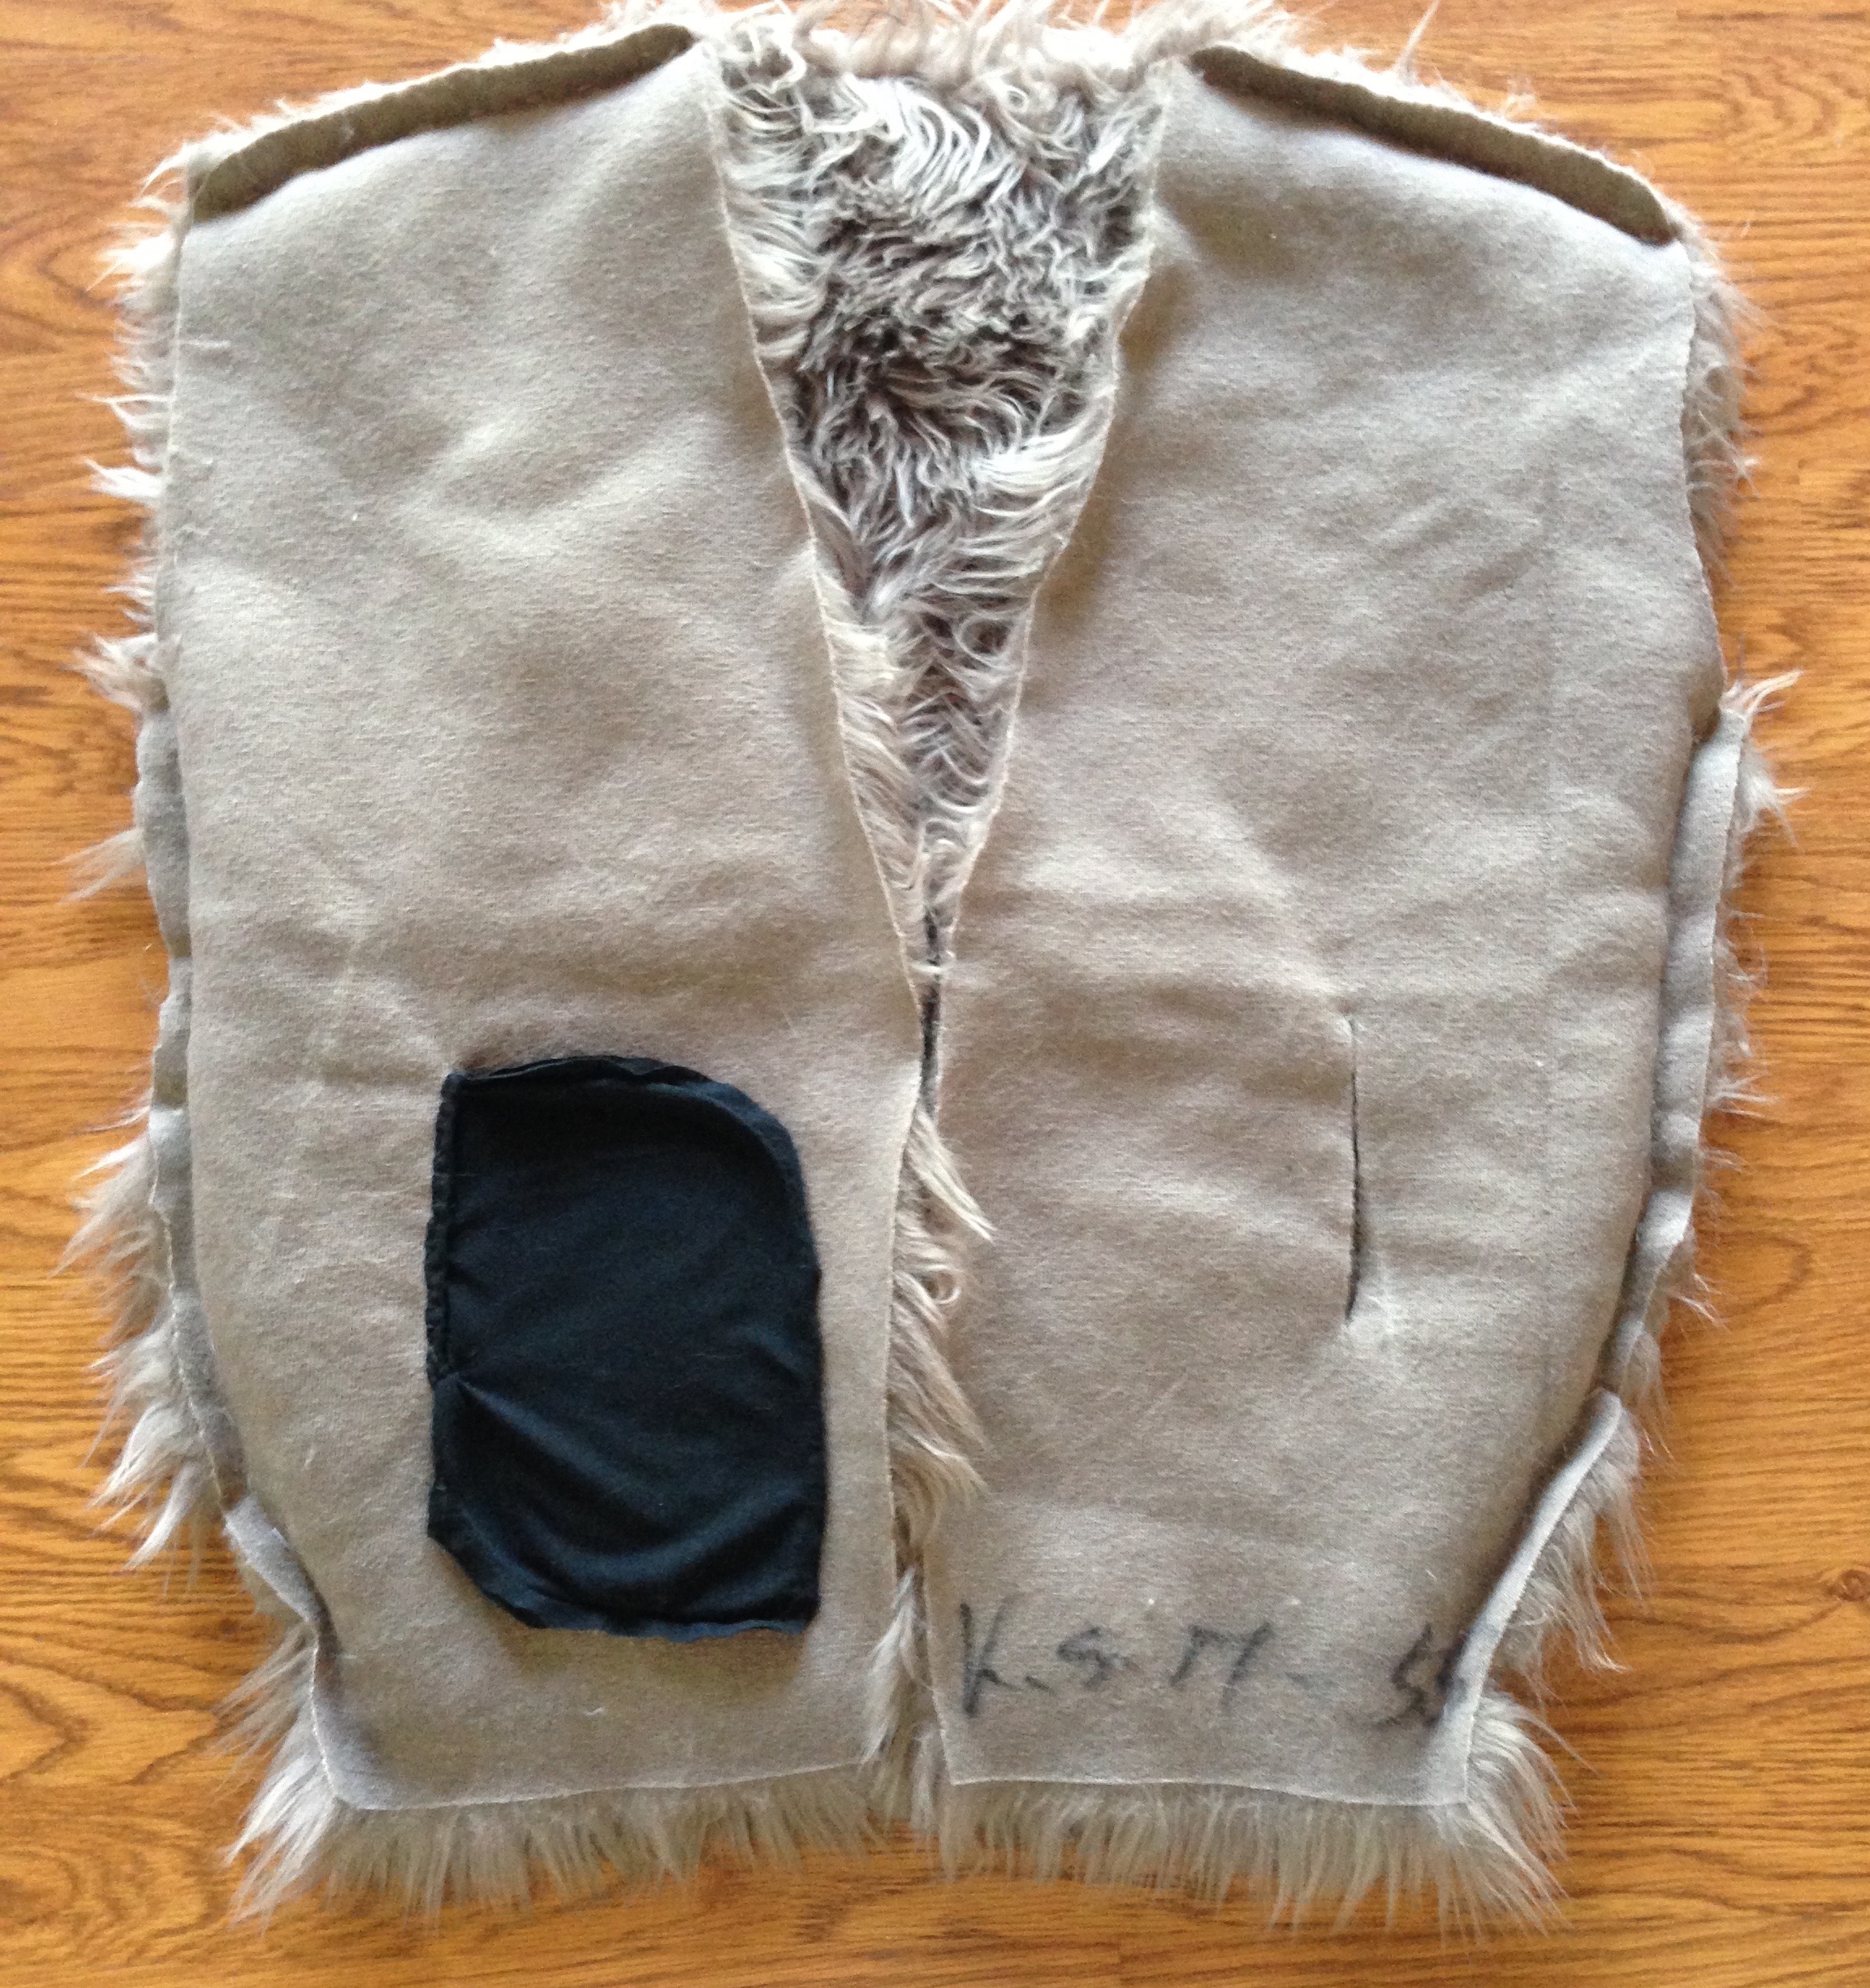
You will need about 3 yards of choice fabric or 2 yards for the bottom and 1 yard for the top if you want two colors.  I used 2 yards of bottom weight wine red denim, and  1 yard black linen for the belt/wrap area. The benefit of custom making is being able to adjust the design to better suit your needs, in this case a more durable fabric (denim) was chosen and velcro pockets were added in.  My friend wanted something that he could wear for the colder New England weather, and be functional for everyday use.  Not bad for the first clothing item I've ever made.

Halloween DIY Raccoon Costume

Make-up tidbit: seriously follow the contours of your face when outlining the your mask....you're more raccoon than you think. ;)

Make-up tidbit: seriously follow the contours of your face when outlining the your mask....you're more raccoon than you think. ;)

This halloween was a special.  It was the first time I got to give out candy to kids, and also my first time making my own costume!  In the past I would either buy one, or piece together random stuff from my closet and give my outfit a name.

So what drove me to this?

1.) I'm poor -  gotta buckle down on unnecessary spending to pay back my student loans.

2.) I was given a costume challenge - the raccoon.

I googled raccoon costumes online, and the search results made me cringe.  I was either going to look very frumpy or very cheap (bleh, not my style!), all while spending $60+ for something that is one-time wear.  And lets be honest, we girls like to look good even when we're being ridiculous.  So somehow I had to transform petite asian me into a cute sexy raccoon.

I set out to design a costume with clothes I can easily reuse, and had an idea of a draped faux fur vest and a crop top with a sweetheart neckline.  I came across Coolirpa's tutorial for the sweetheart top, and made one quickly out of this stretchy black lyrca fabric that I retired from one of my earmuff designs.  This worked out perfectly: I recycled trash material, already channeling the spirit of the raccoon. Some call this method-acting.

Then I went shopping at Nordstrom, the vests were all in the $200 range, I took down notes at what they did for material, lining and pockets versus what I was looking for.  Then I went straight to the fabric warehouse and picked up the softest gray faux fur I could find($20/yd) and some black jersey knit($2/yd).  I traced the individual pieces of my favorite cardigan on the the back of the faux fur and jersey knit.  I picked that particular vintage Ralph Lauren cardigan because its big and drapey, but still shaped well to the outline of my body by cinching in all the right place.  I was not a fan of the boxy designs I saw at the stores.

Quick DIY summary:

  1. Cut and sew together faux fur pieces(3)
  2. Put on in-process vest and decide what's a comfortable pocket location. Pin it, reverse it and cut out pocket slits.
  3. Make pockets. (I simulated the pockets from a trench coat I got in Japan because the size and location of the pocket fit my arms better.)
  4. Hand sew on pocket. 
  5. Sew together lining piece with fur vest.  Make sure to hand sew armholes and bottom closure, the rest can be machine sewn.

I'm not an expert at DIY, but I'm happy with how this turned out.  And being able to combine my favorite elements of the clothes I already have, makes this the comfiest outerwear I have now.  Typically jersey knit is not what people use for clothing lining, but I chose it since I wanted to wear this out into the cold, and like to still have the comfy feel of my bedsheets hugging me everywhere I go. :P

For animal ear tutorial, please see here.

Tail wasn't anything fancy, use scrap faux fur(from the vest fabric) + polyfil, and wrapped the black fabric on.  For a more realistic effect I'd suggest looking into painting black stripes onto the fur instead.

Raccoon Out!

Raccoon Out!

Now Offering Custom Earmuff Orders!

This post has been a long time coming.  I have worked hard, and Moobury is now fully open to custom orders.

So what pushed me to this?

In part this was due to demand, but the main reason is that the requests come from such a sincere place that they were hard to say no to.  On my Etsy store, I made it a particular point to advertise "does not accept custom orders" because they take a lot more time and effort to make, and the material costs are higher.  There are plenty of other sellers that do this, so I'll leave the hardship to them

...or so I thought.

I was extremely surprised when a buyer(Natalie) on Etsy sent me a private message for a custom request.  I tried to deter her with higher pricing and absolutely no refunds, due to the nature of custom orders.  However, her story that followed took me fabric shopping at three different store locations just so I can find her the perfect fabric.

Natalie was trying to replace her long time favorite earmuffs that recently broke, and after a long search could not find a pair to her satisfaction.  The story sounds familiar right?  Yep, we were "kindred earmuff spirits".  I related to her pain, and my heart ached when she sent me pictures of her broken pair.  I told her I couldn't completely replicate her old earmuffs, but we could work together to make something close.  And as you can see from the pictures of the polka-dotted earmuffs, we were both happy with the results. :)

This year I had another custom order where I again broke a rule.  I made behind the head earmuffs for men! *gasps*  Its not that I couldn't before, but for what is offered of men's earmuffs out there, I can't compete with the prices.  It also takes a surprising amount of effort to make by hand. (sigh, if only I were a machine)

Yet my friends Eric & HayJin (EJIN) have their anniversary coming up.  They are one of the cutest couples, and their couple selfies popping up on my fb newsfeed makes me go 'awwww' every time.  EJIN started their relationship in Peru when a large group of us backpacked to Machu Picchu together, since then they have been doing long distance from Chile --> NYC and then California --> New Jersey.  They chat everyday, and put in an extreme amount of effort traveling to see one another.  HayJin is in California, she doesn't need earmuffs, but when she visits the East Coast this November to celebrate her anniversary with Eric, she will.  And during that time, she wanted to have a matching pair with Eric to stay warm.  Their level of commitment to each other makes it impossible to turn down such a sweet request, so I set myself to work once again.

Thank you to the wonderful people above for giving me a chance to mend the earmuff-shaped hole in my heart with new earmuffs, friendship and love, and being a perfect example of it.

Even though I have done custom orders in the past, I have finally come to terms that it's a thing now. lol.  Therefore this is the official announcement that Moobury is now offering custom earmuff orders! Yay!

(Pricing start at $55, and go up based on material cost.  Mens earmuffs will only be offered in couple pairs, guy-girl or guy-guy combos.  My only limitation is I am unable to sew through leather by hand or make my women frames adjustable. For more information please contact us directly through e-mail or fb. Thanks!)